All About Bin Cages!
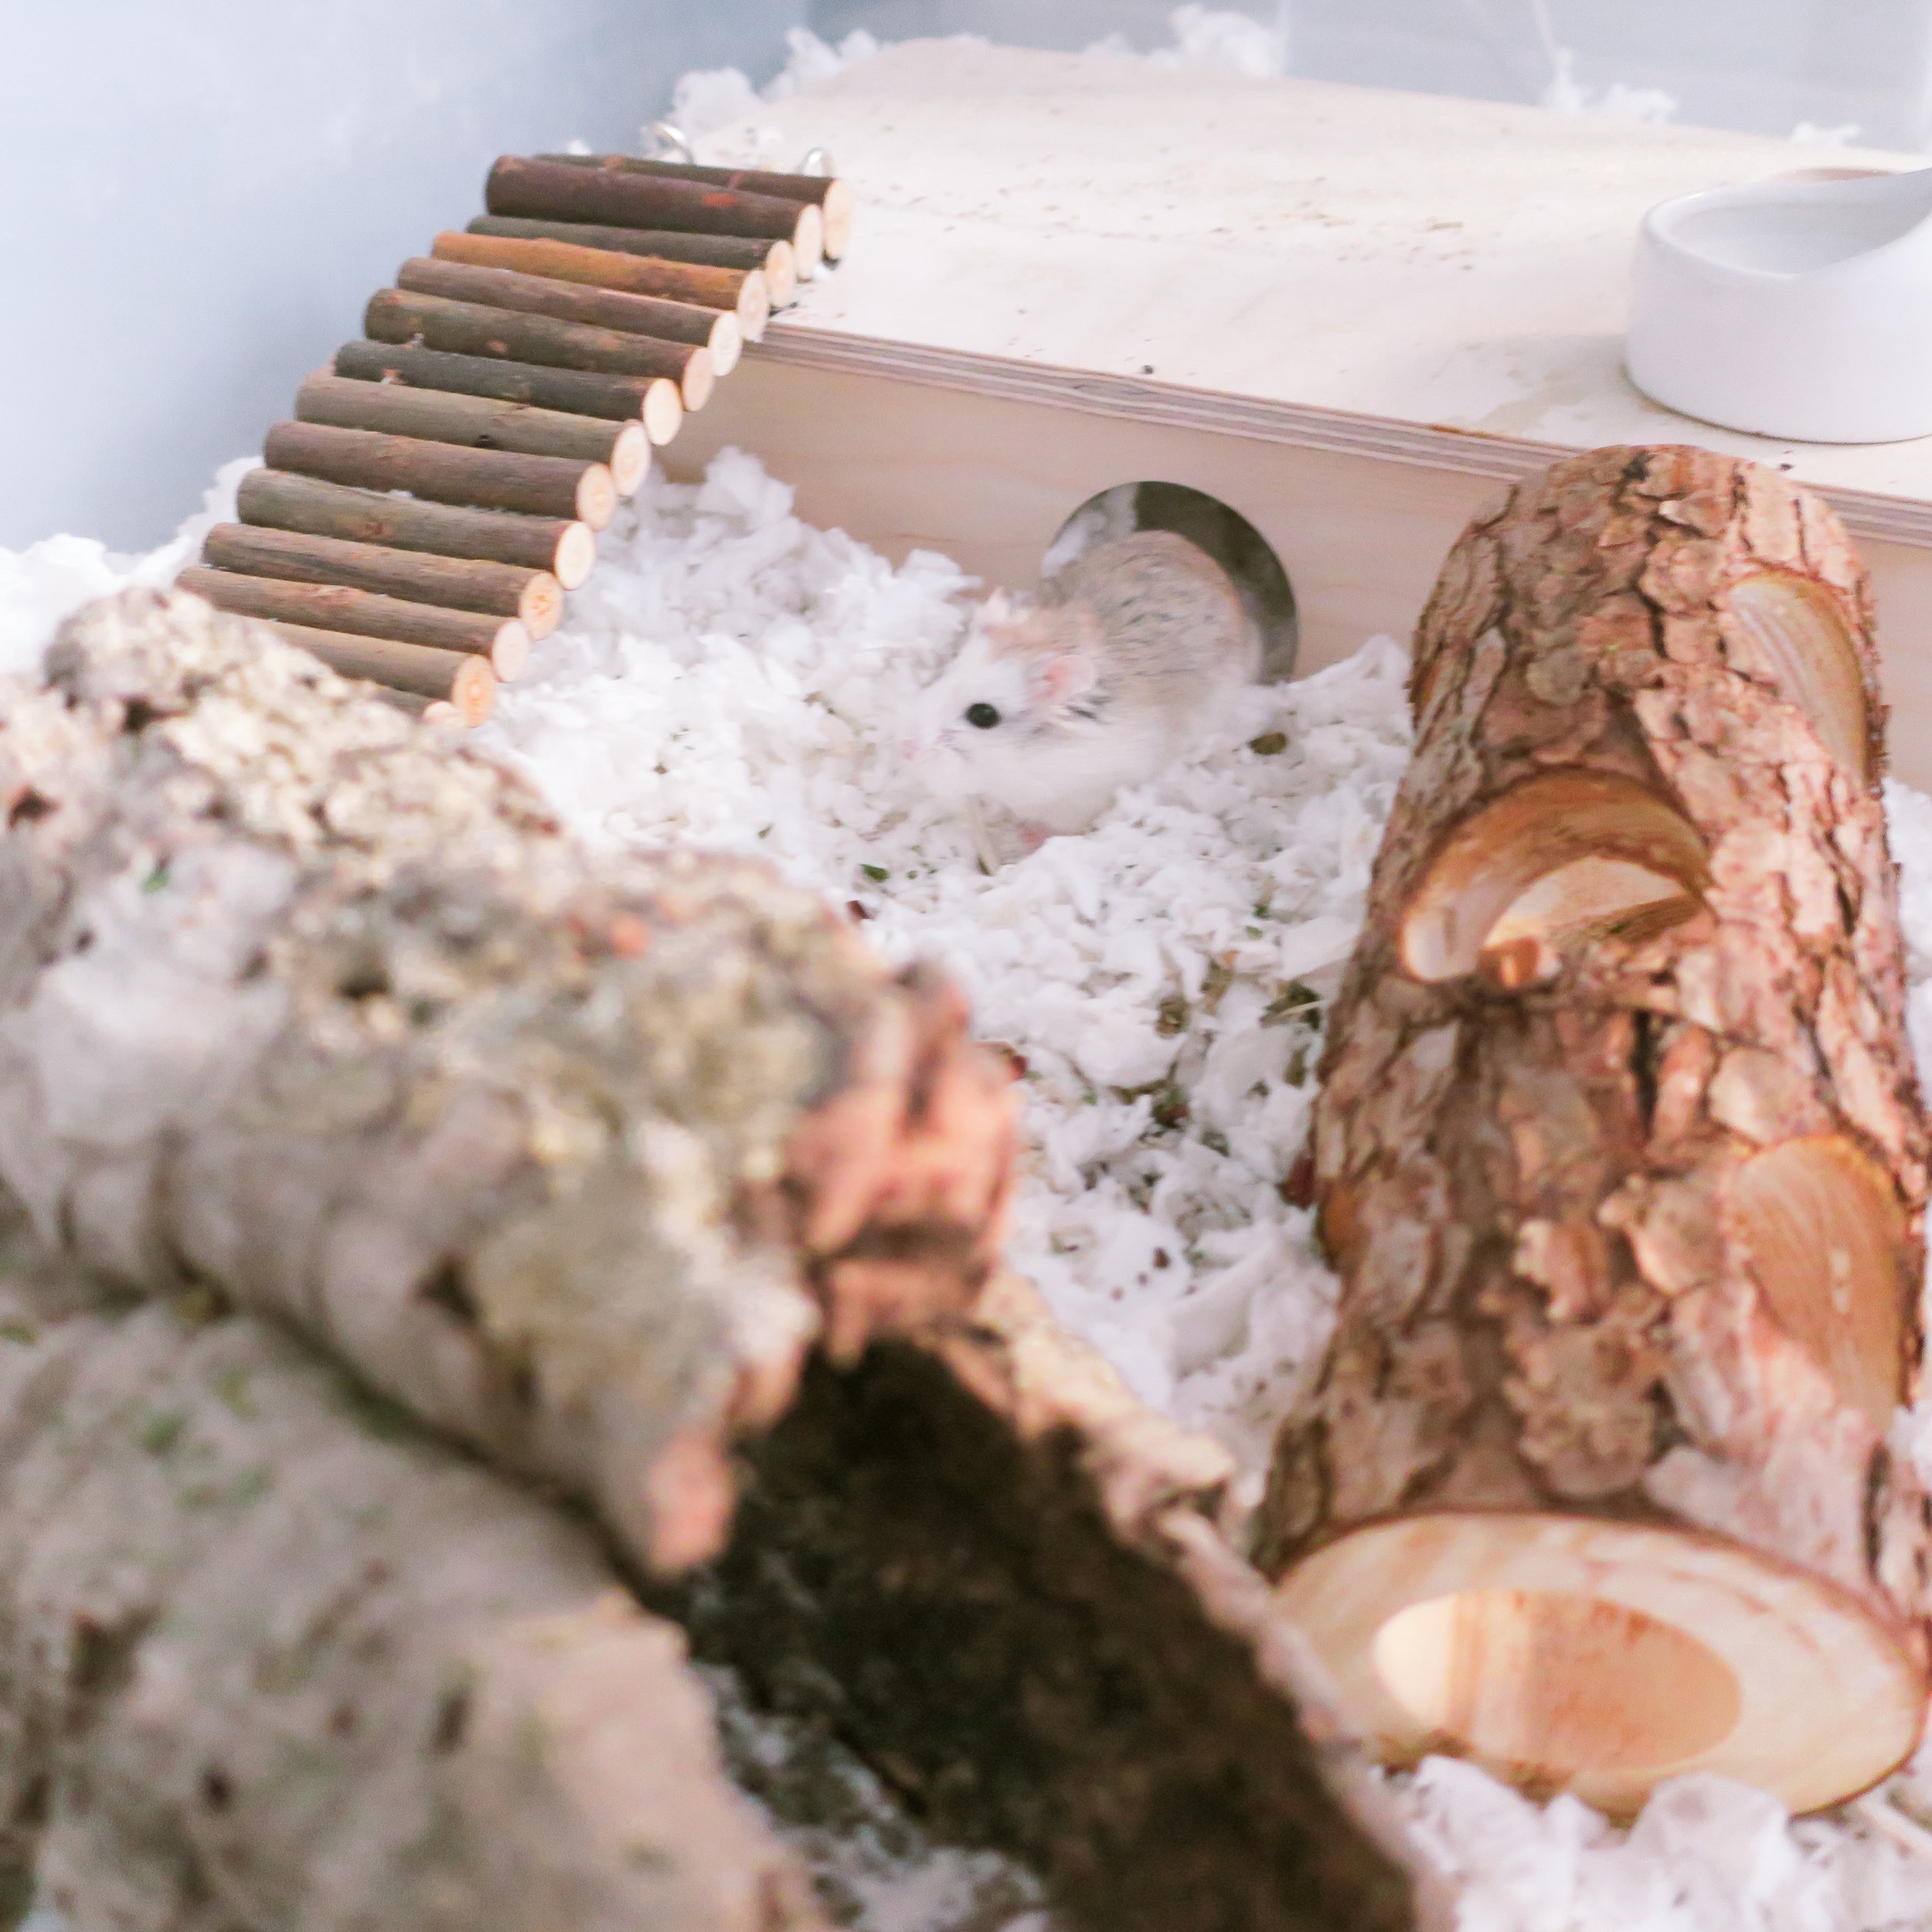
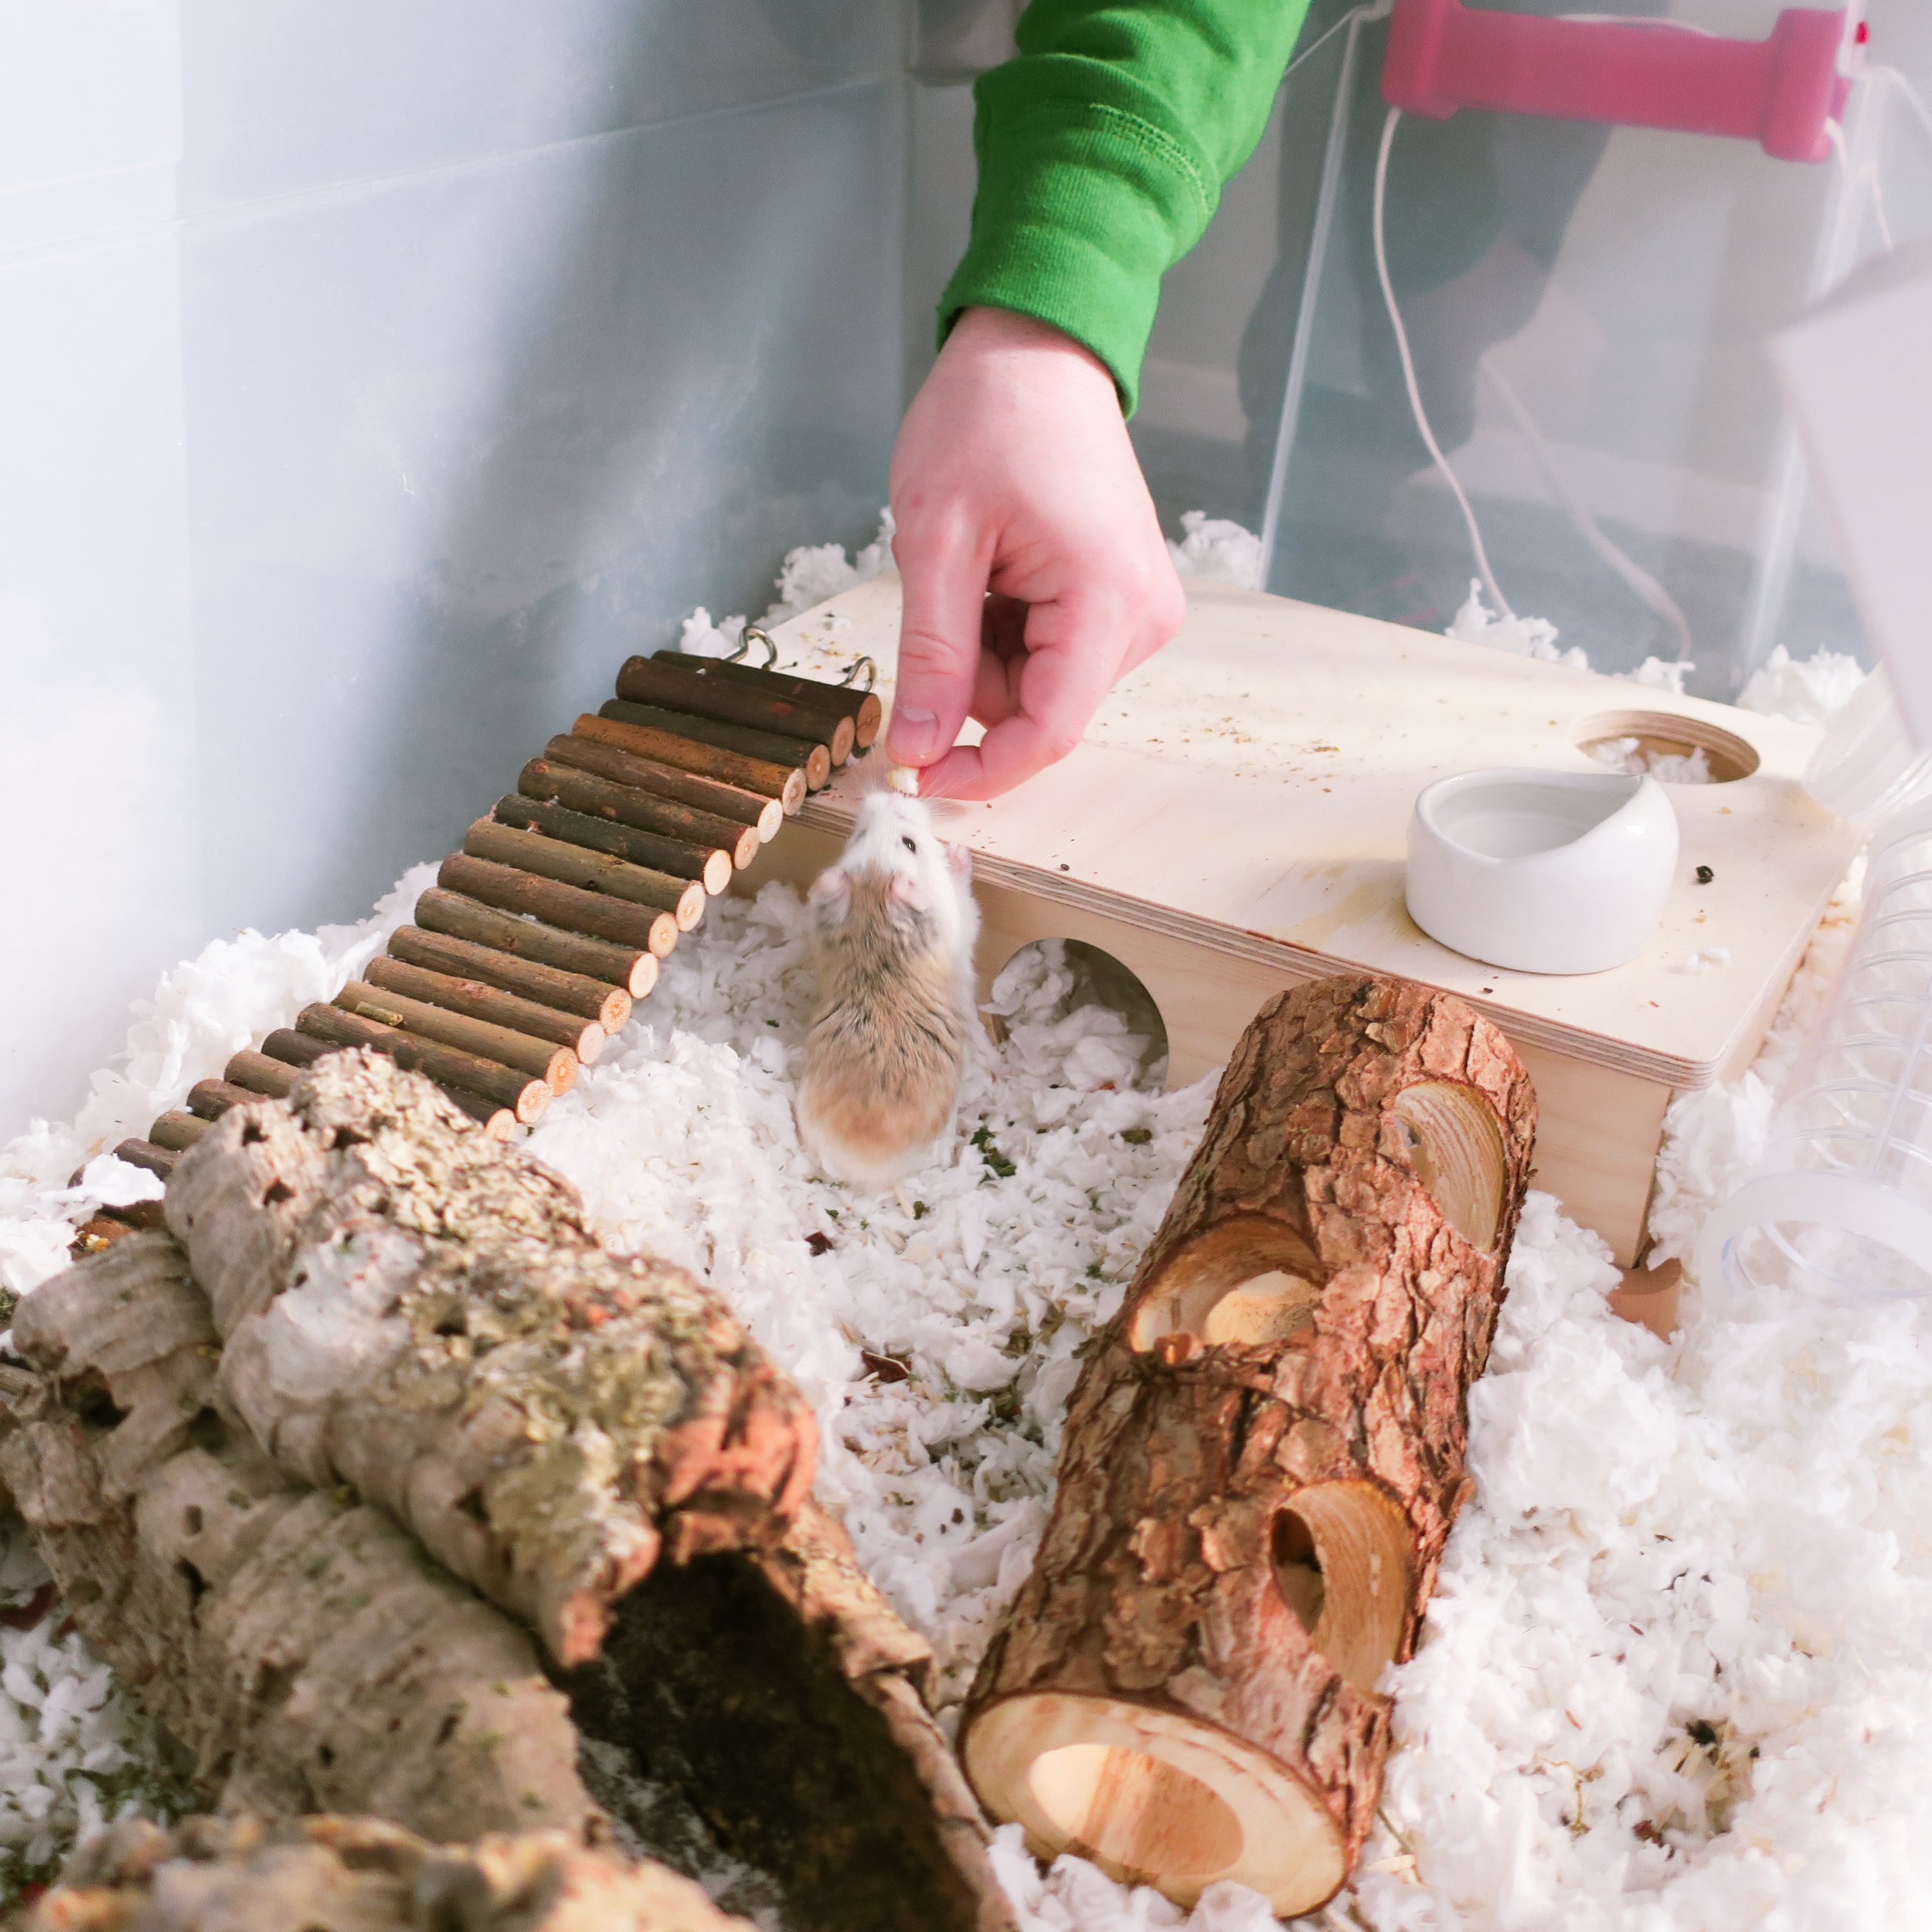
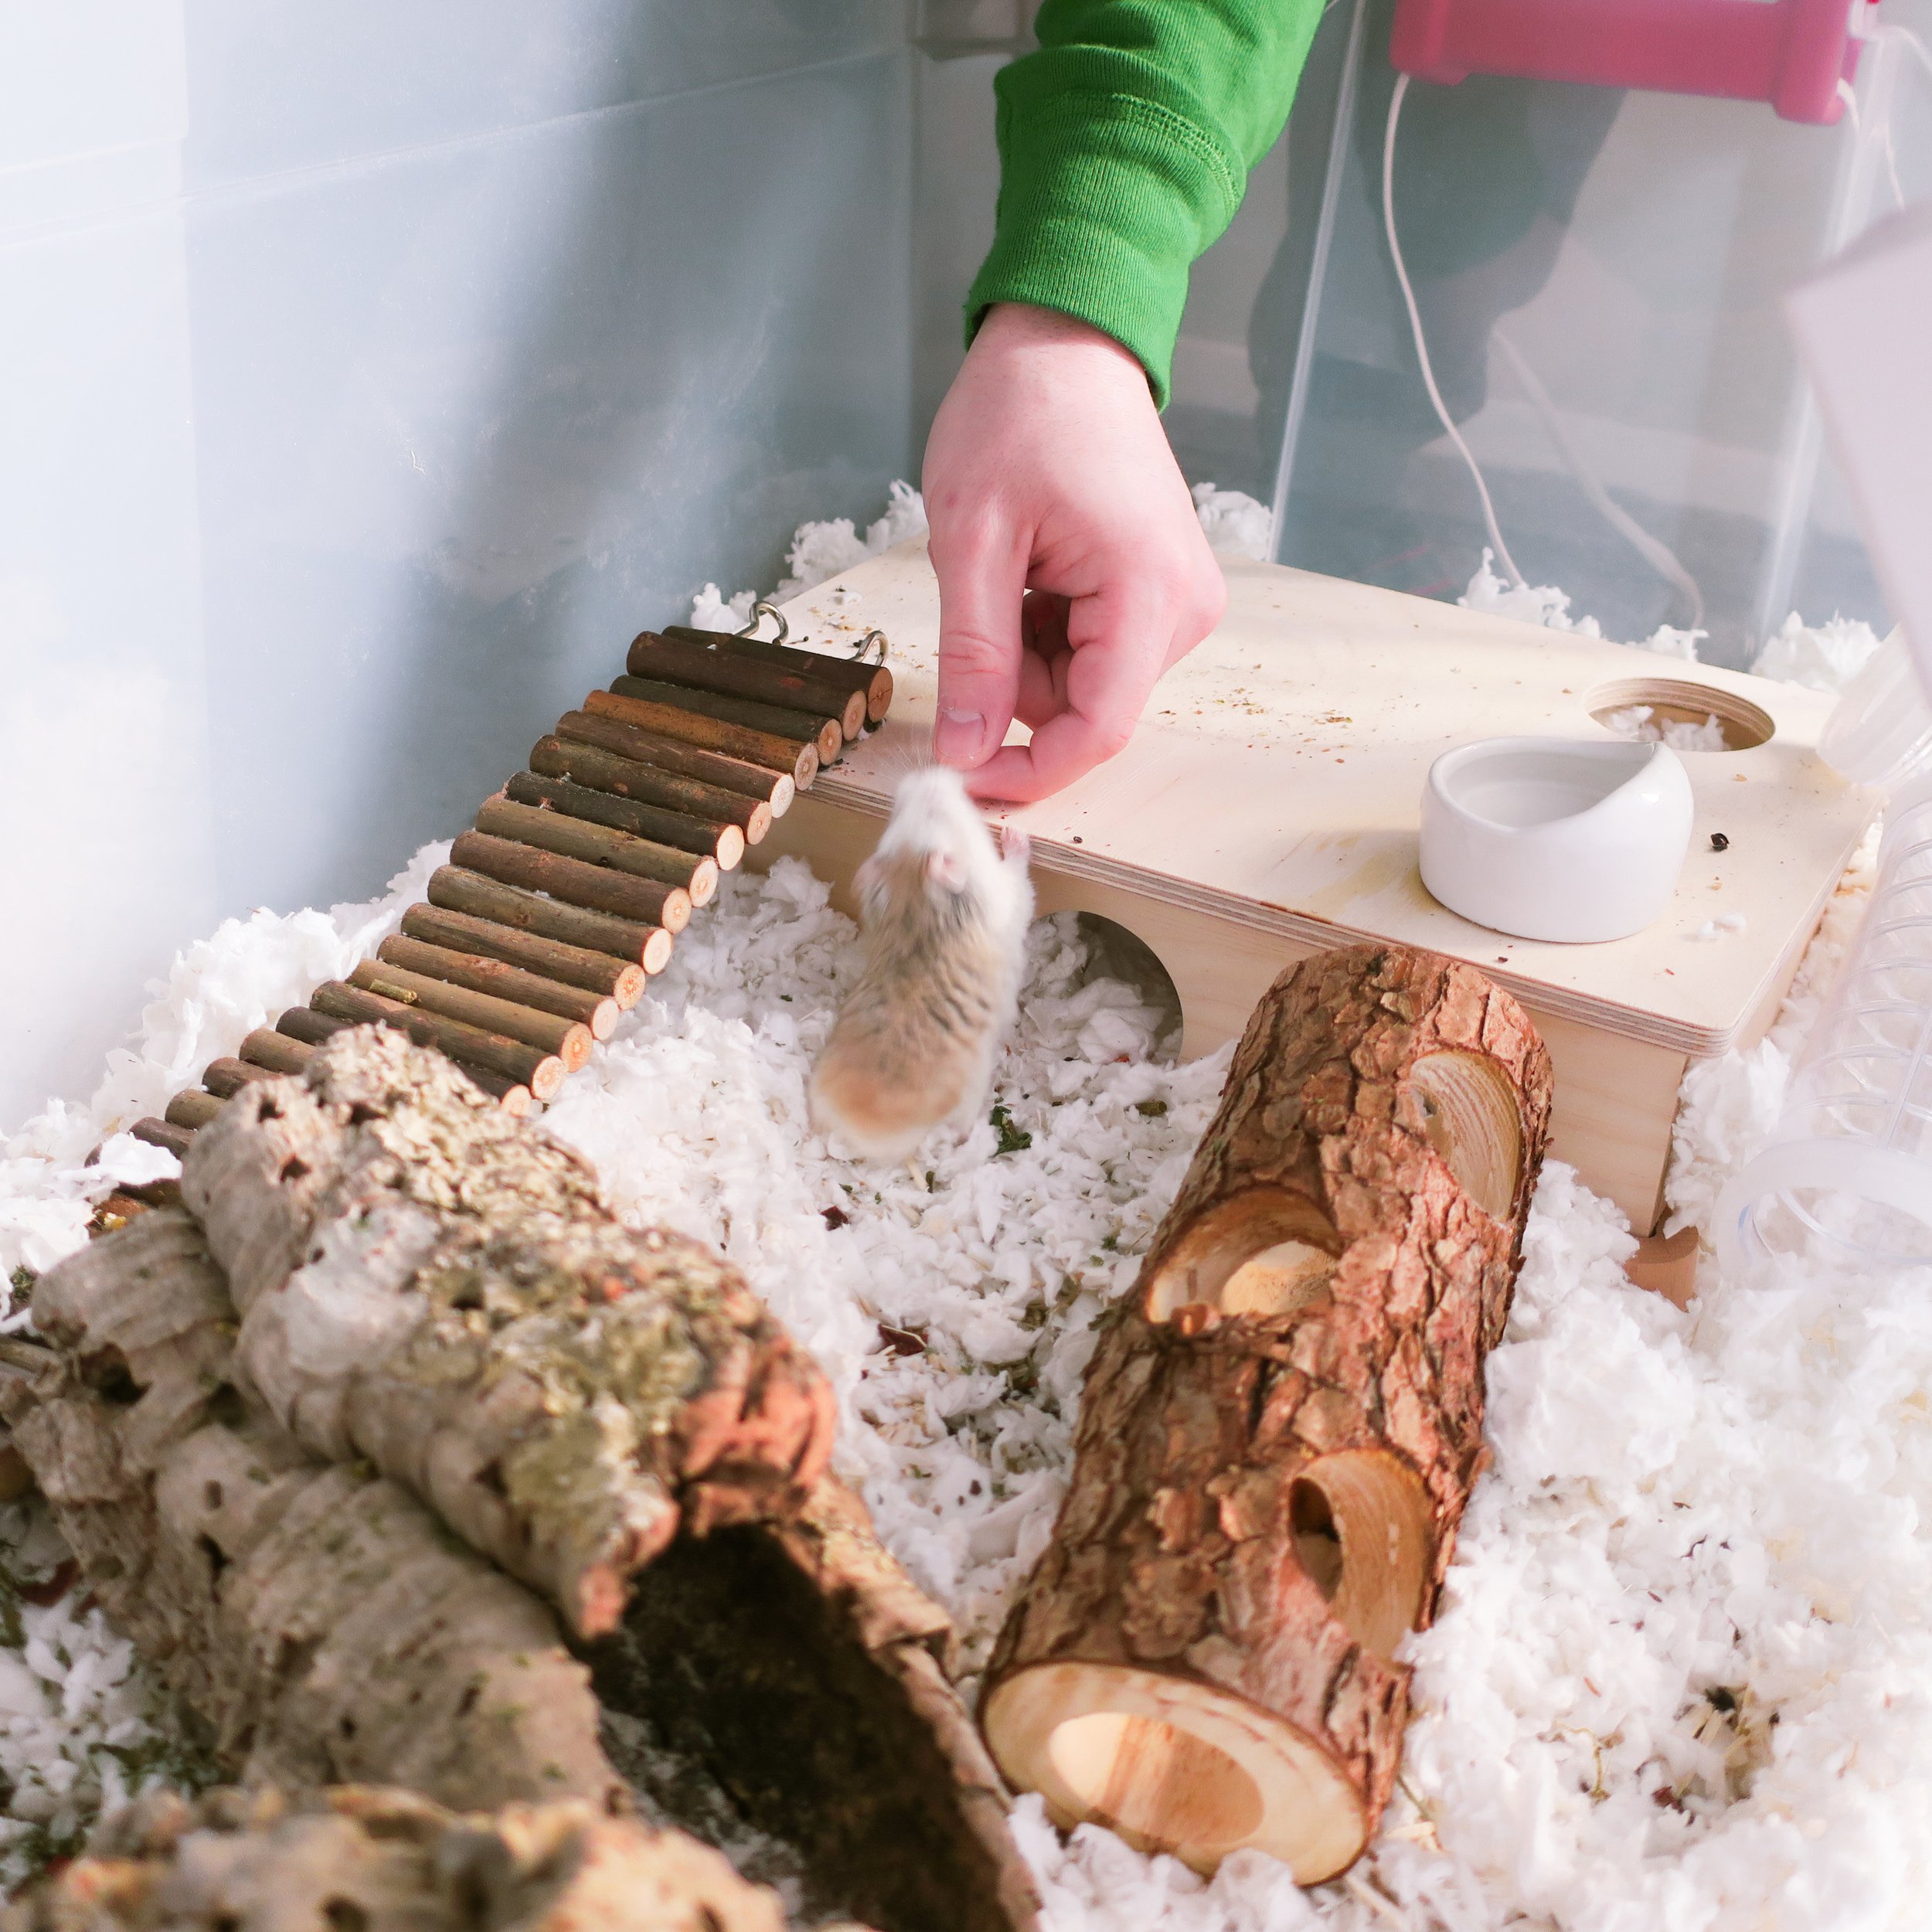
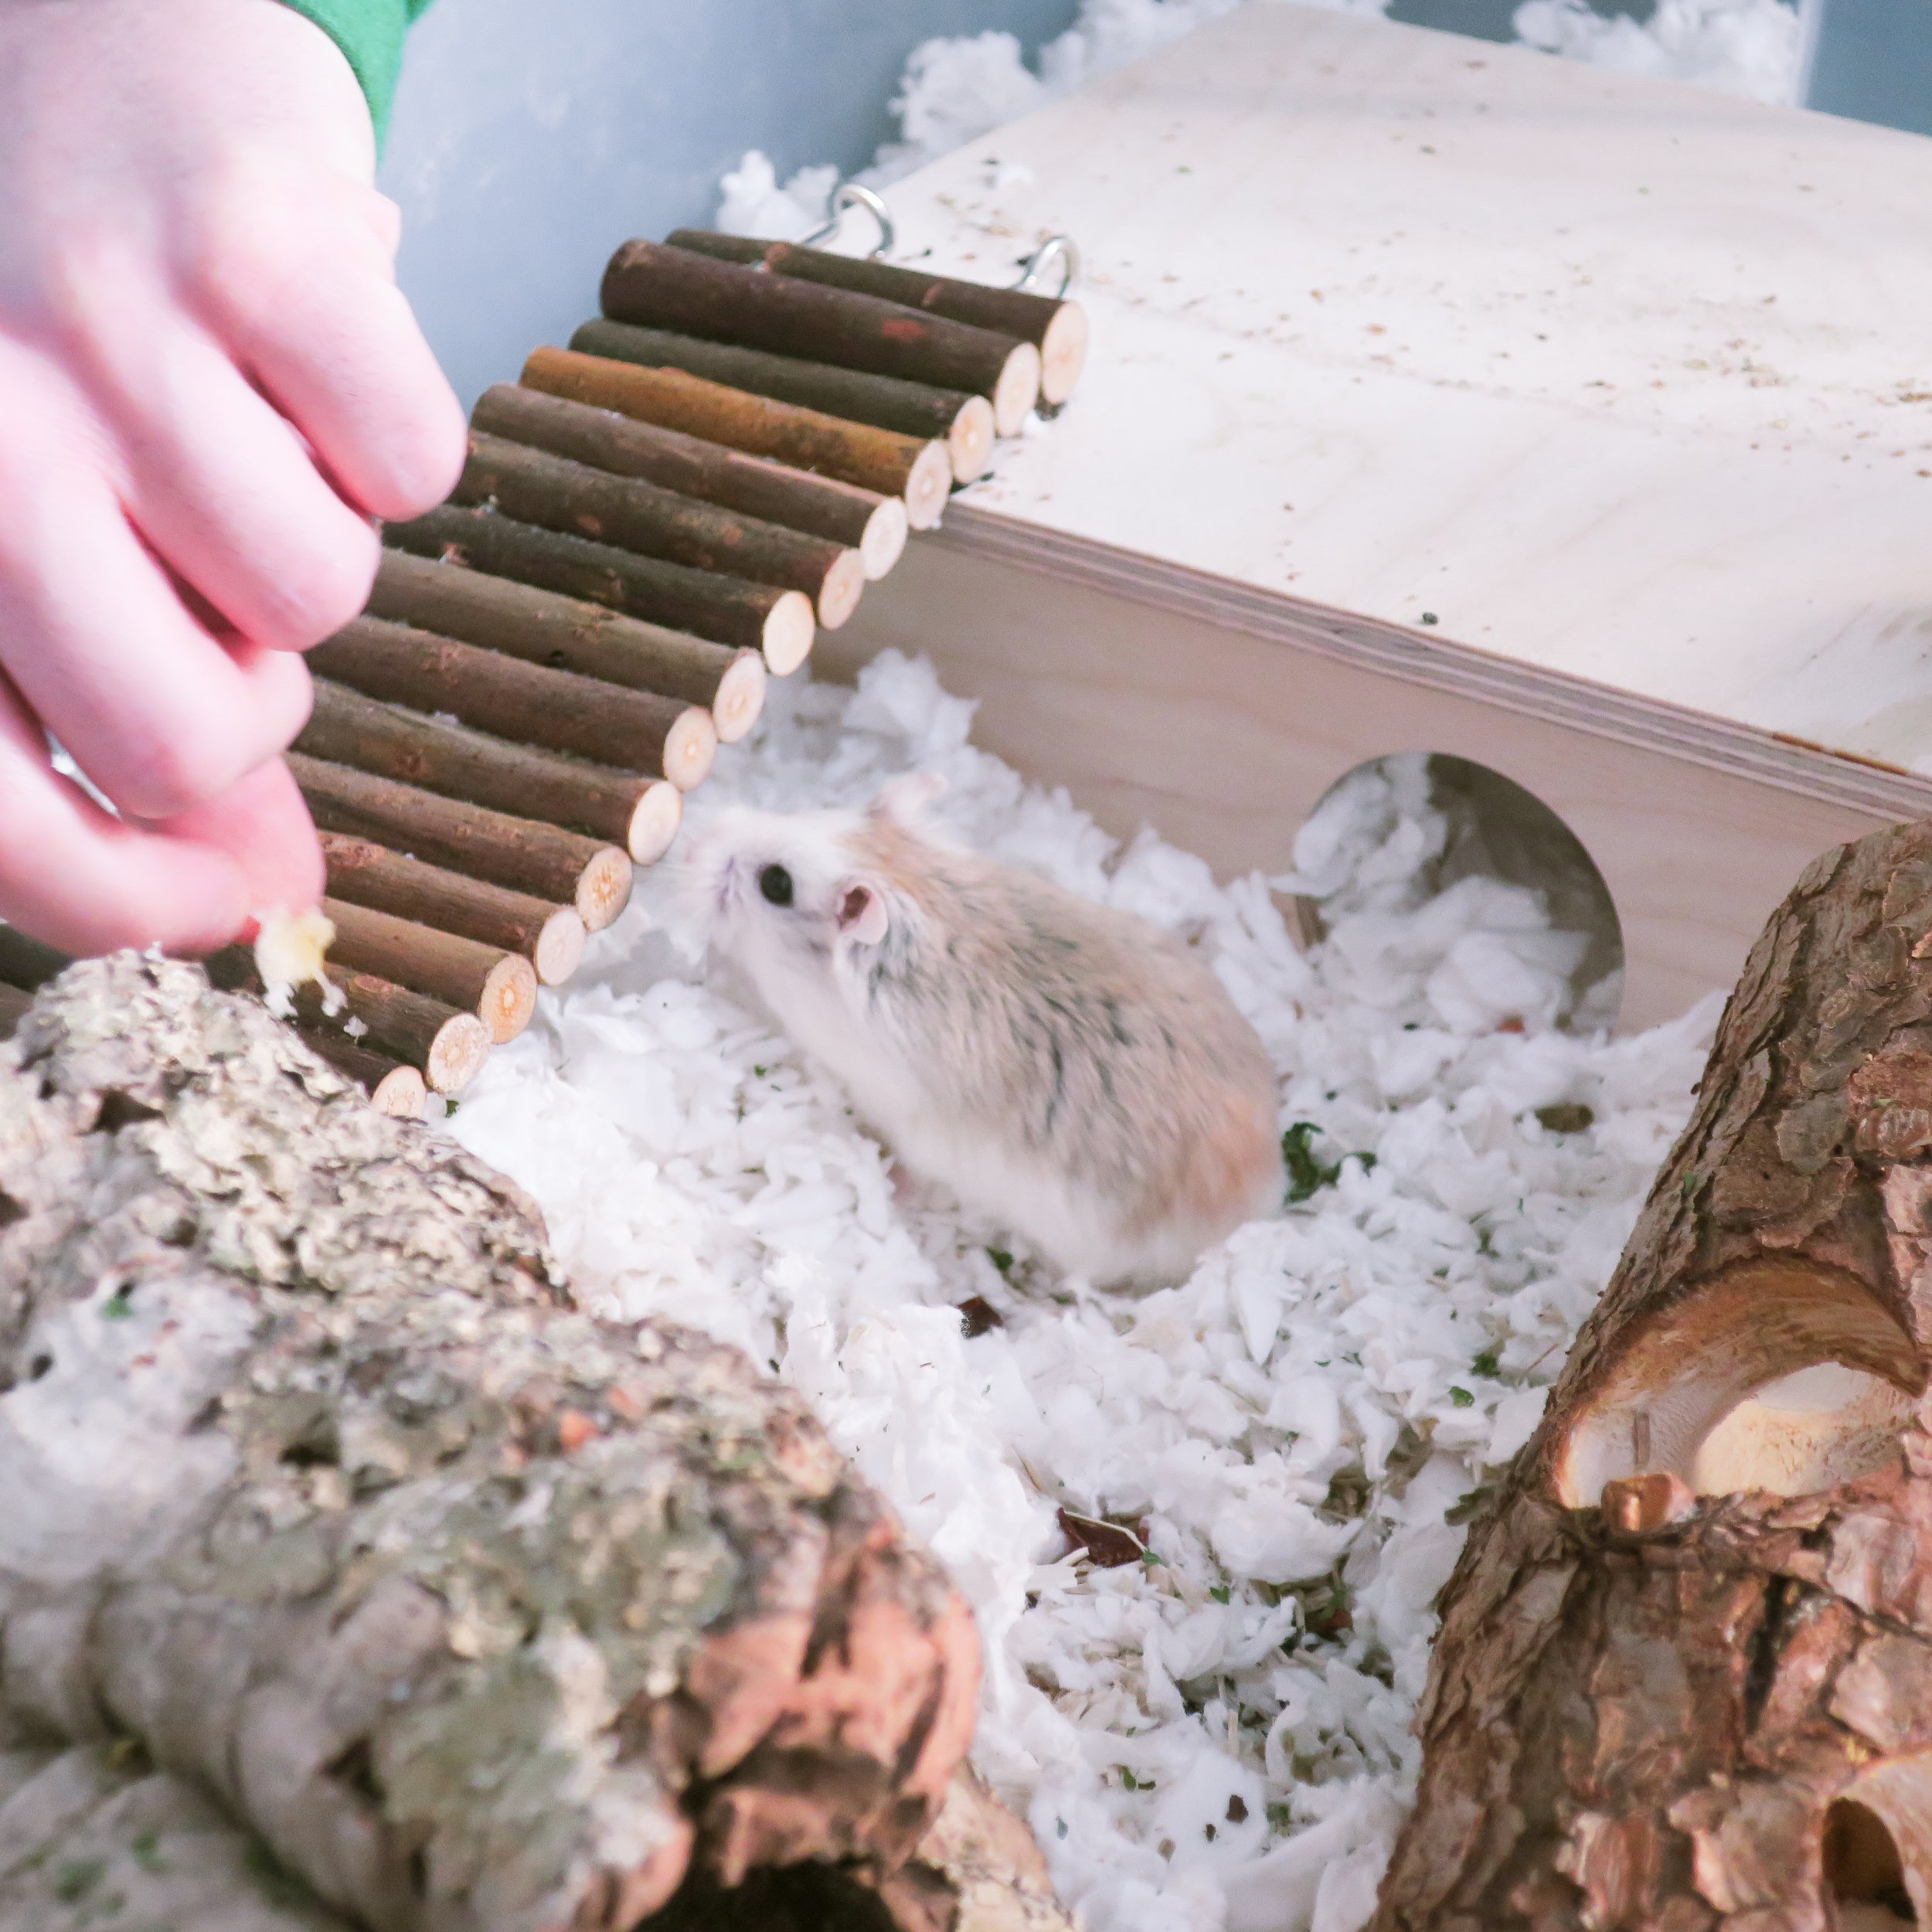
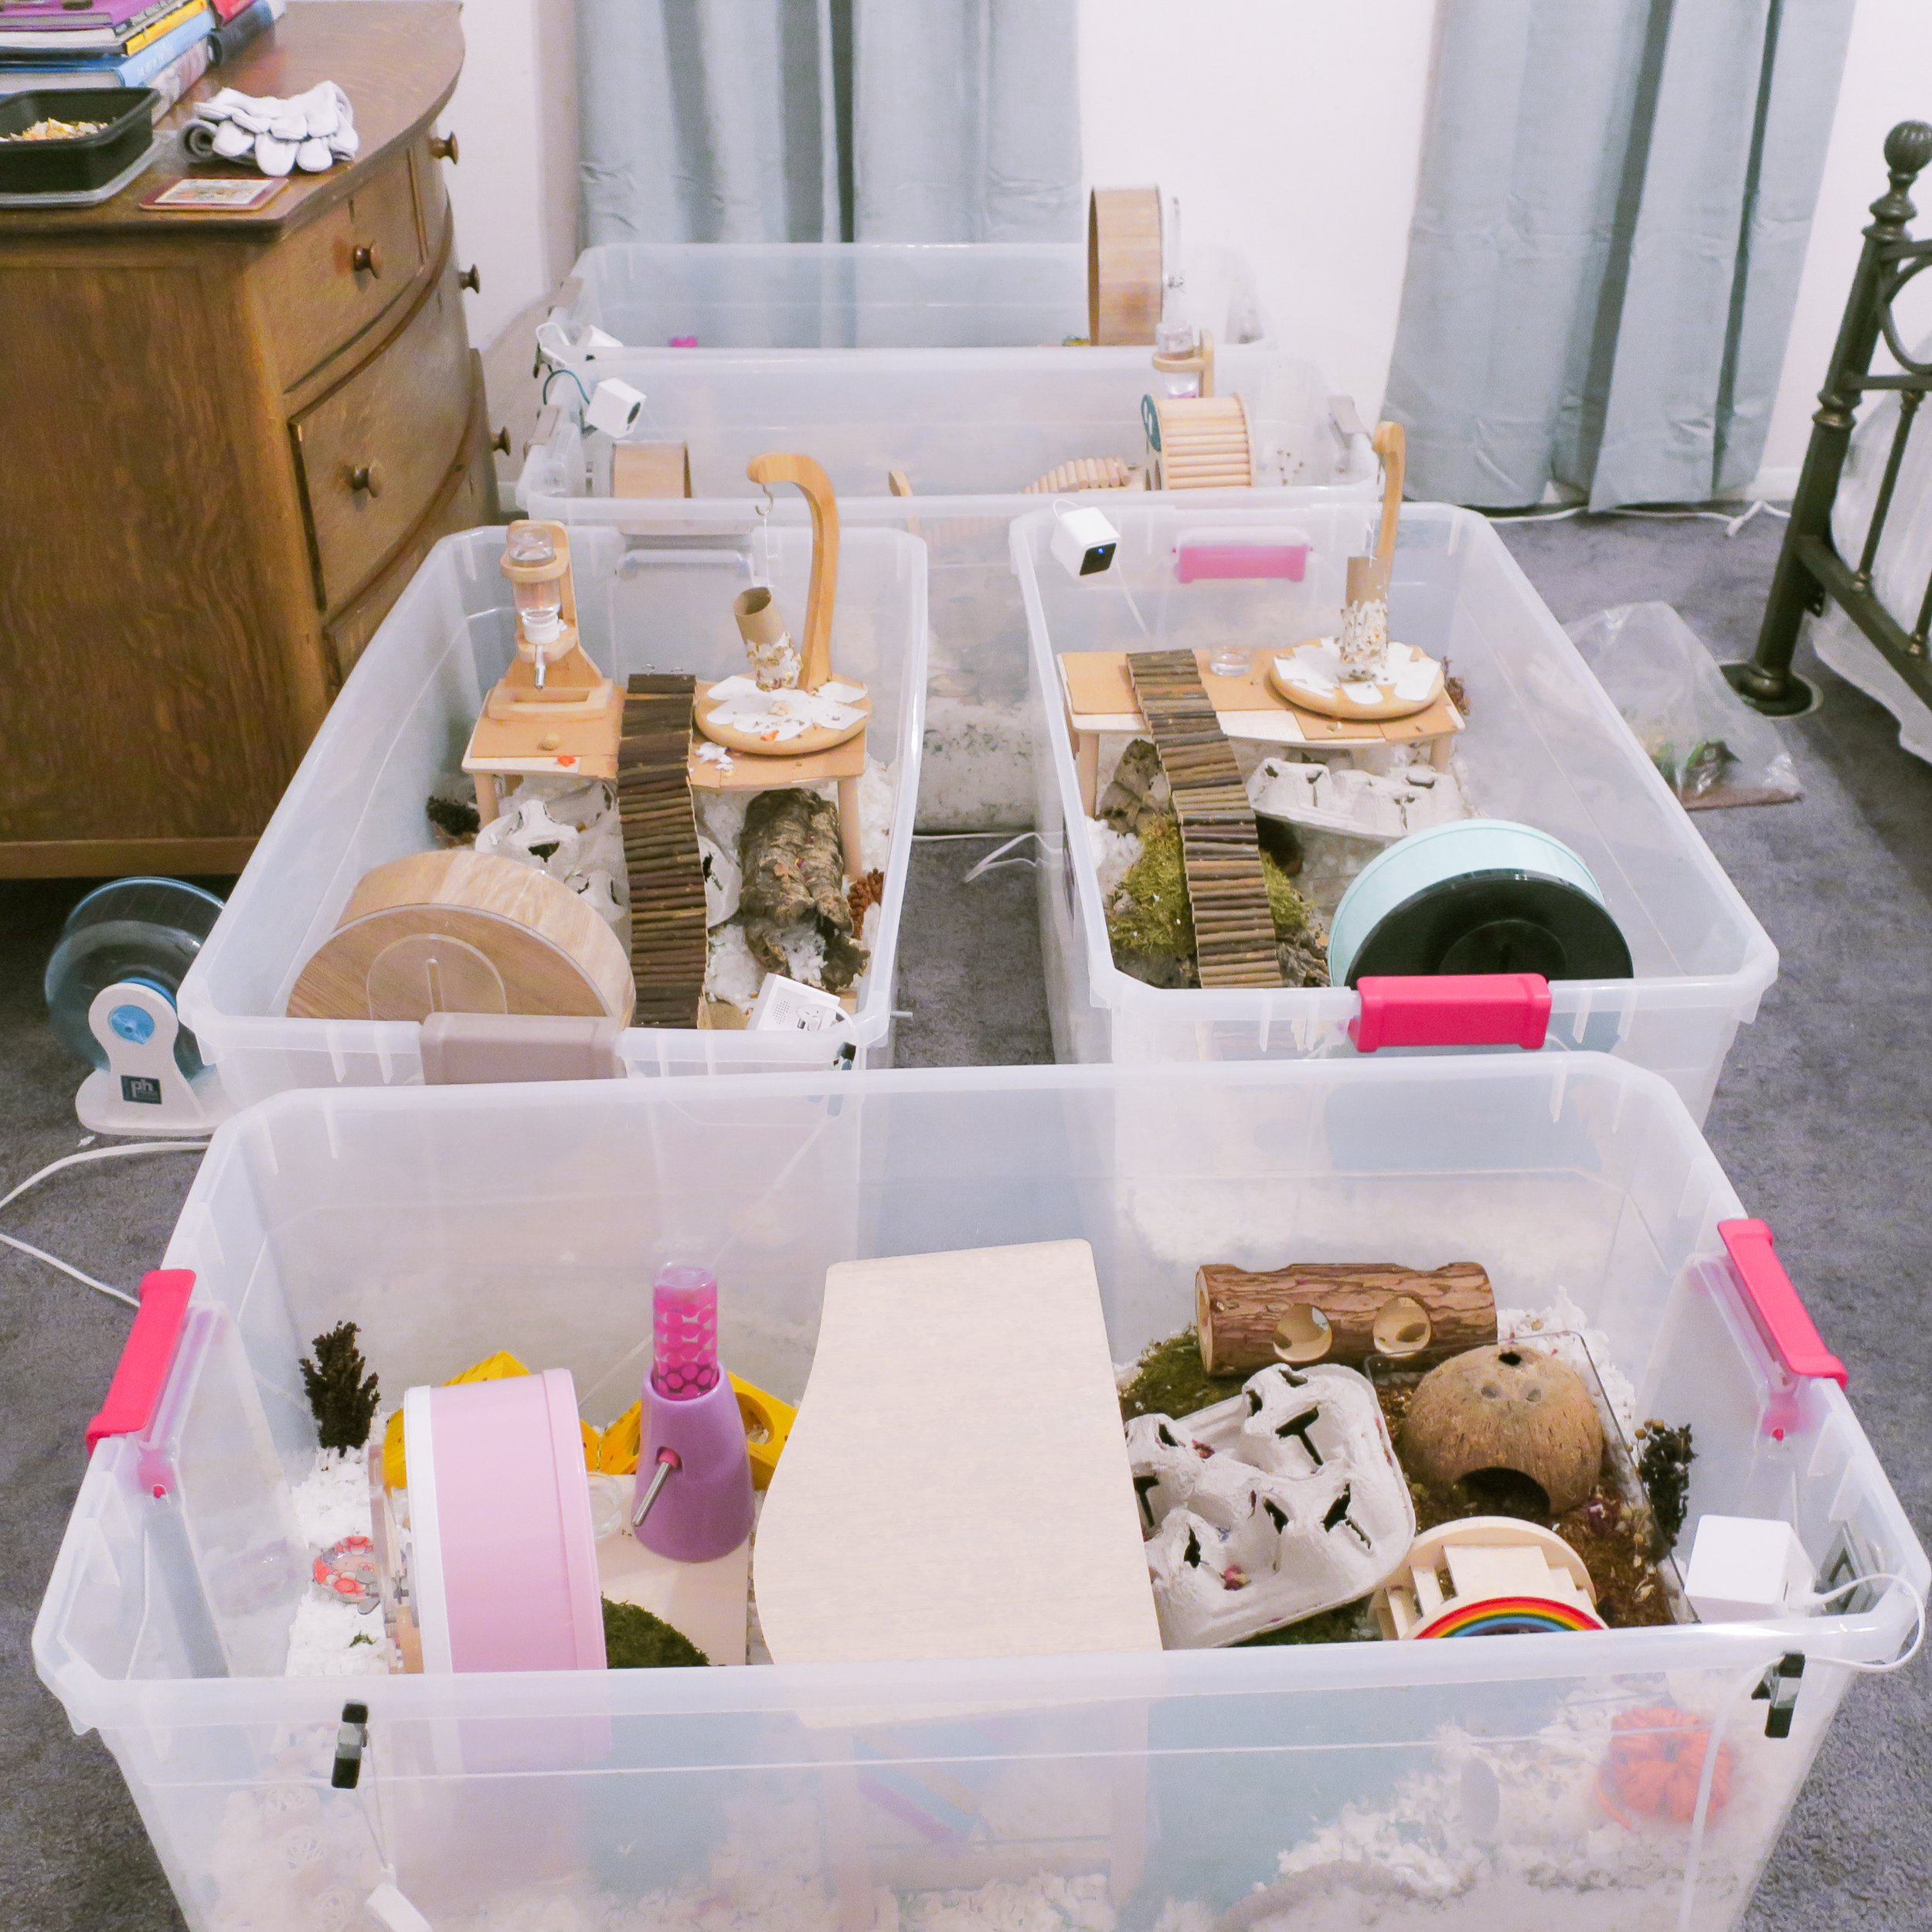
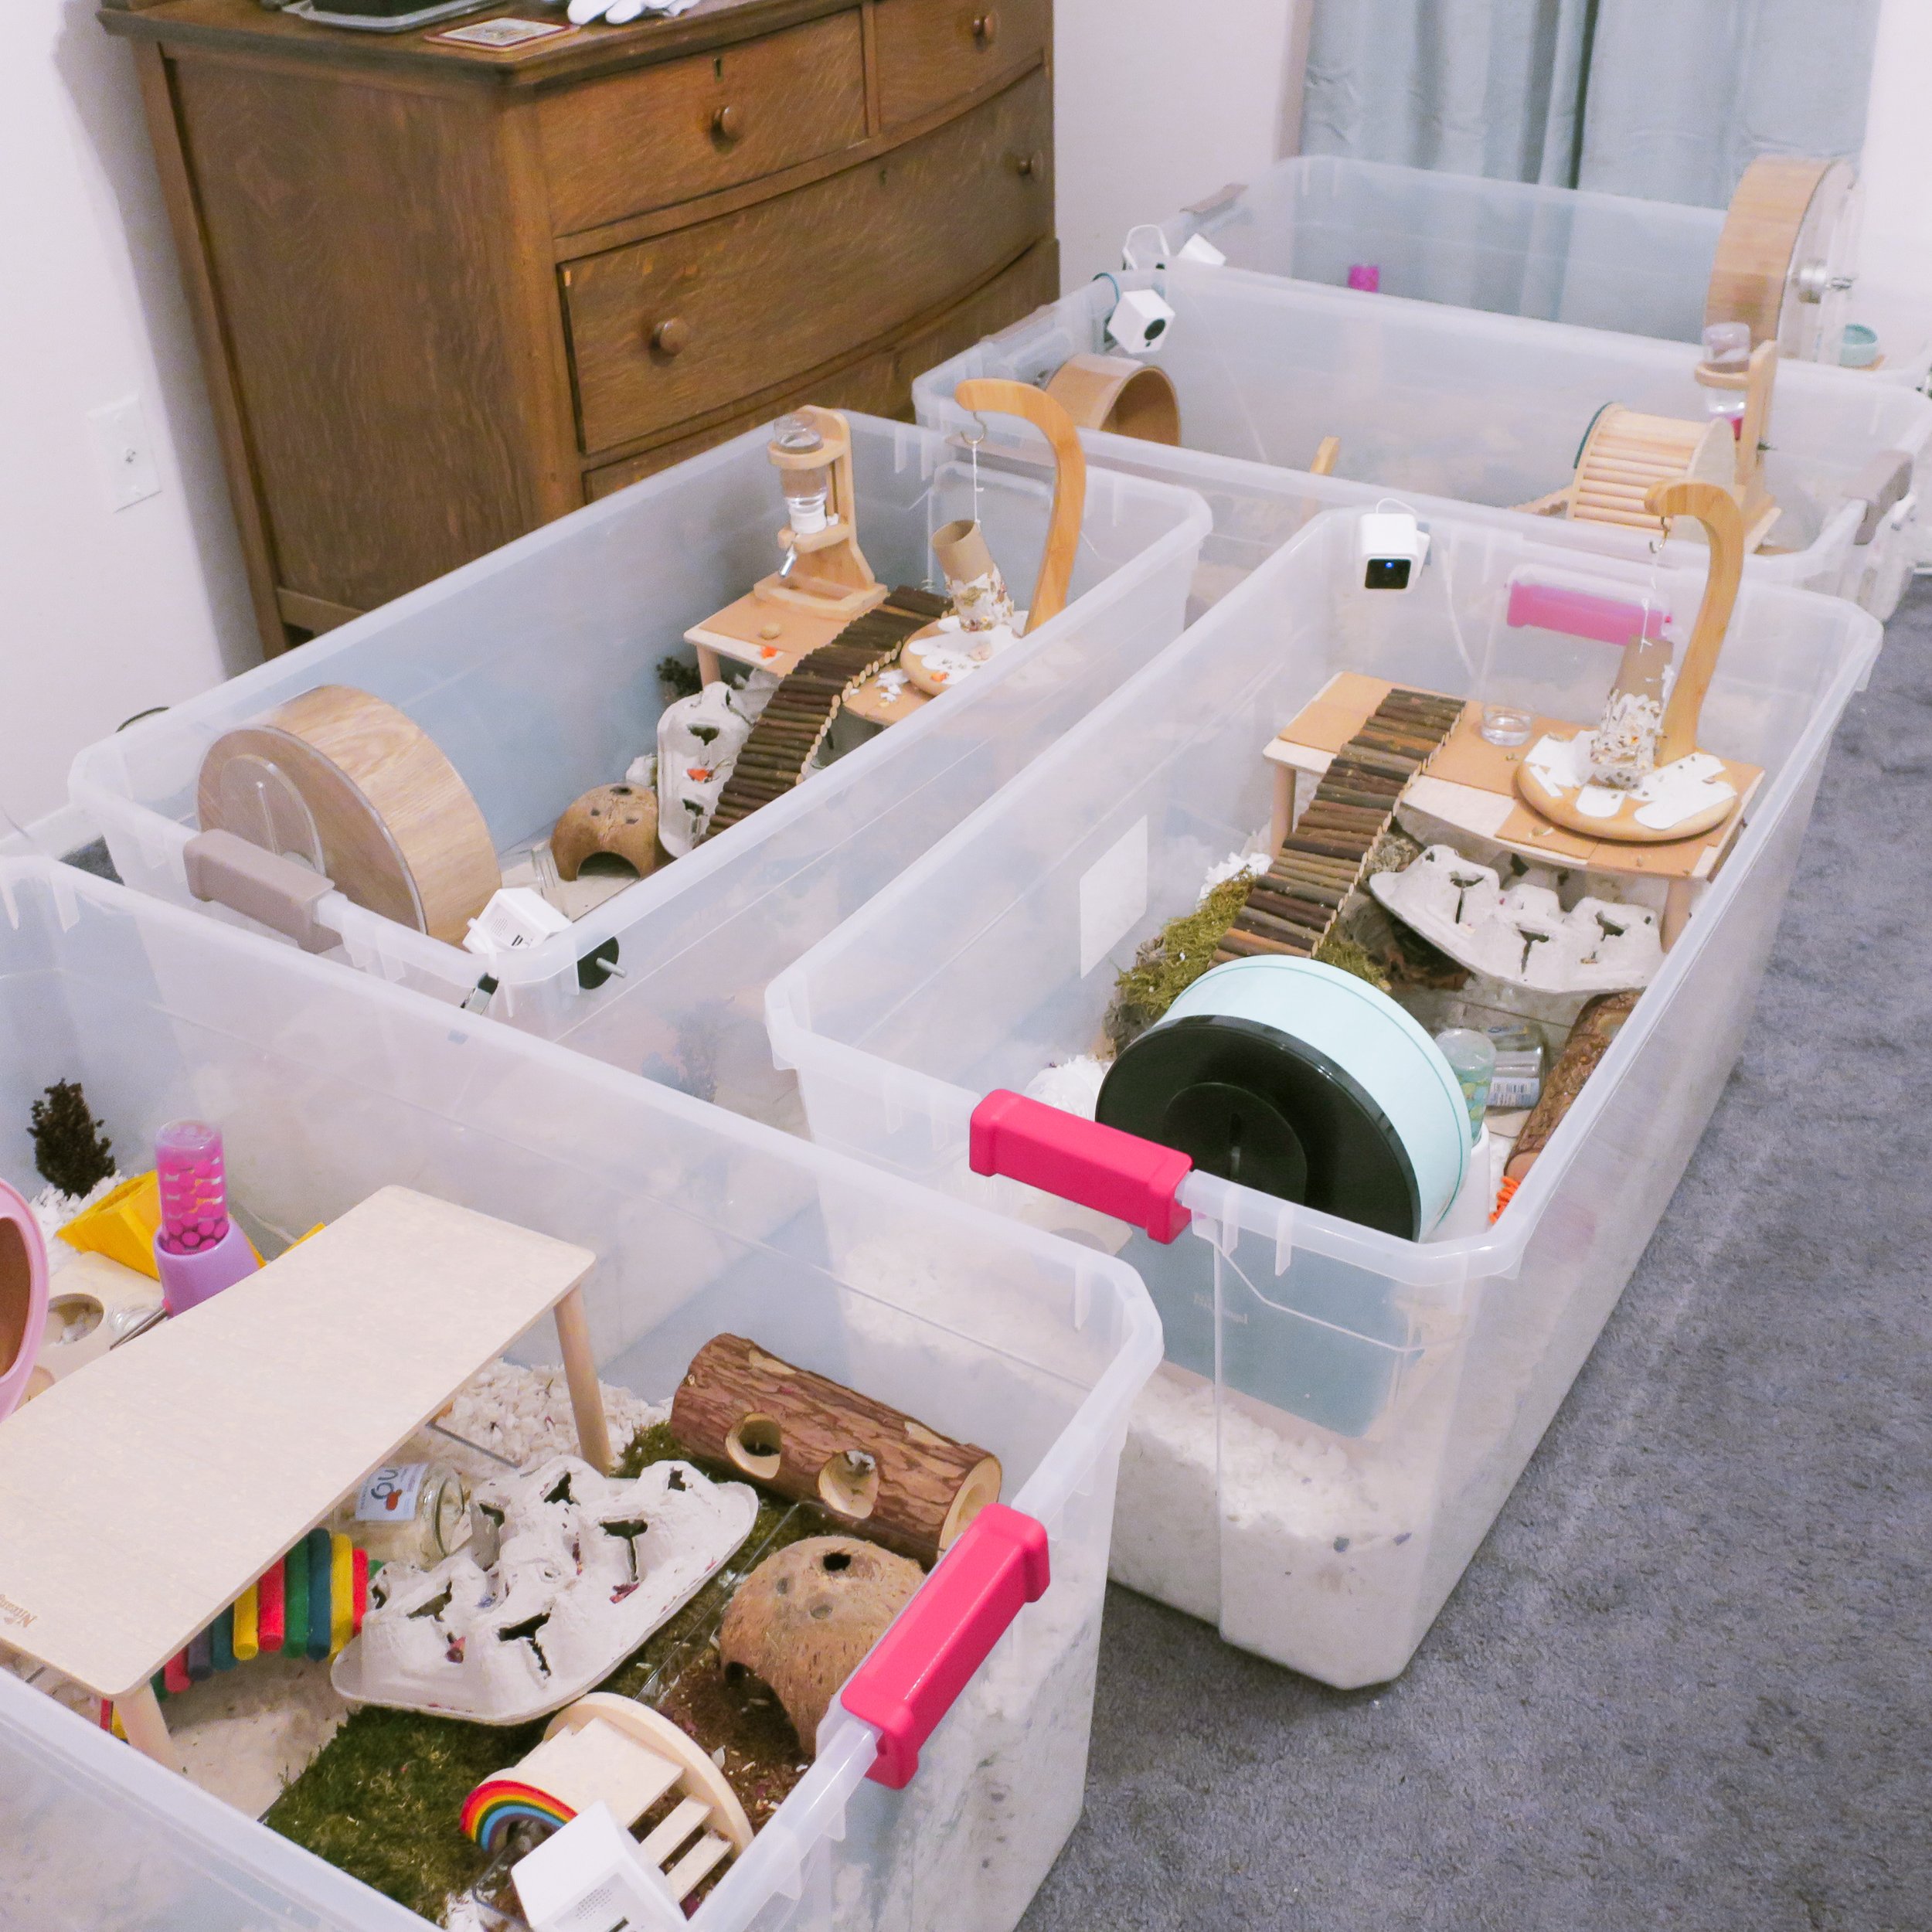
I love bin cages- I have three of them! They are so incredibly practical, particularly when you are first starting out in your hamster care journey (#hamstercarejourney) and haven’t quite figured out where to keep your hamster. They are also great for people who live in apartments (like me!), as I might need to move quickly and having a hamster in a bin cage certainly makes the move much easier!
Initially I will admit, I found bin cages to be ugly.
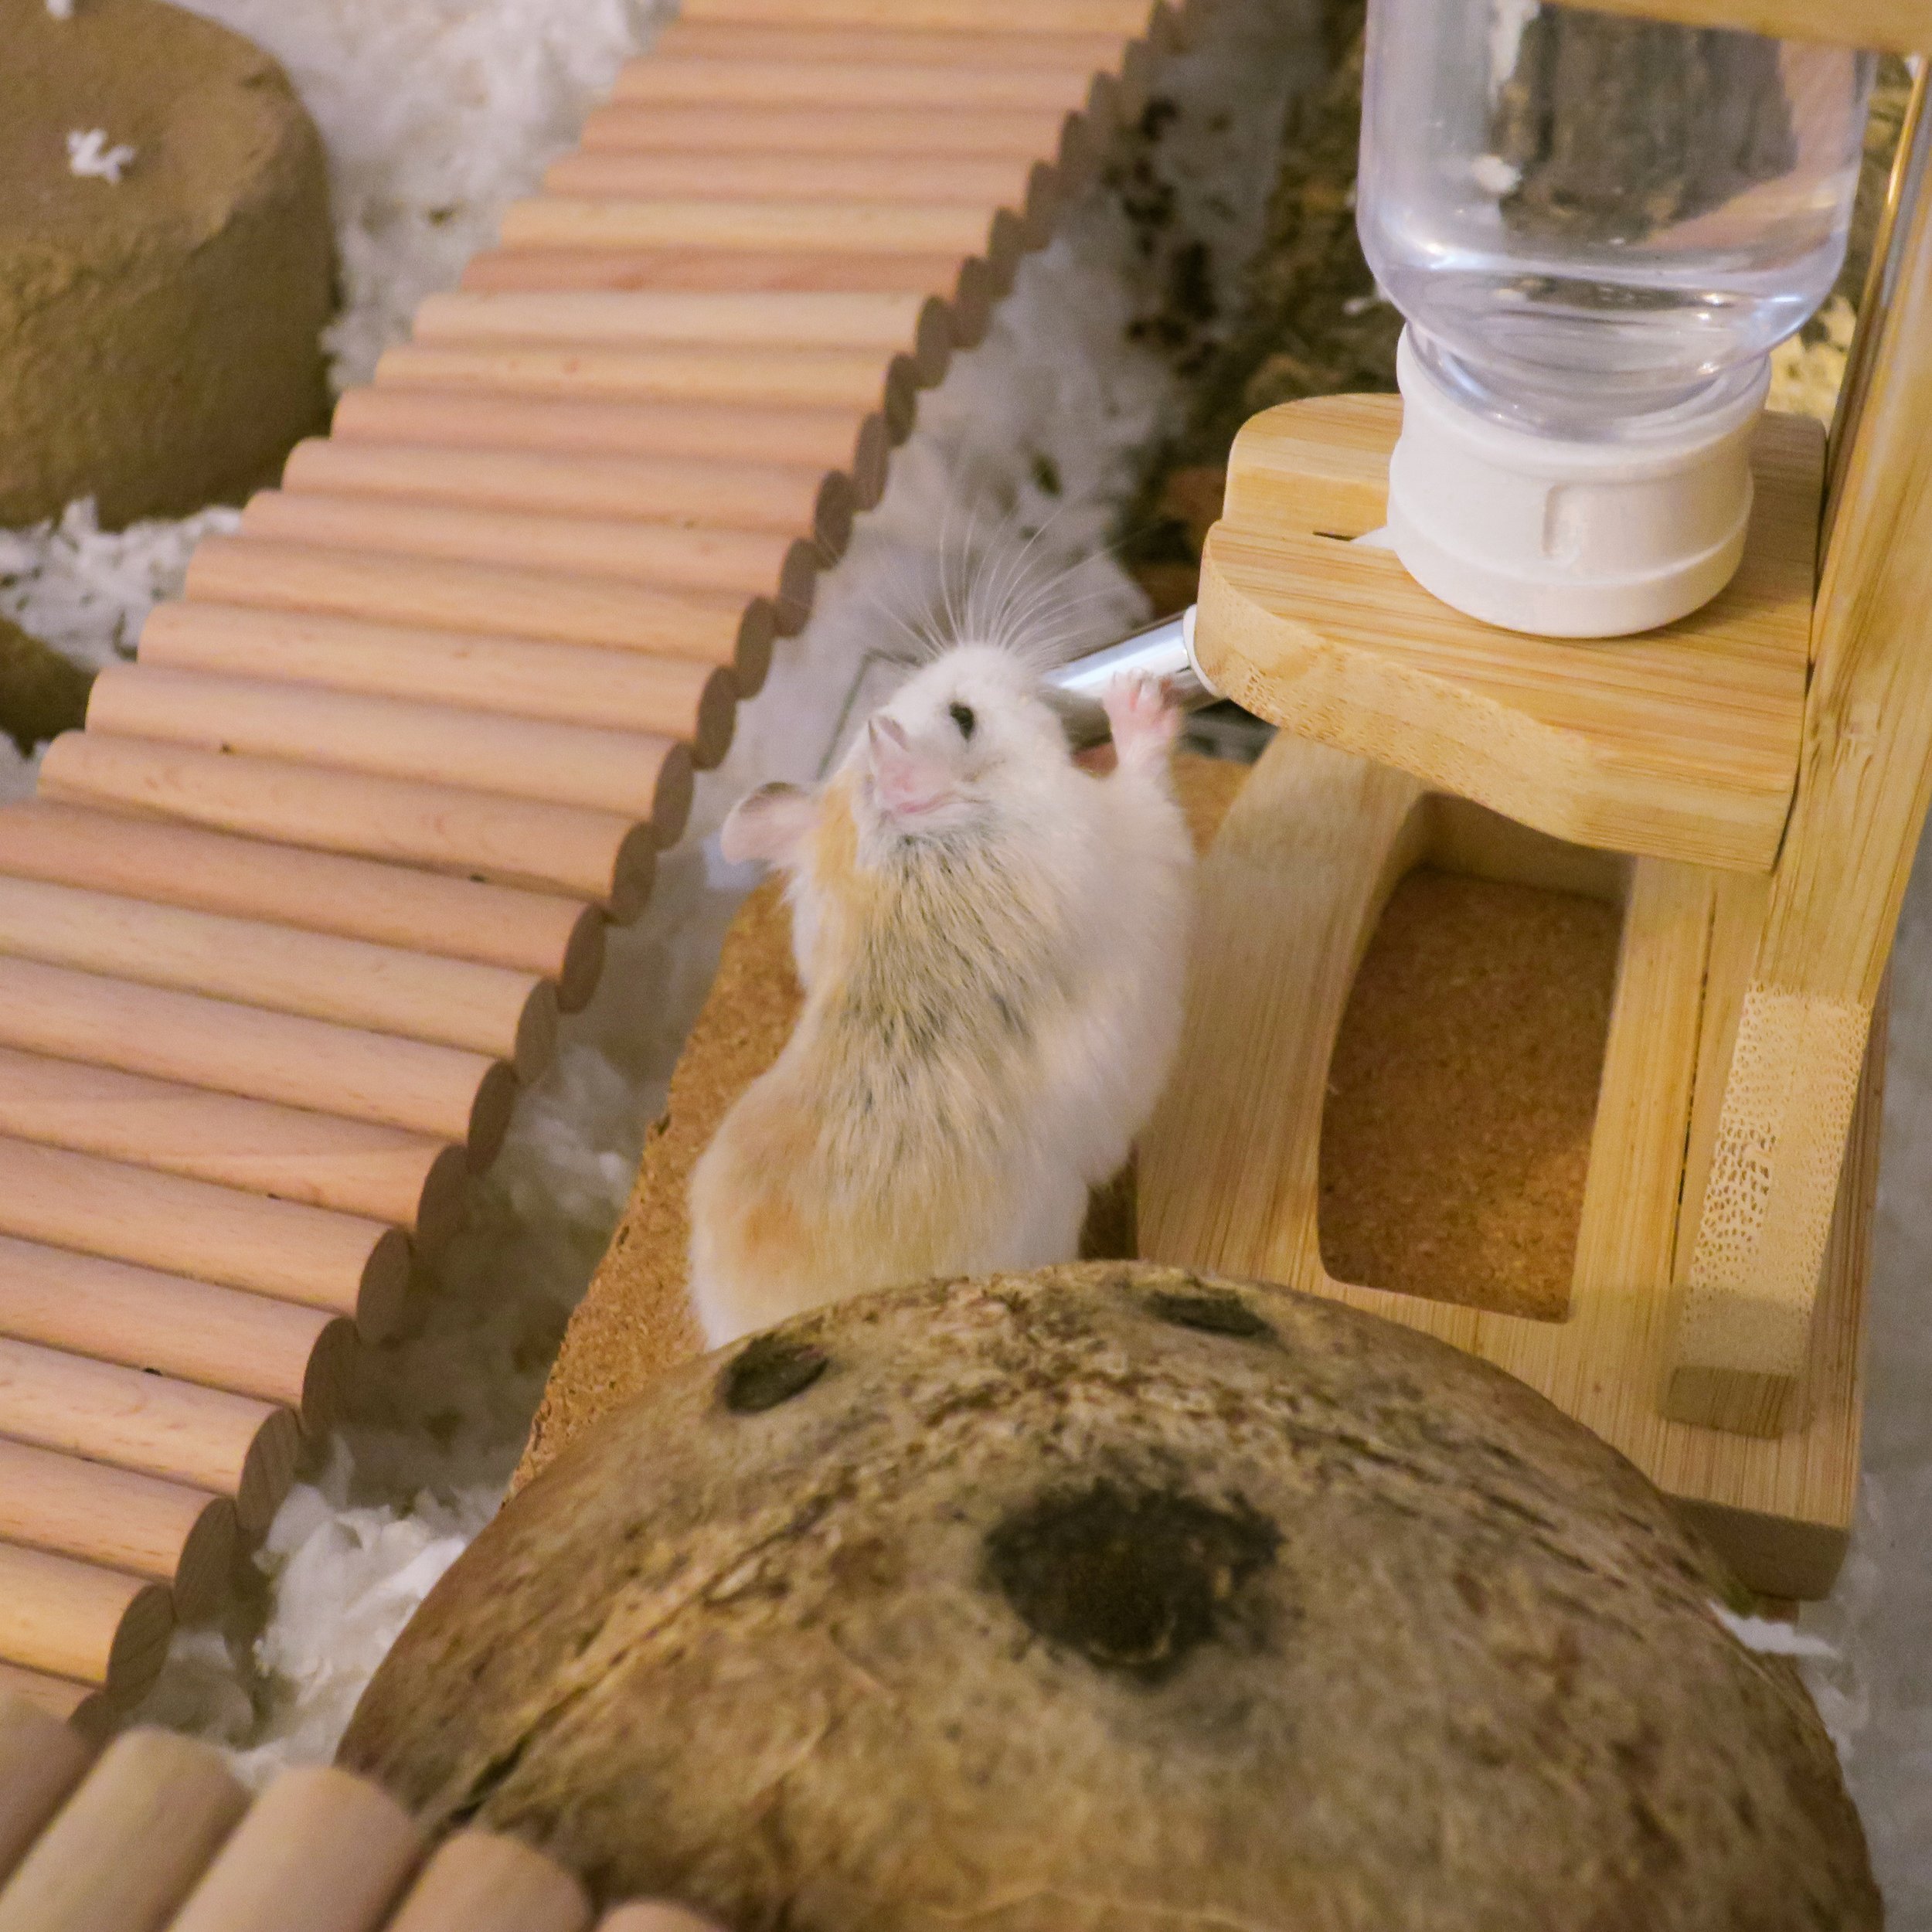
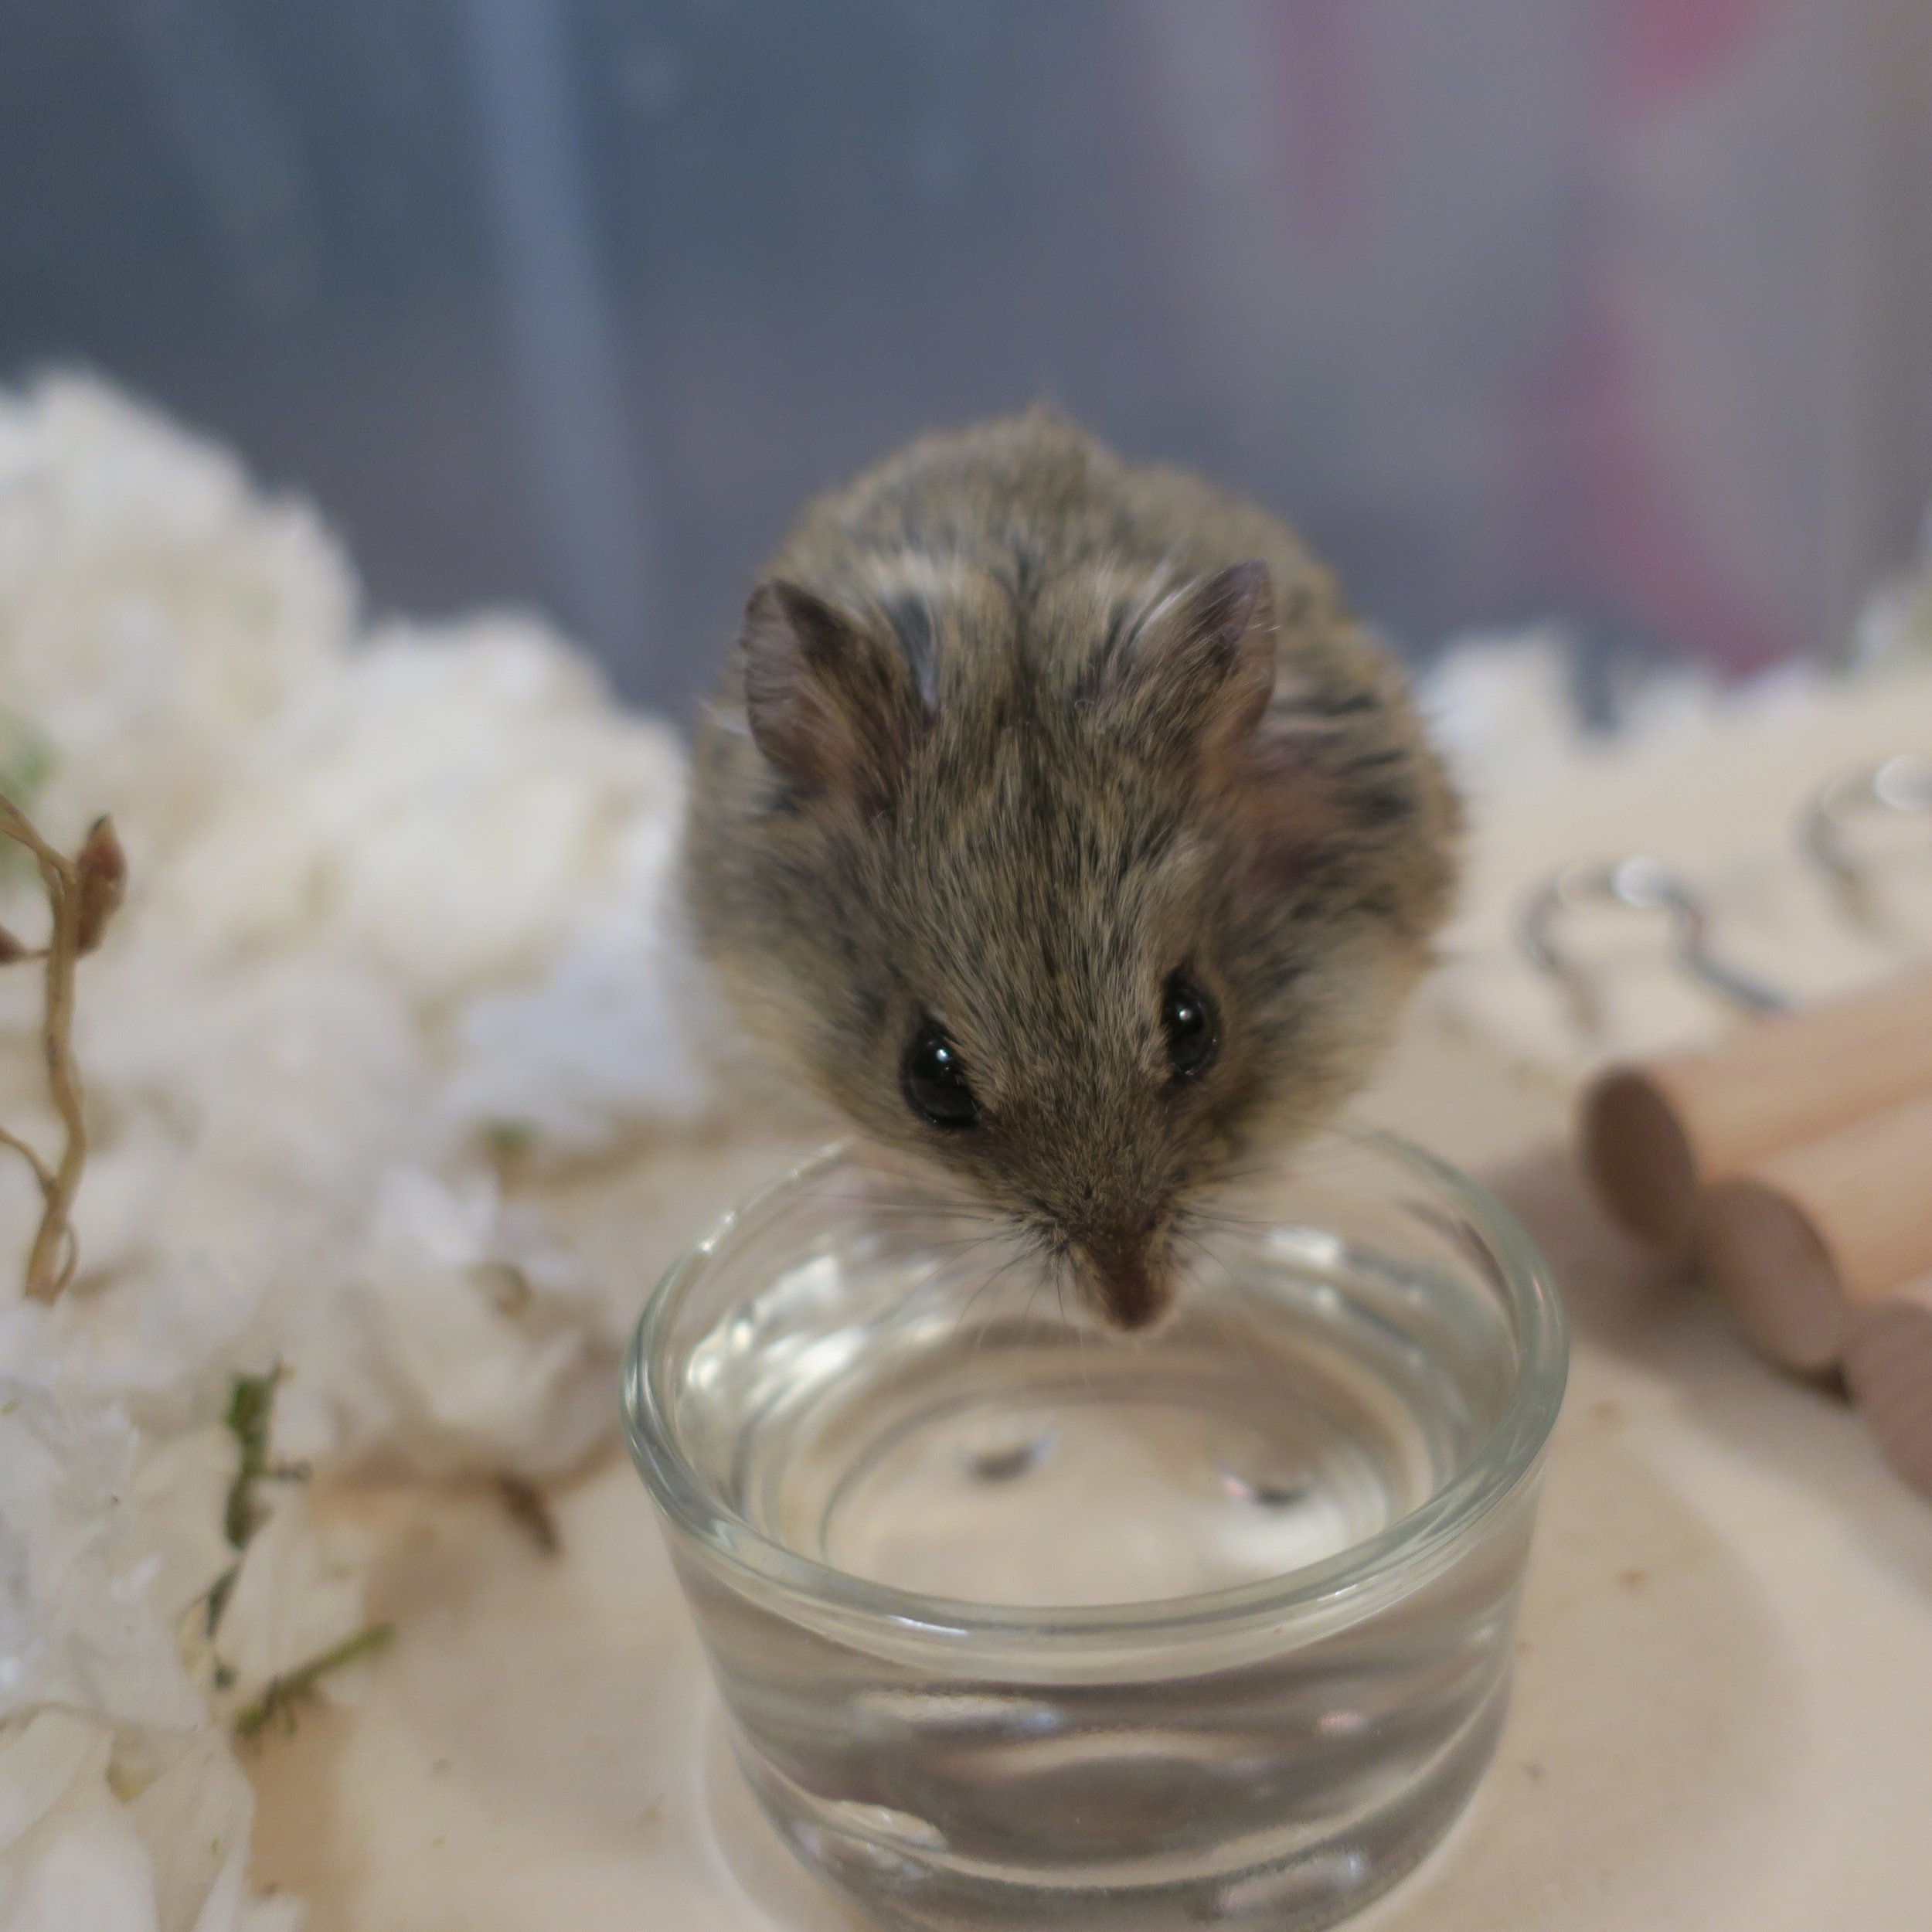
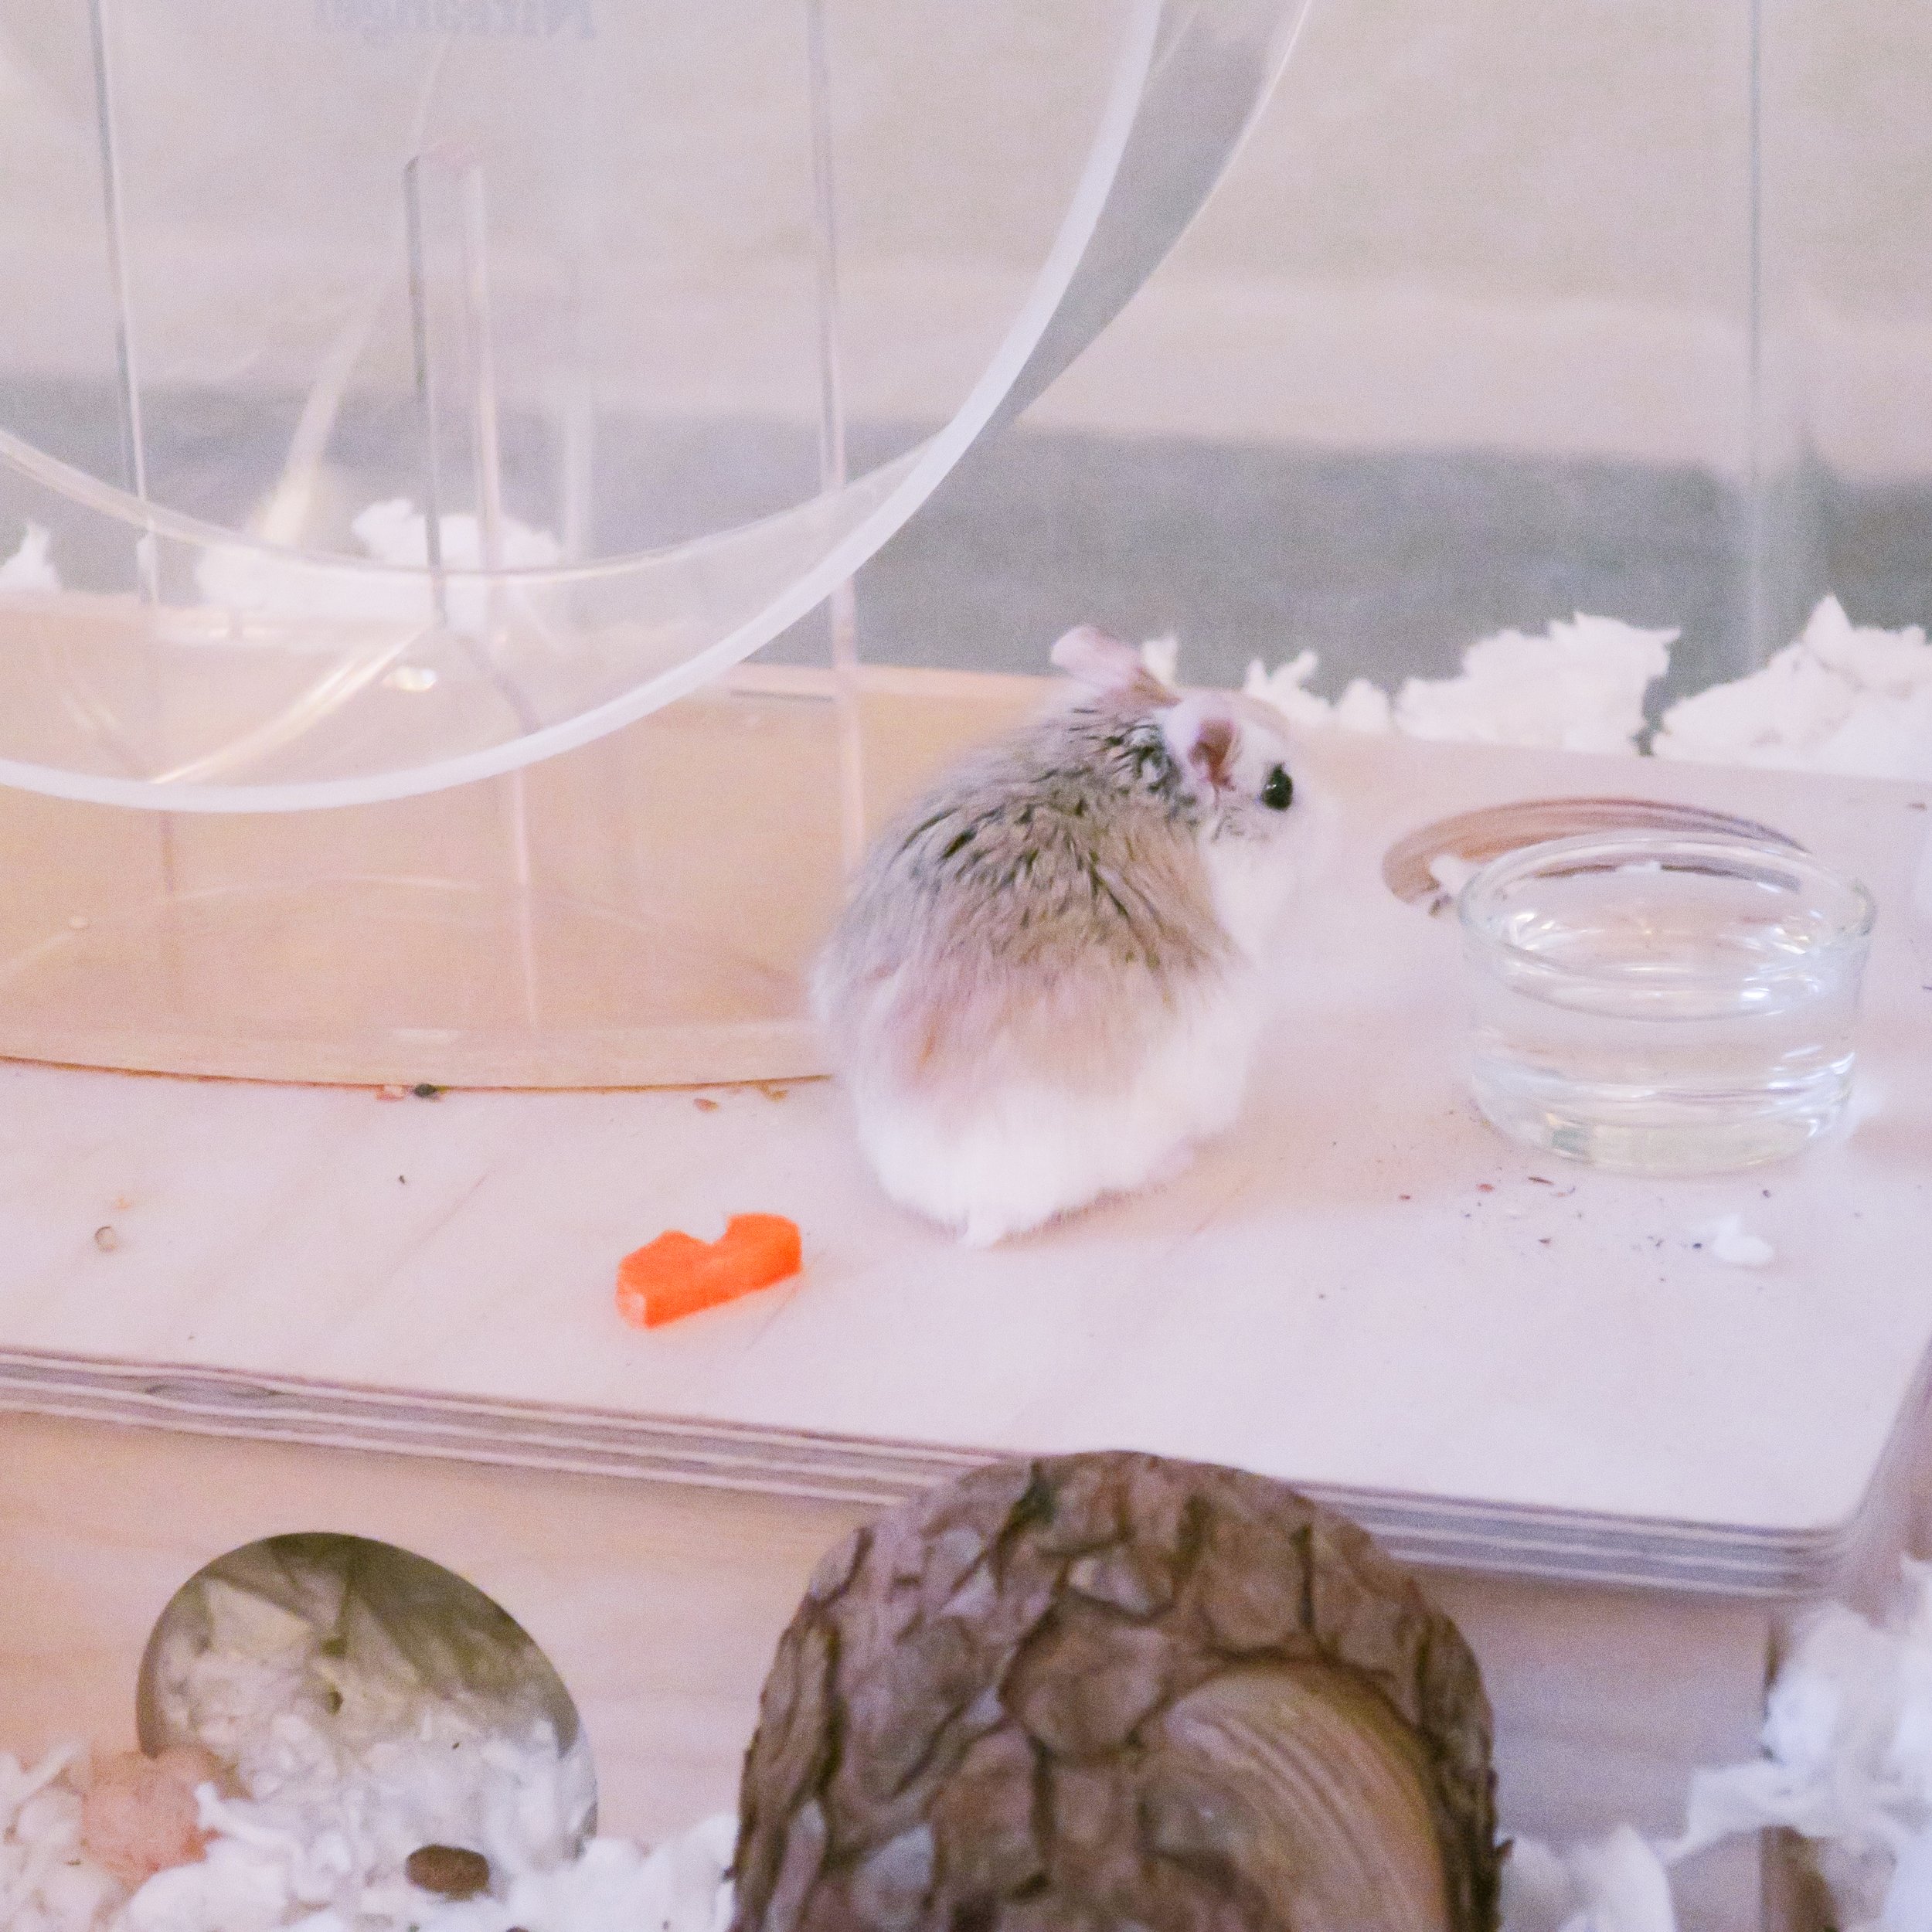
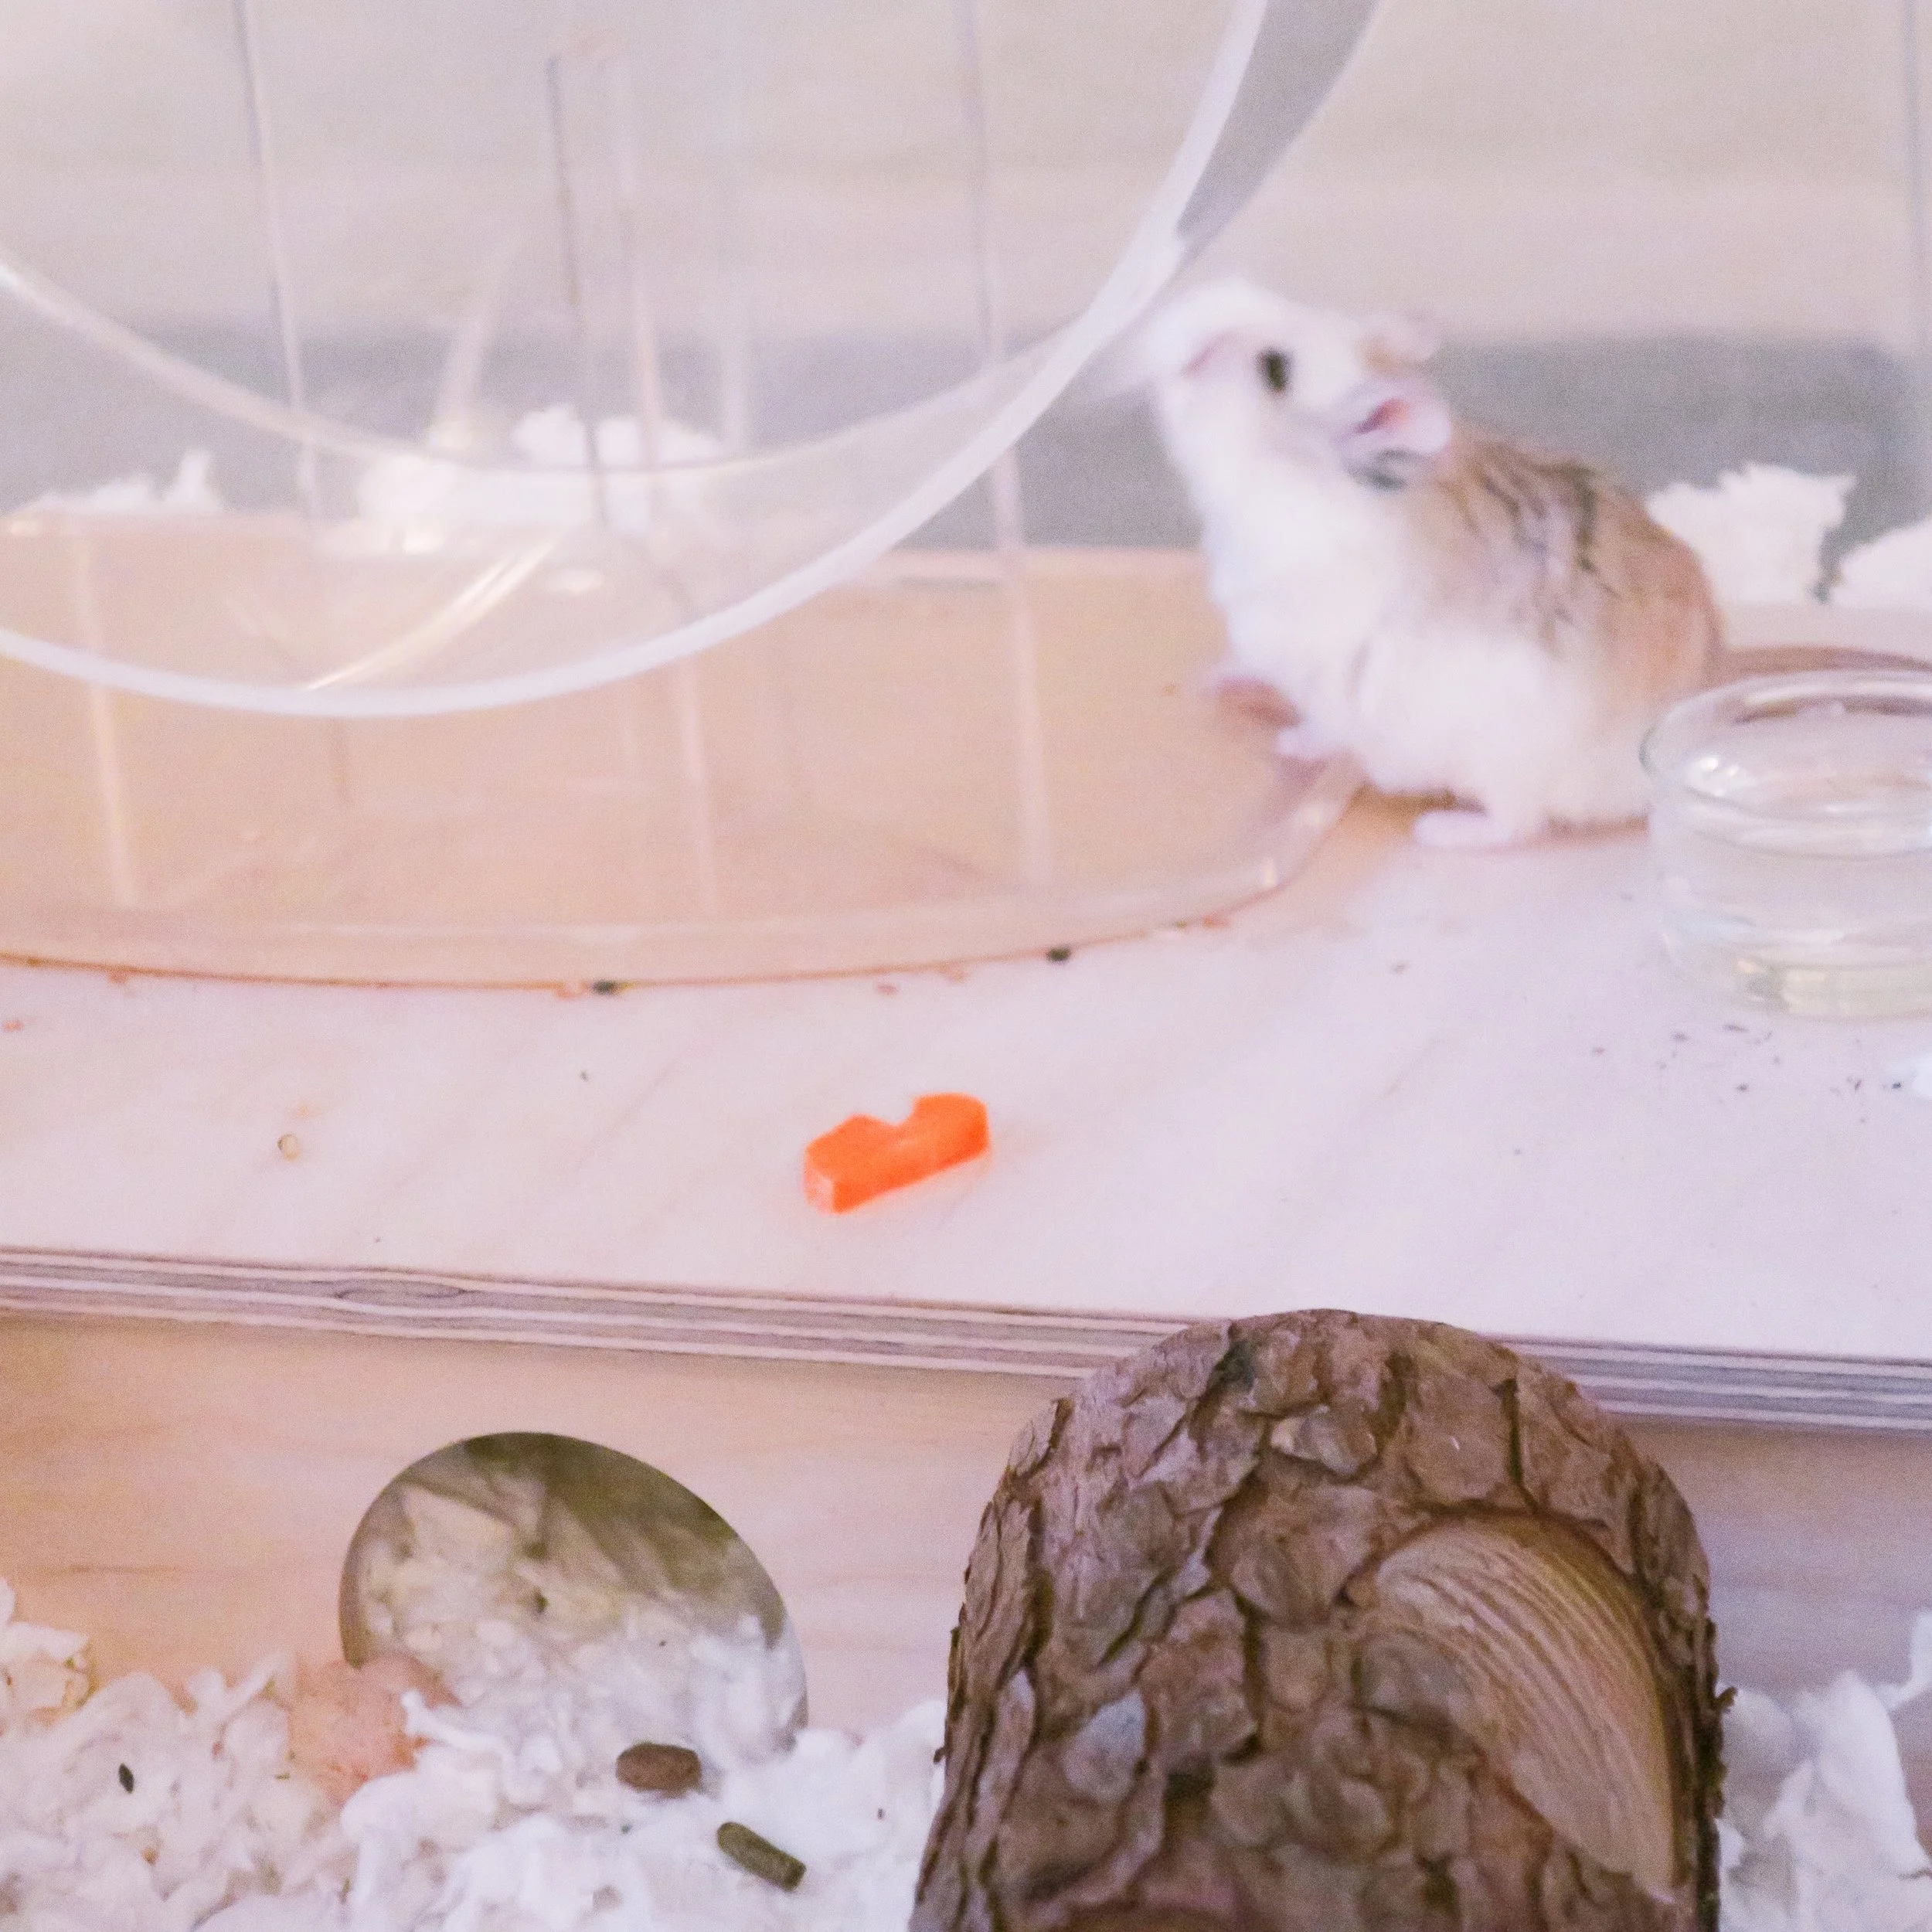
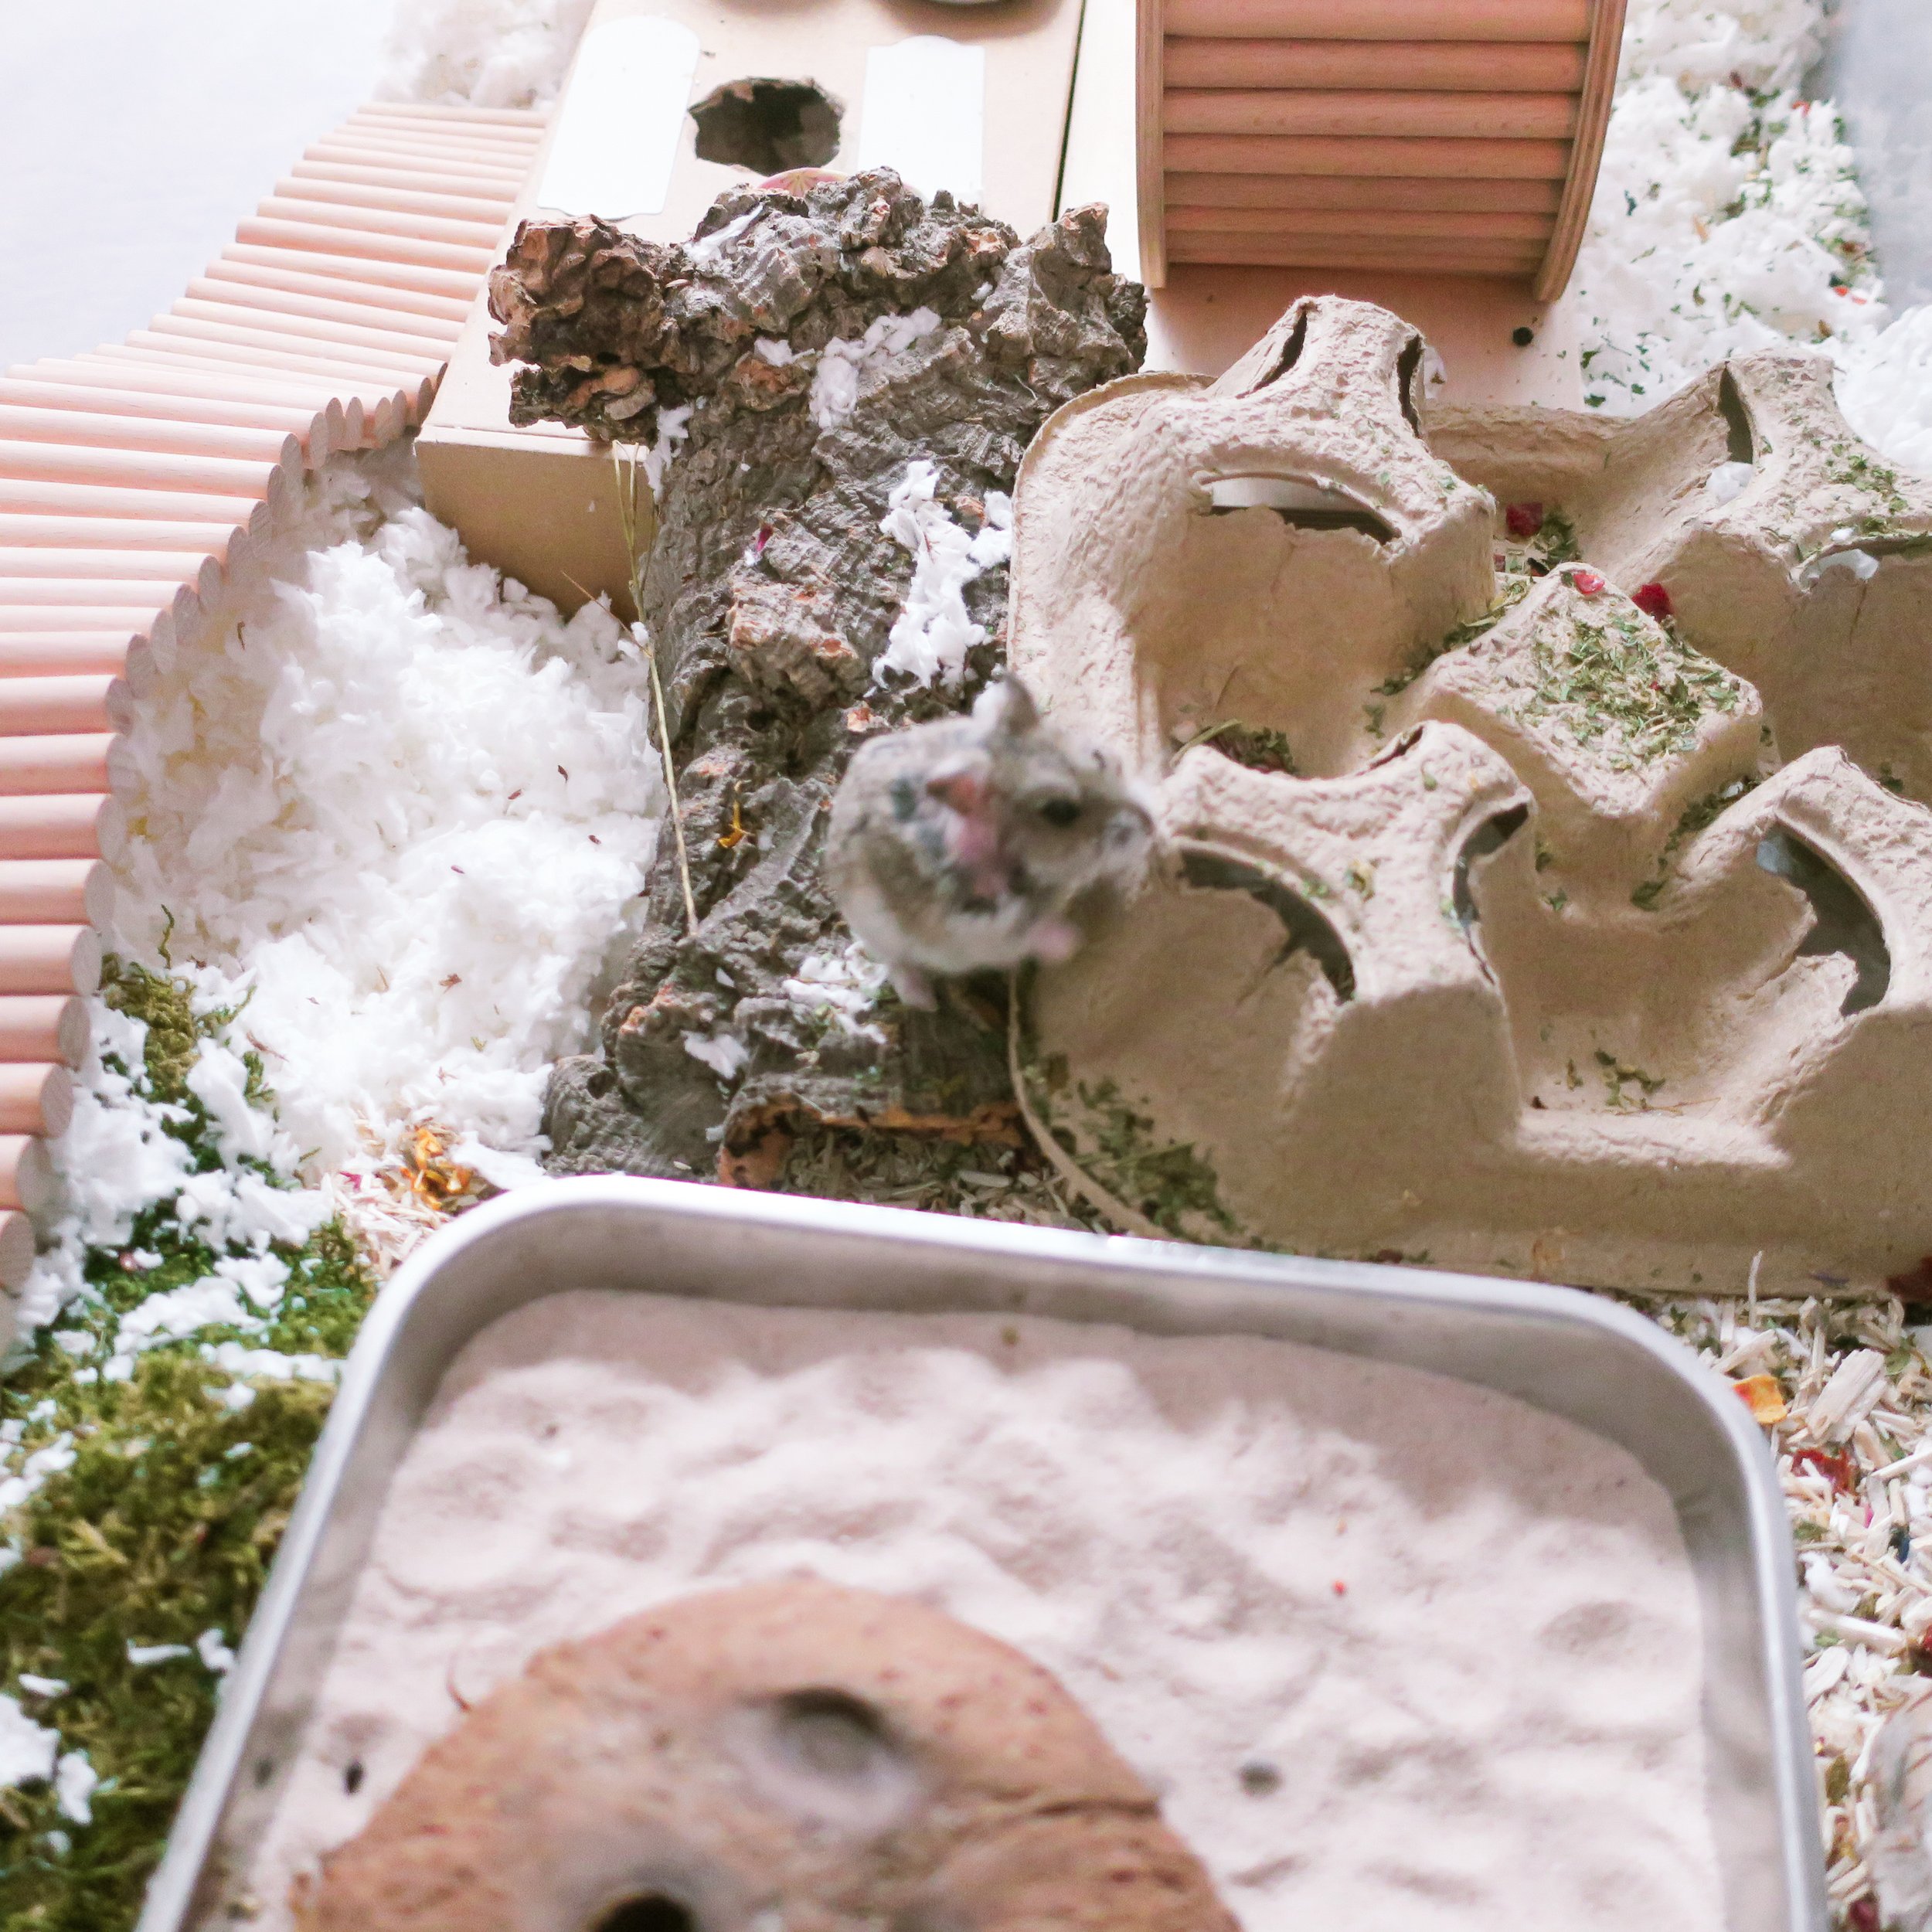
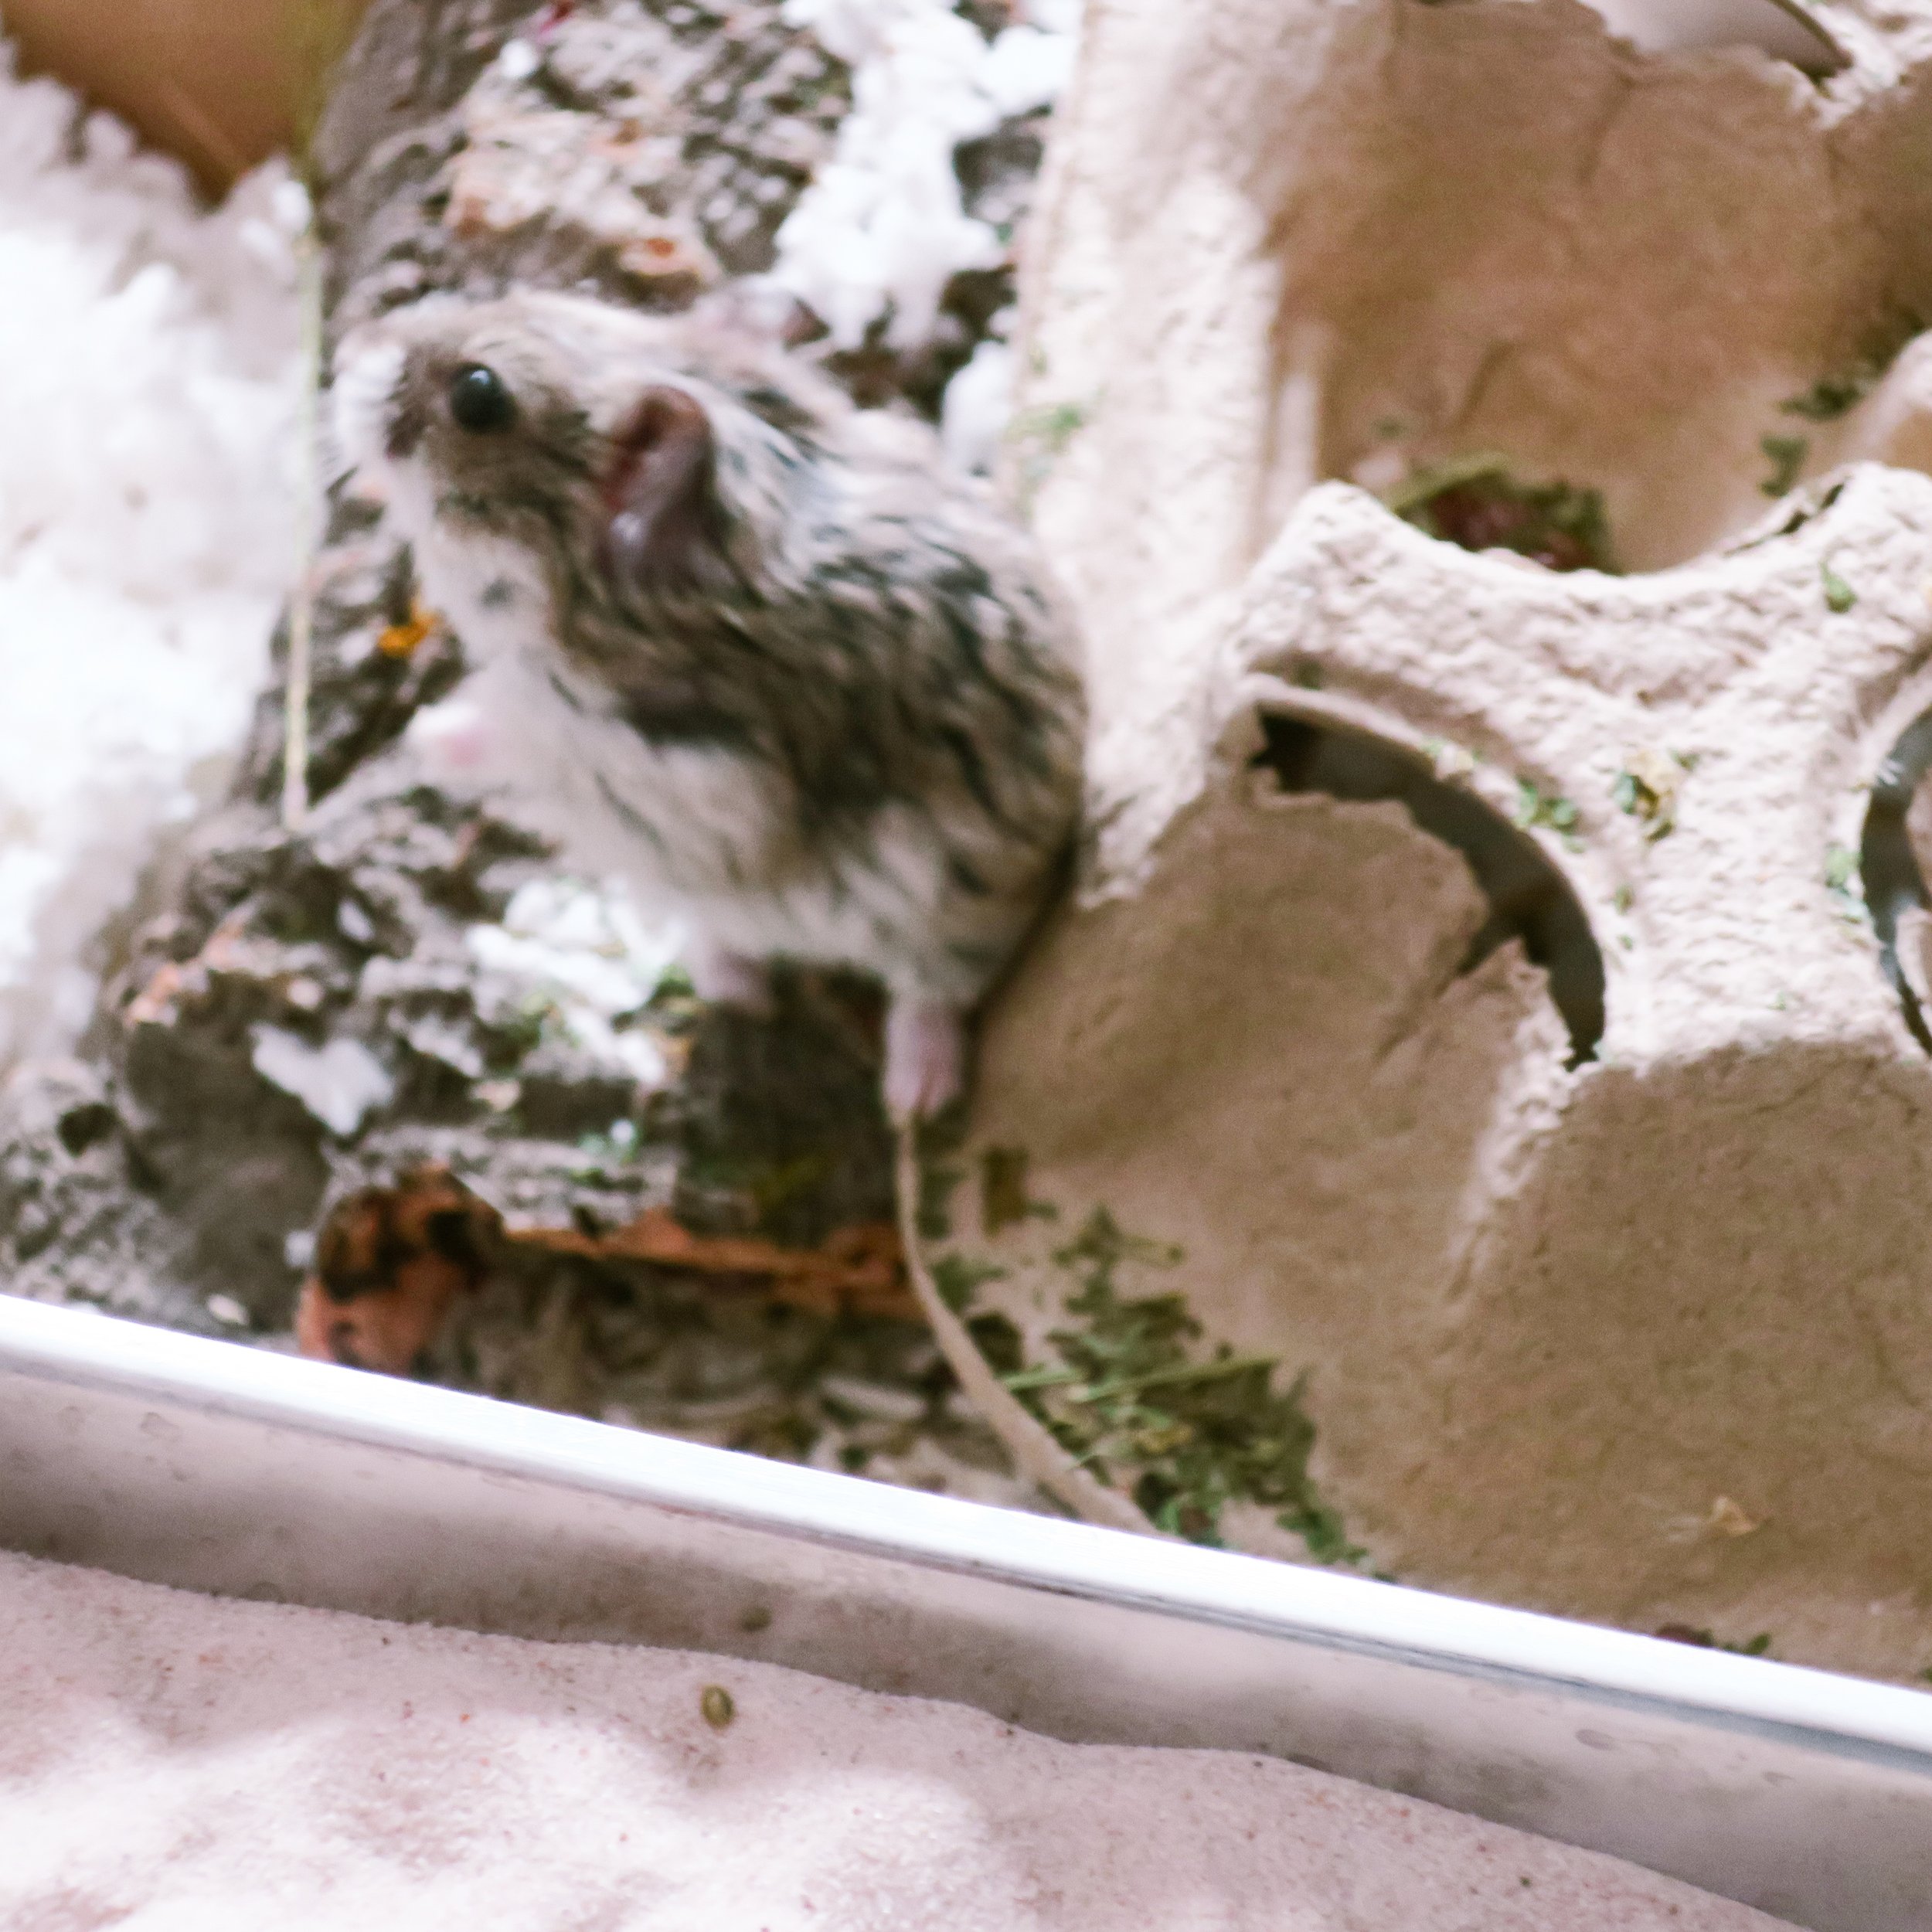
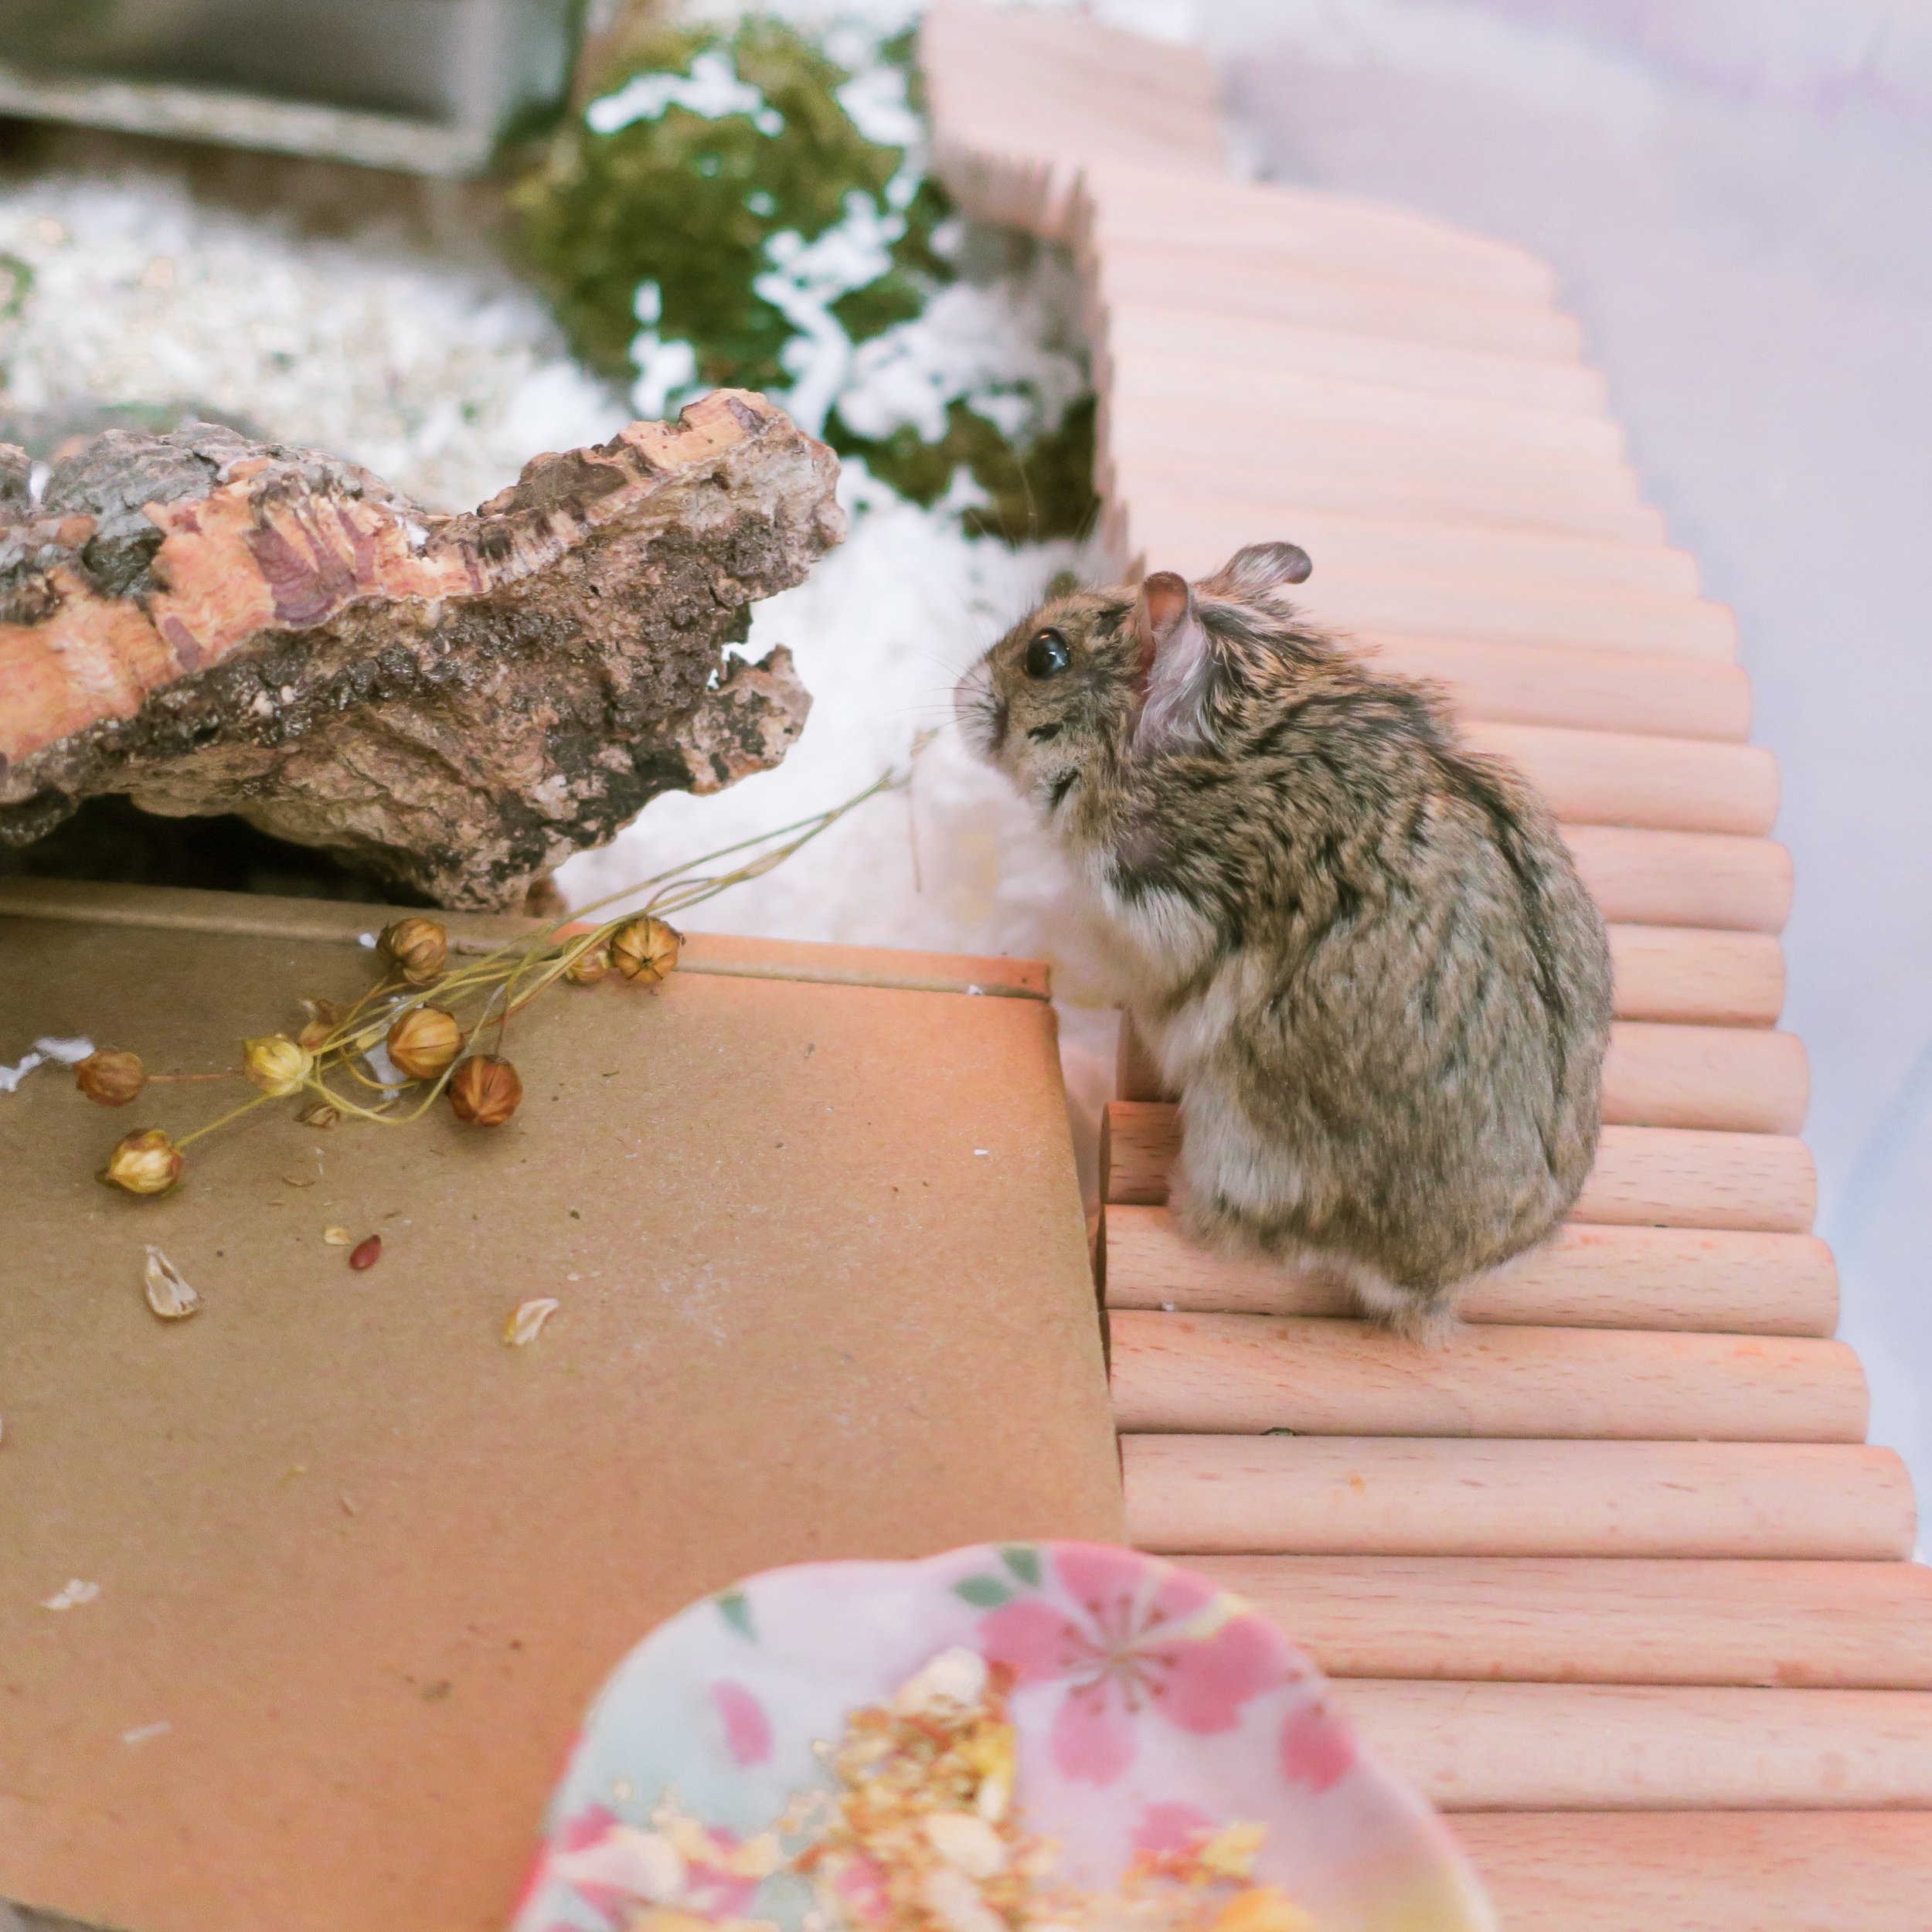
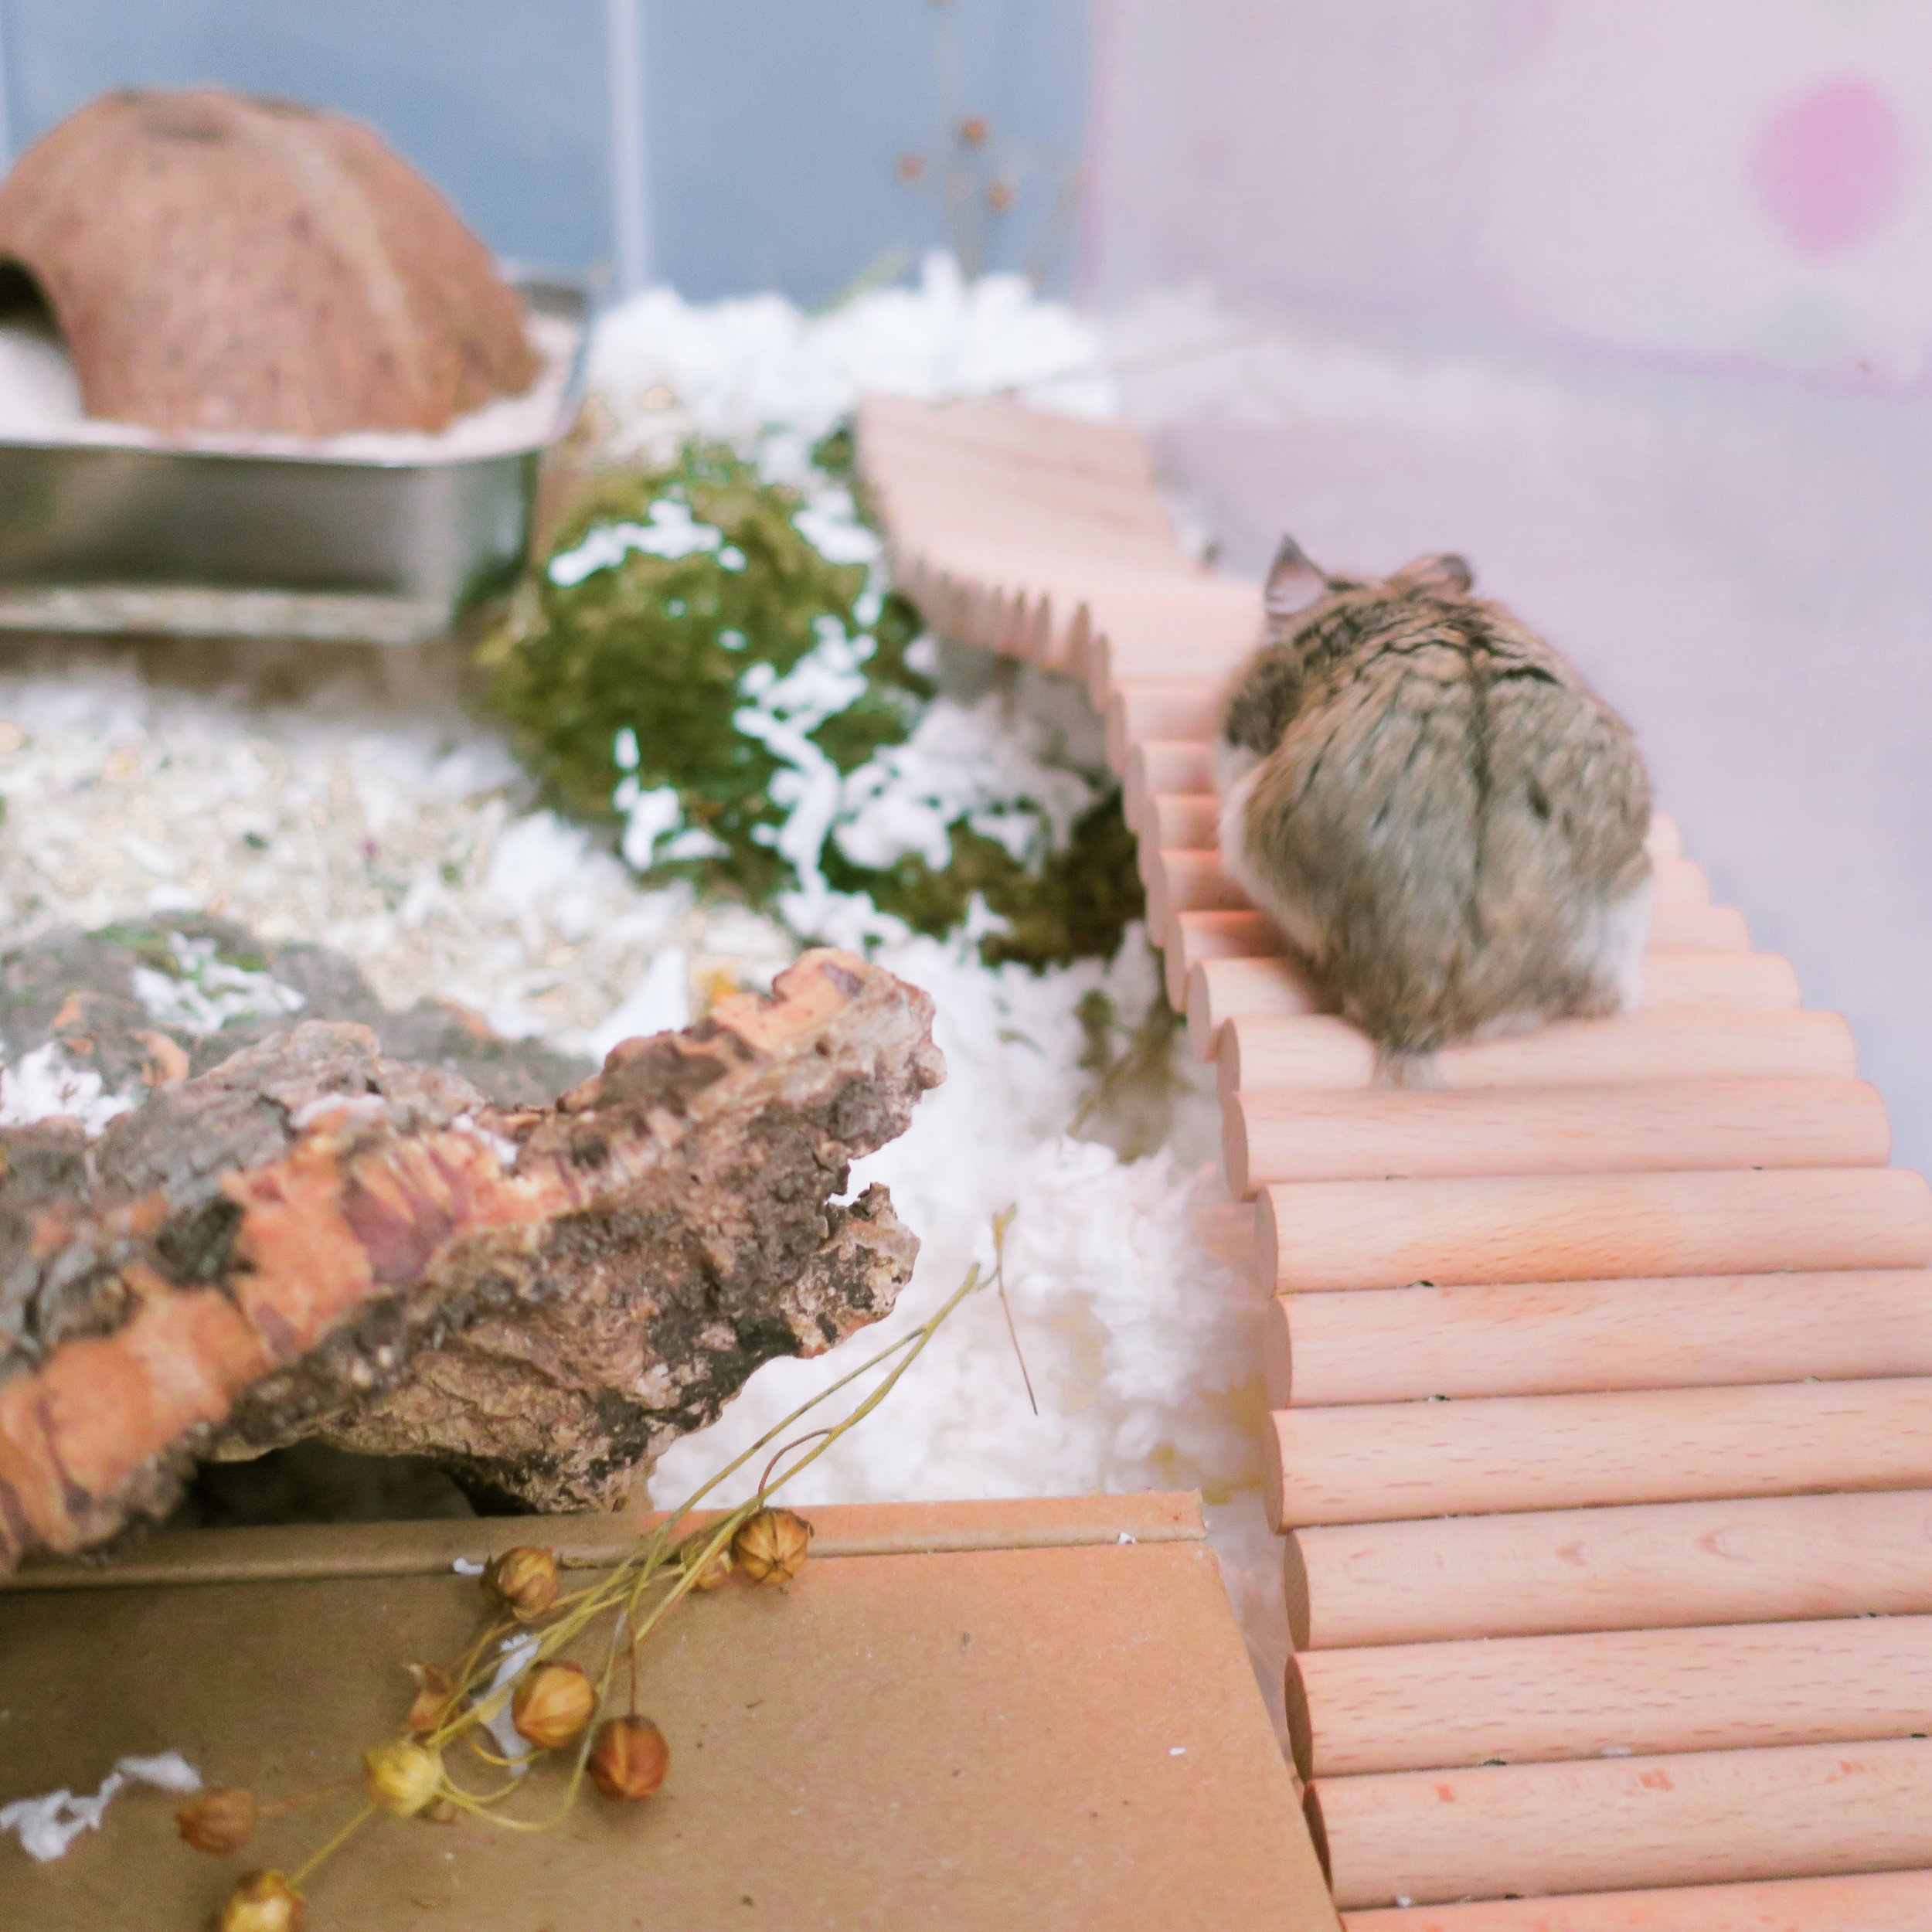
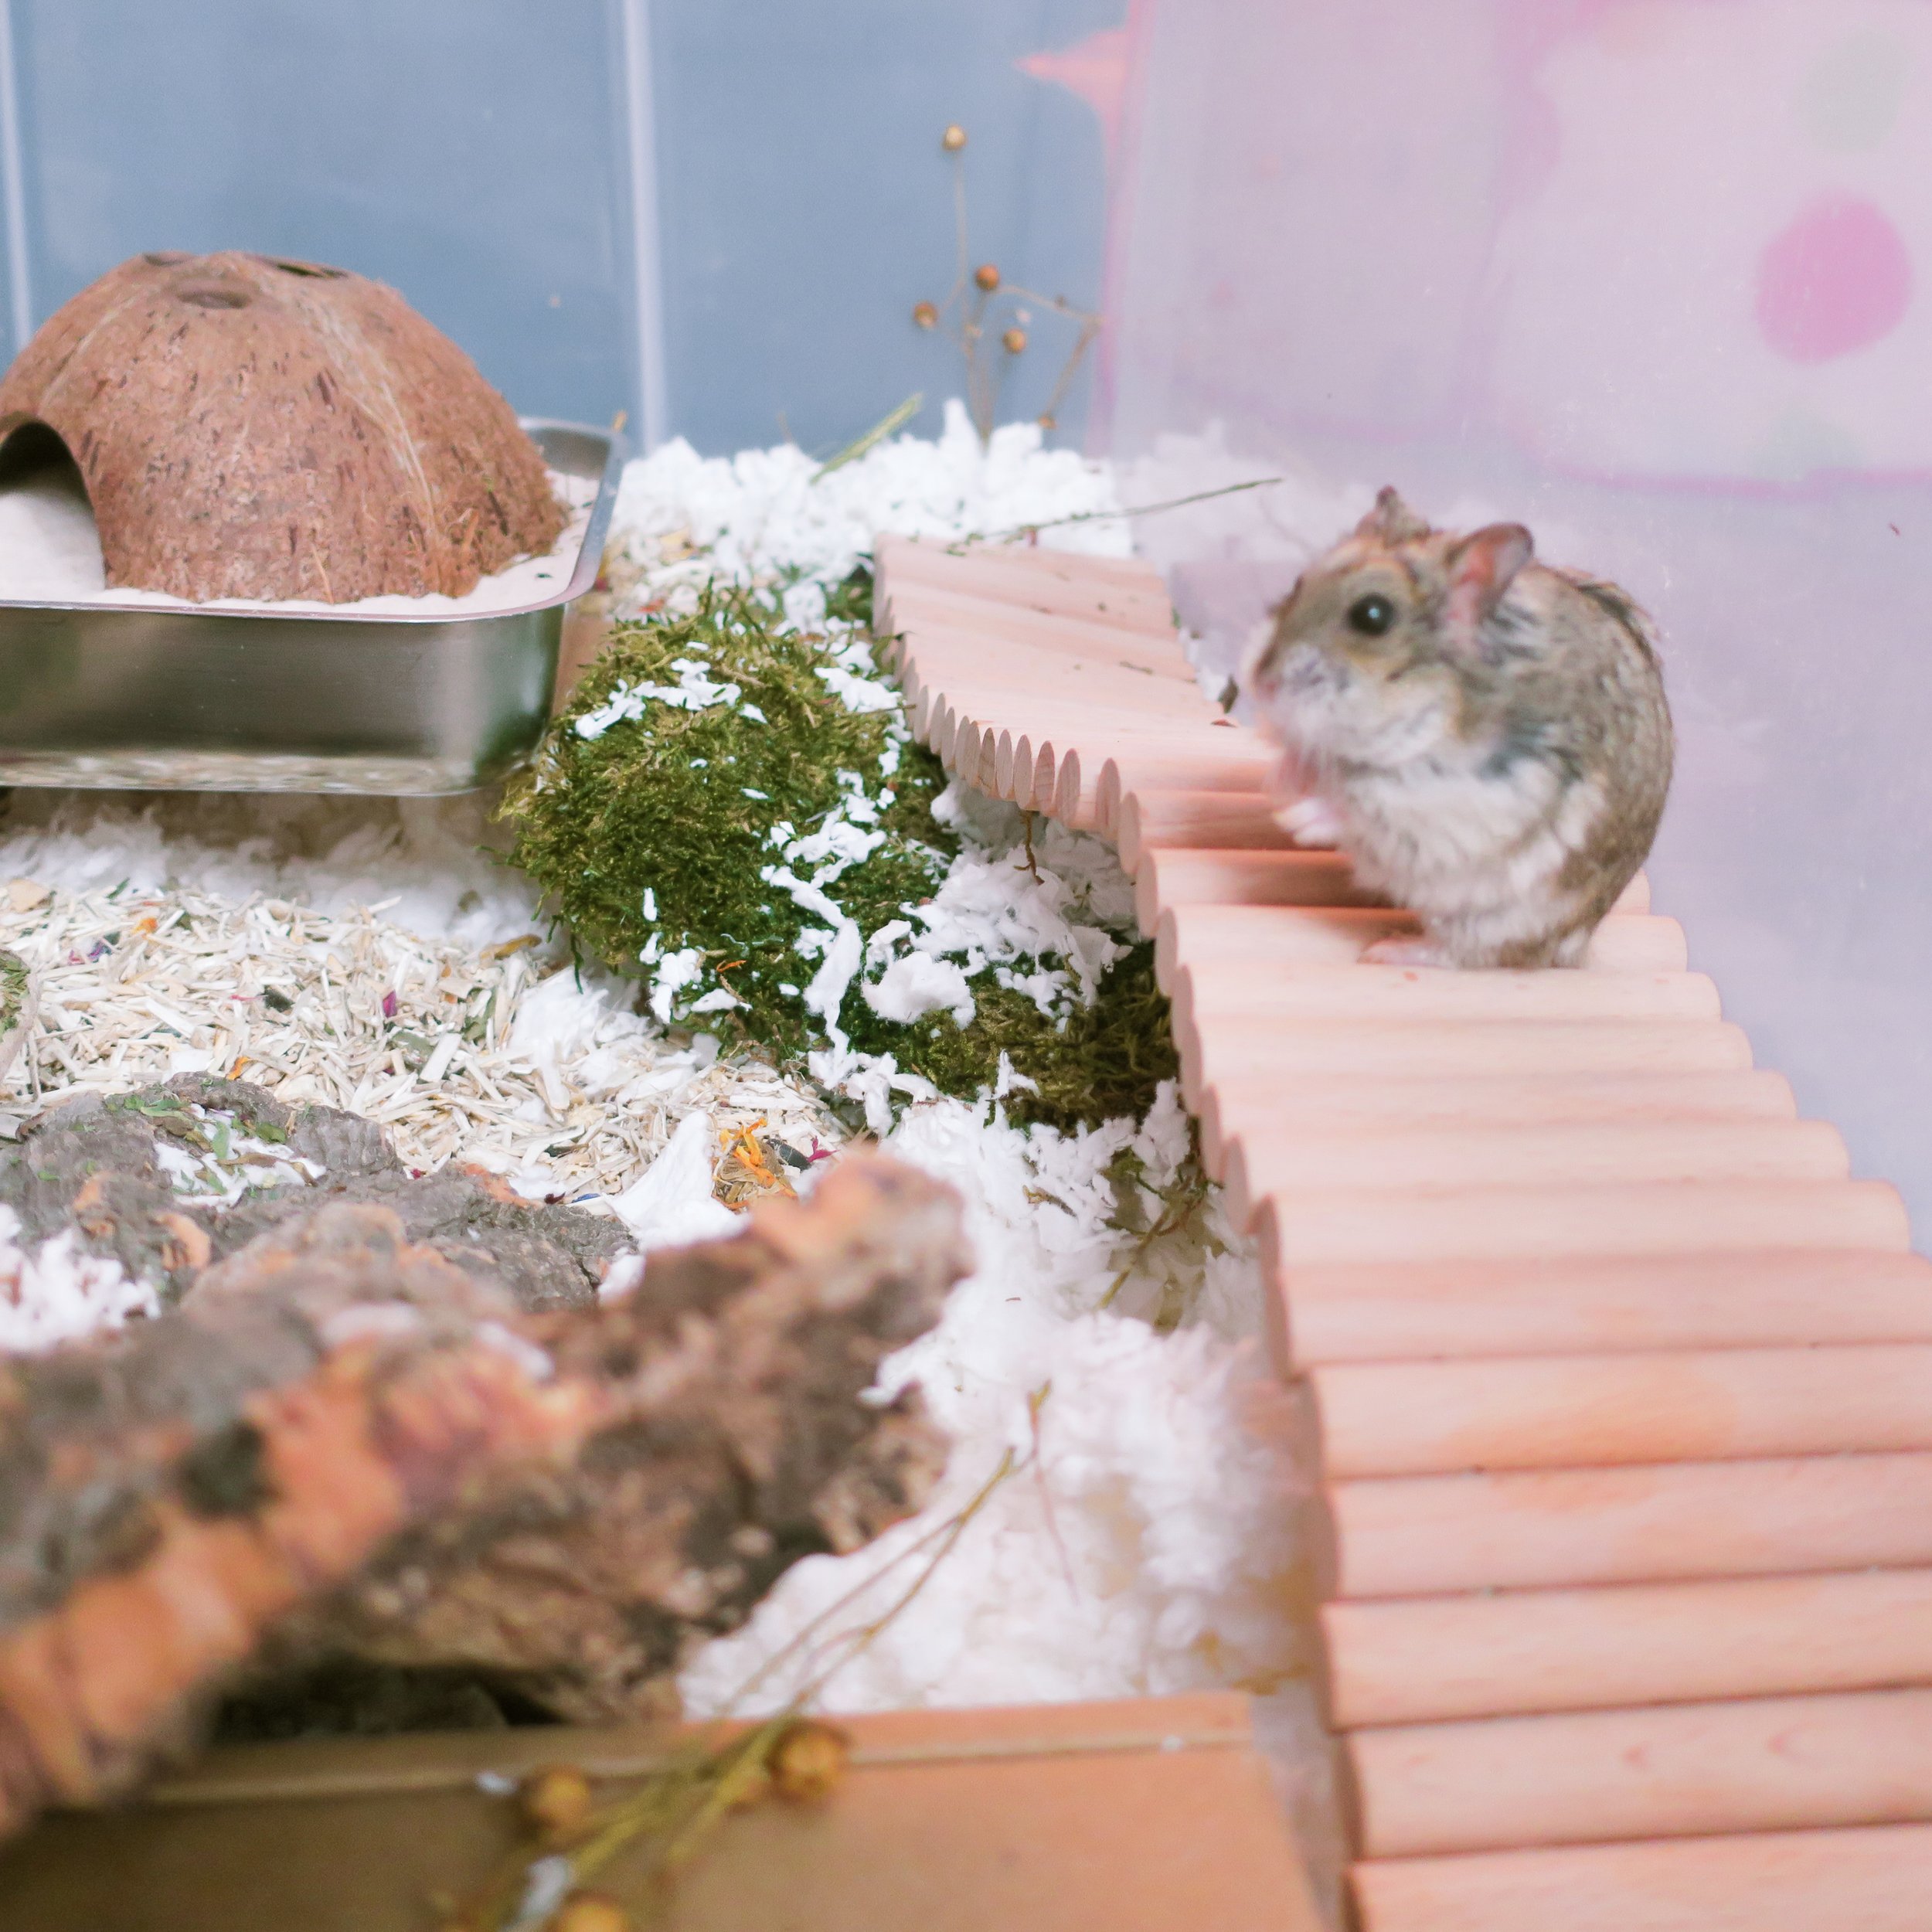
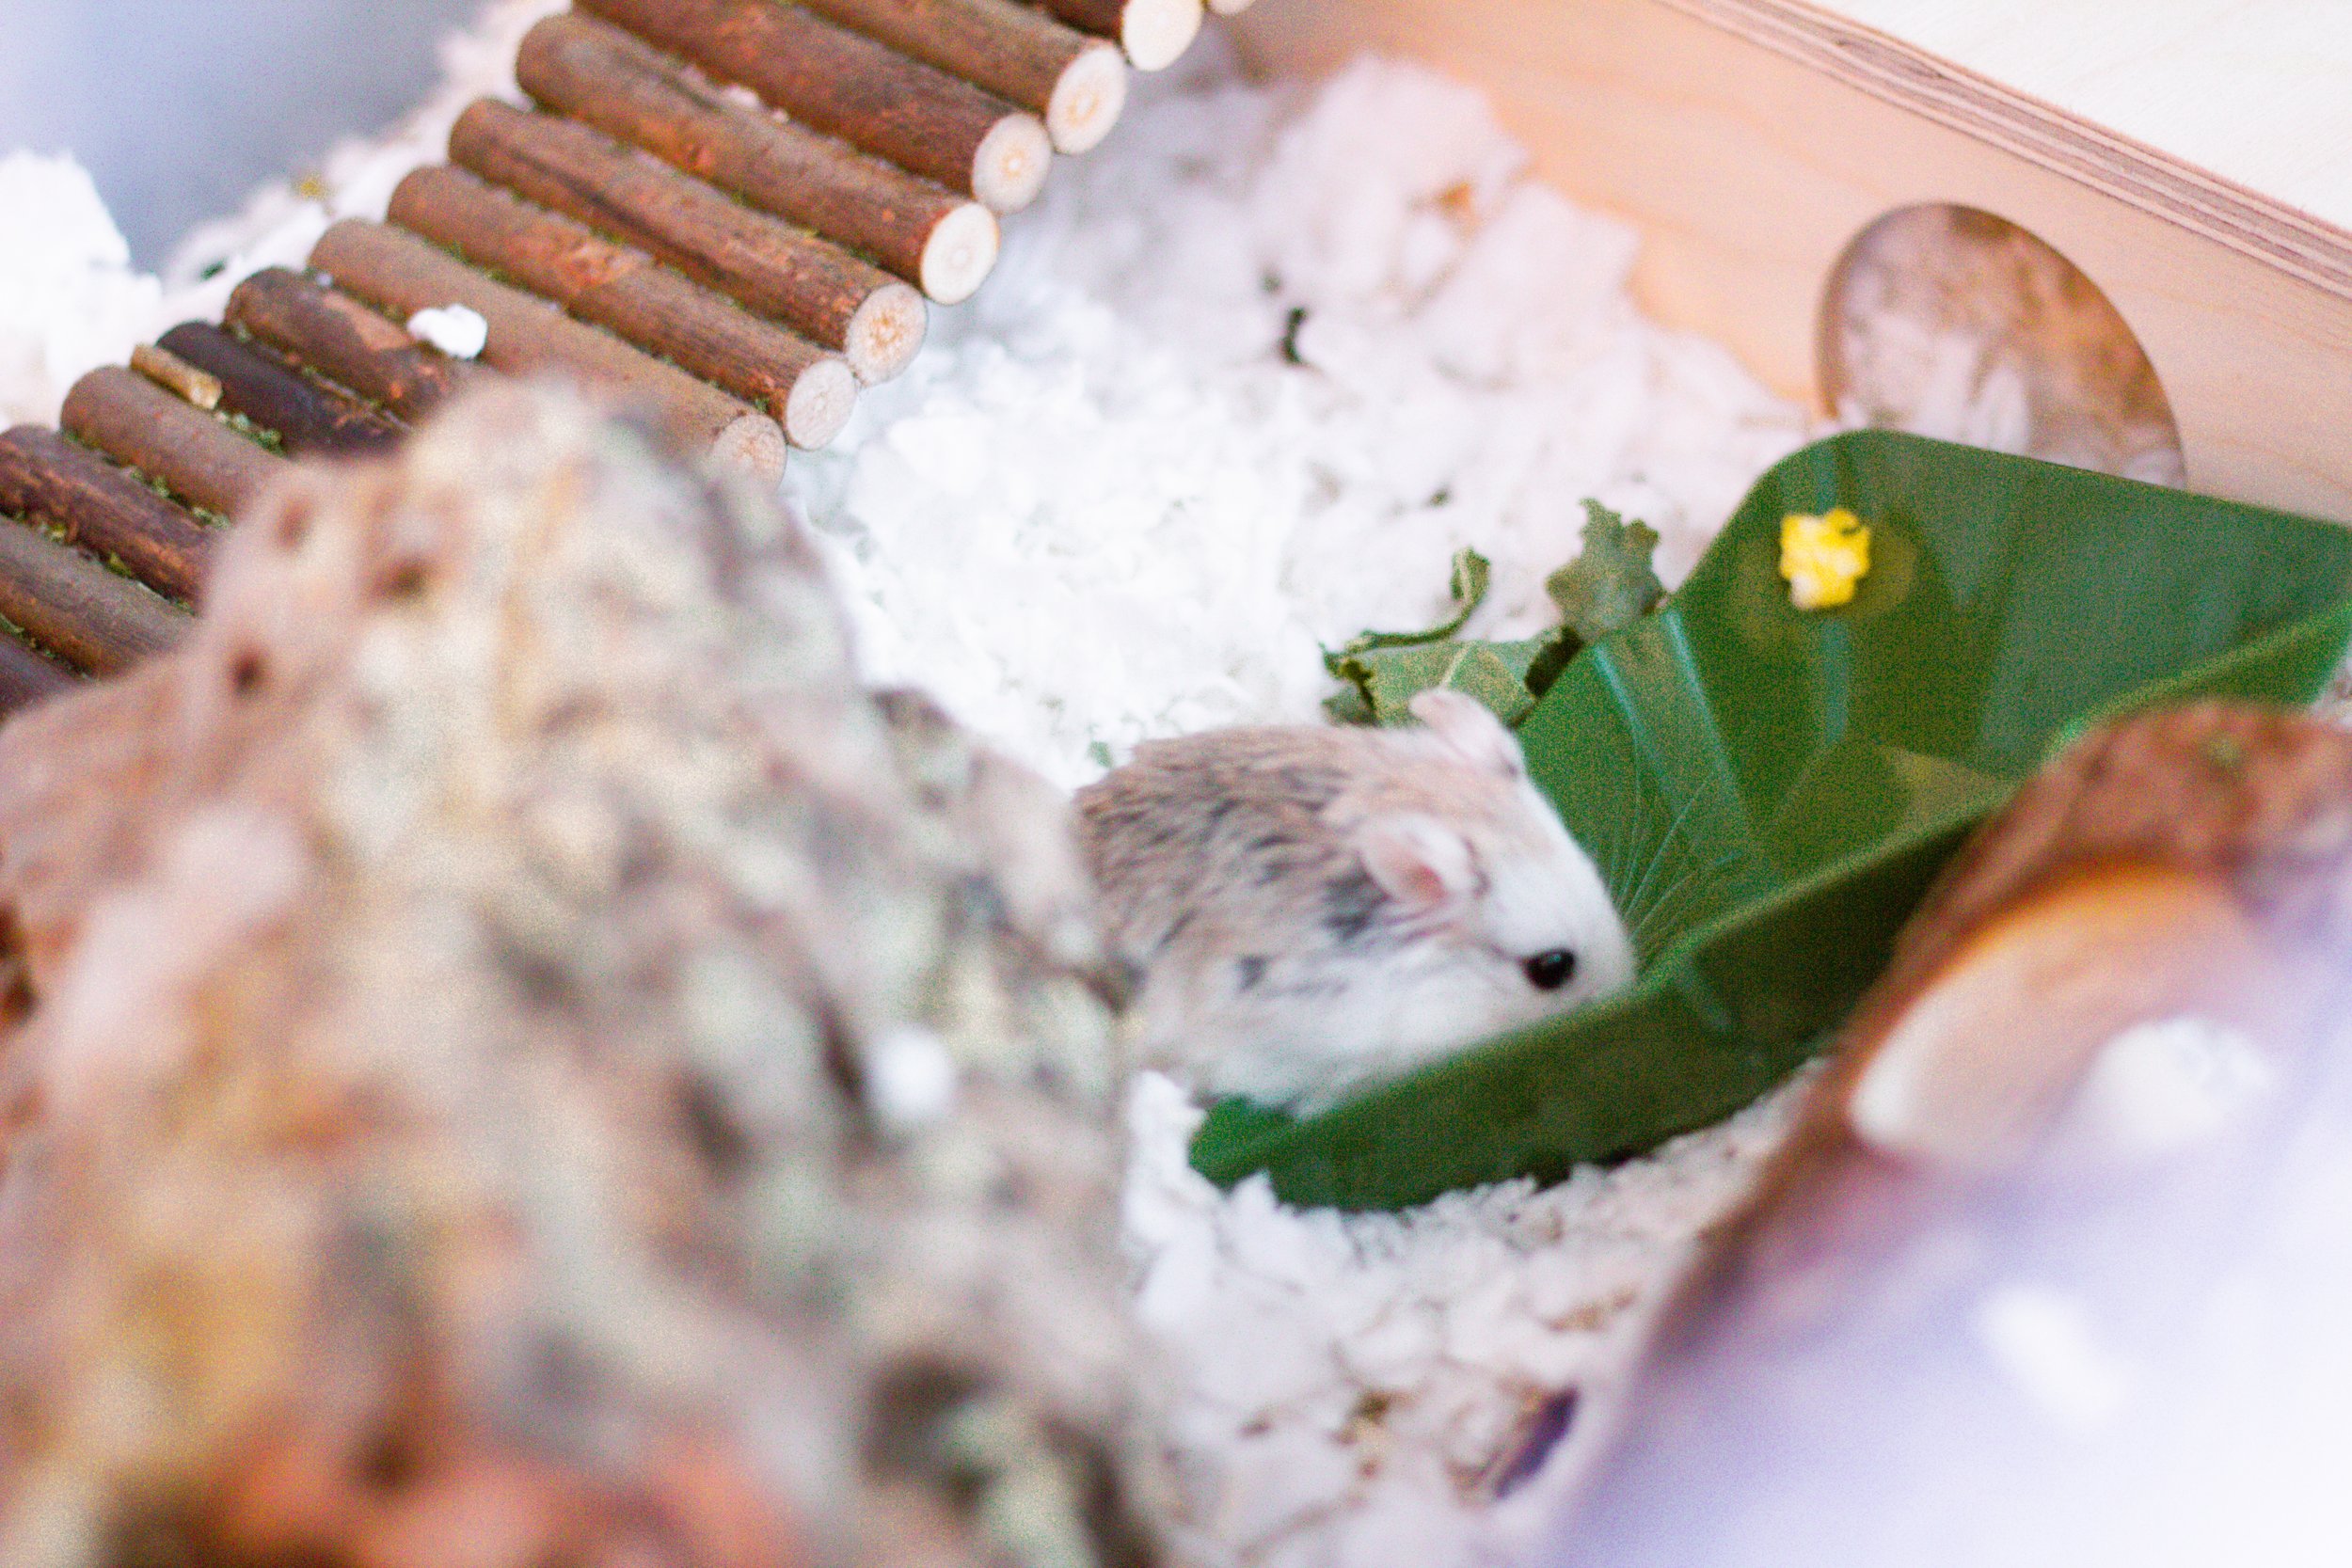
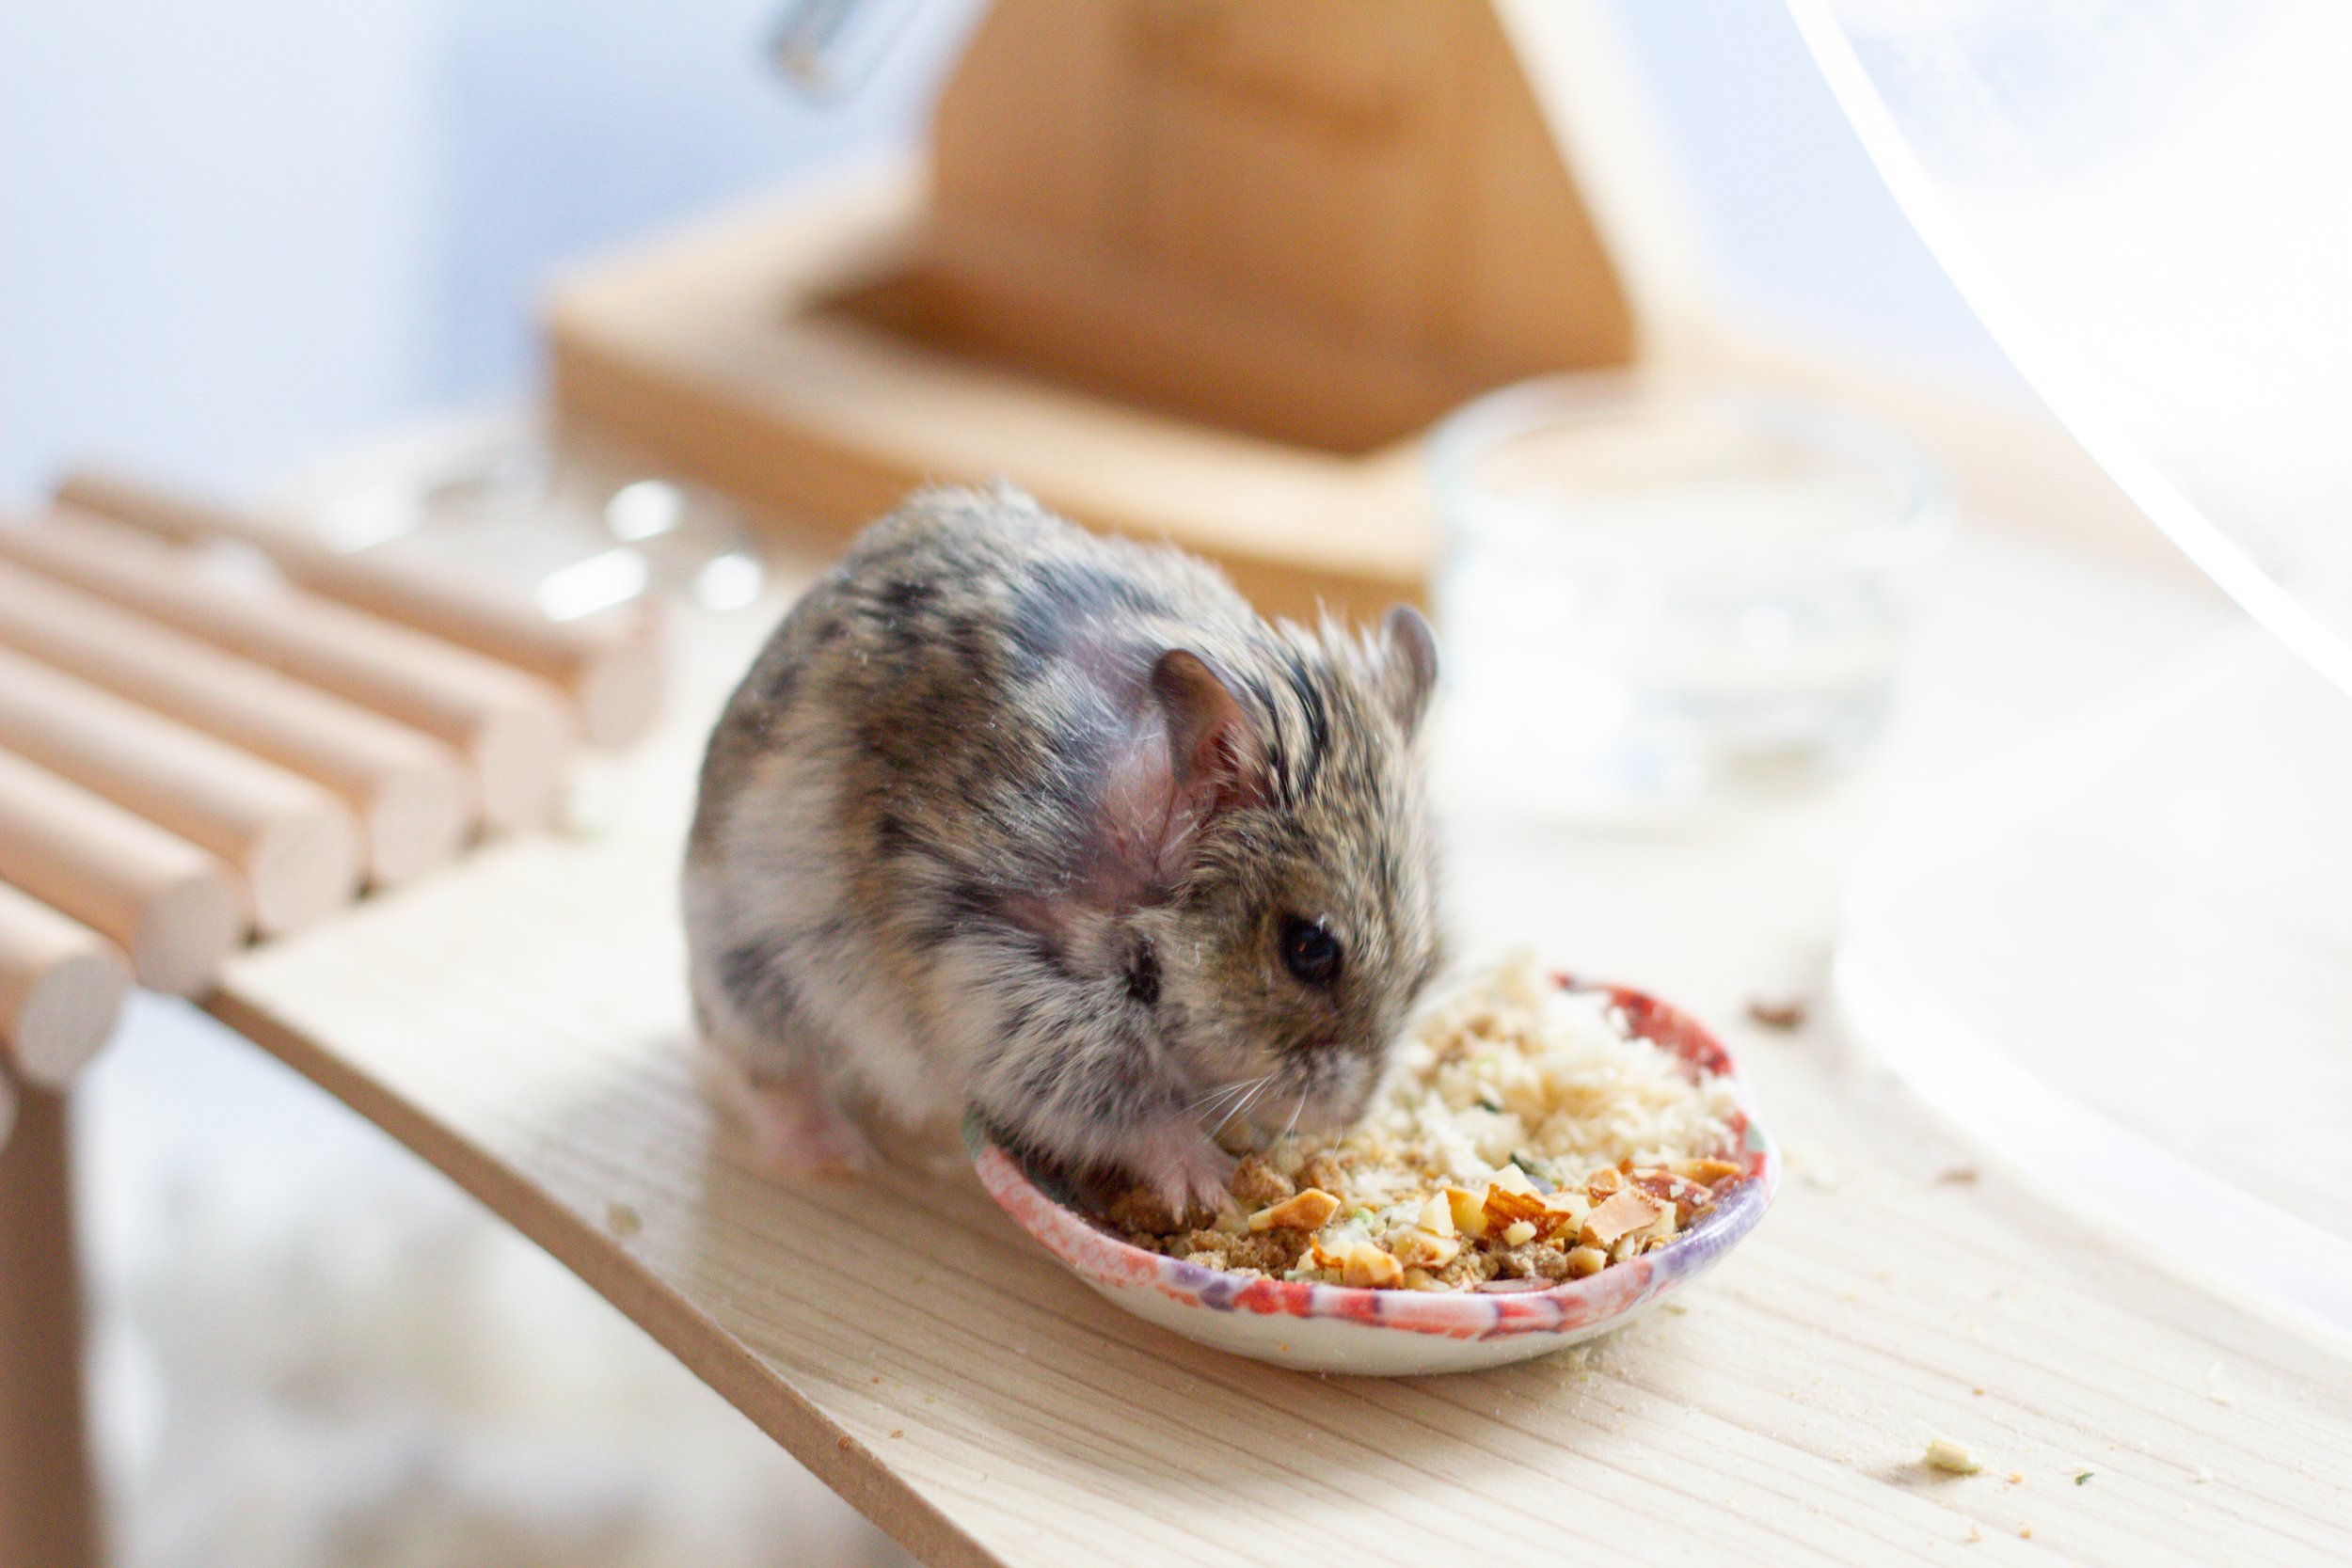
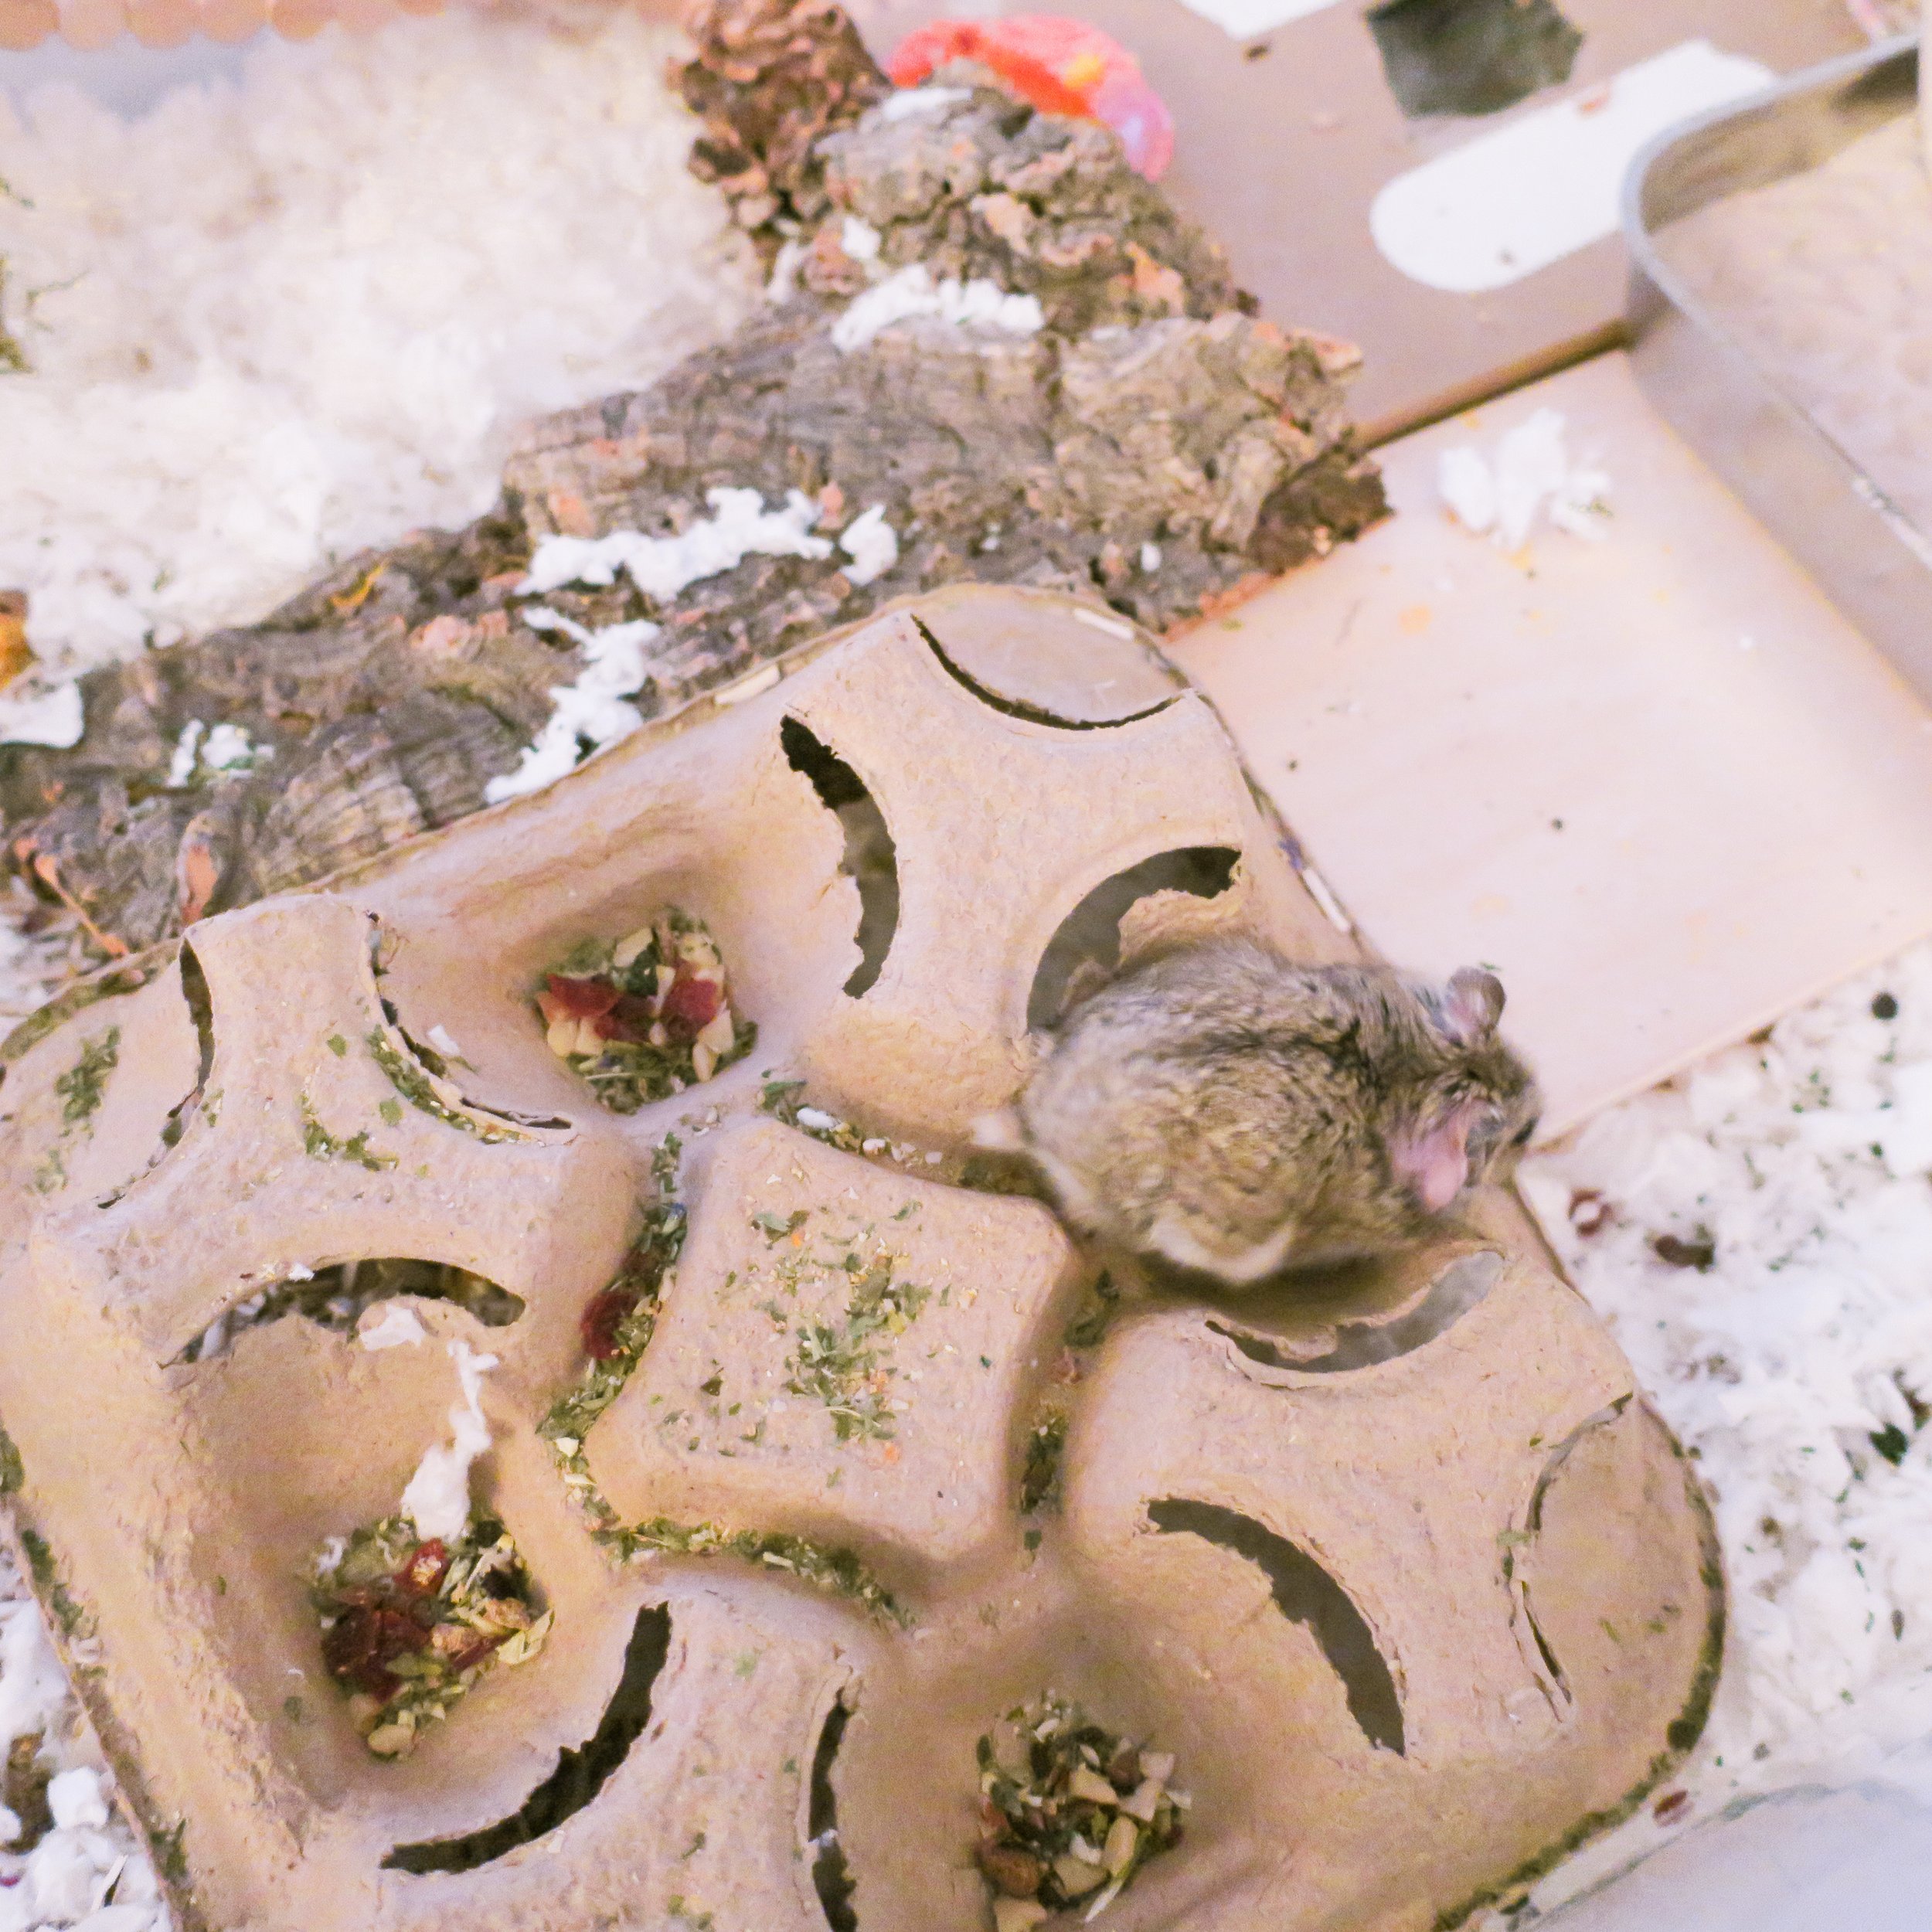
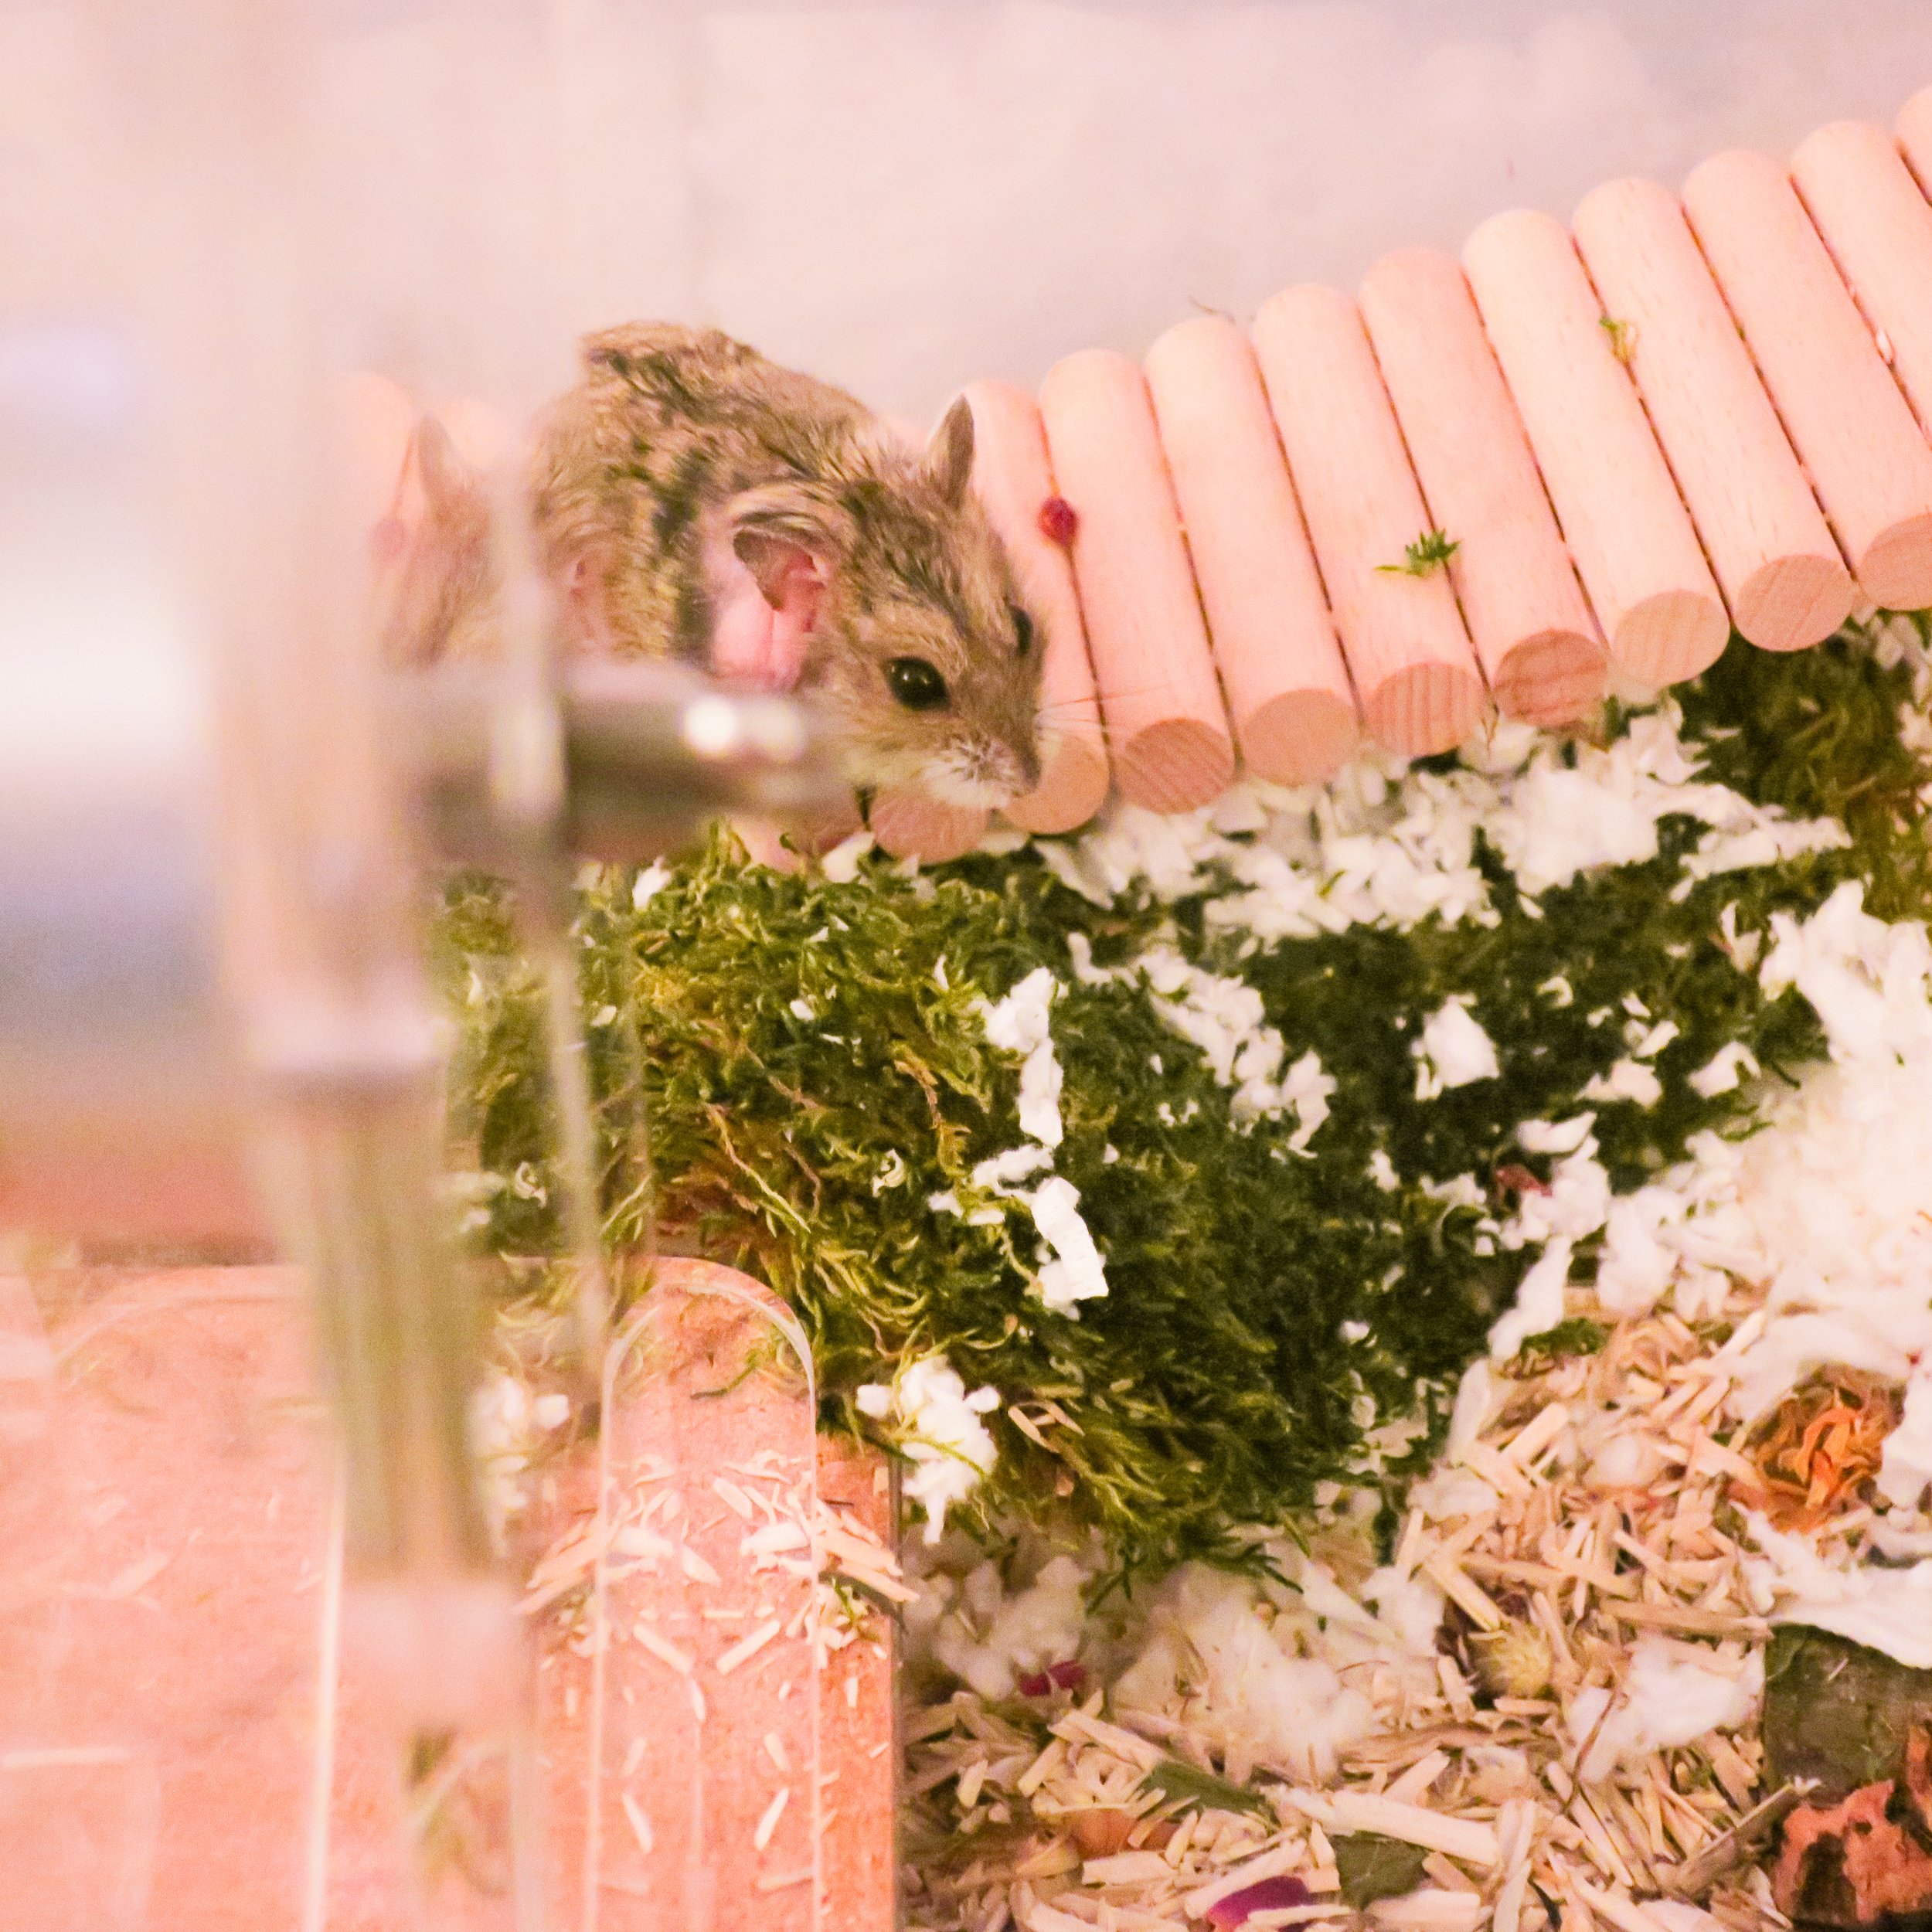
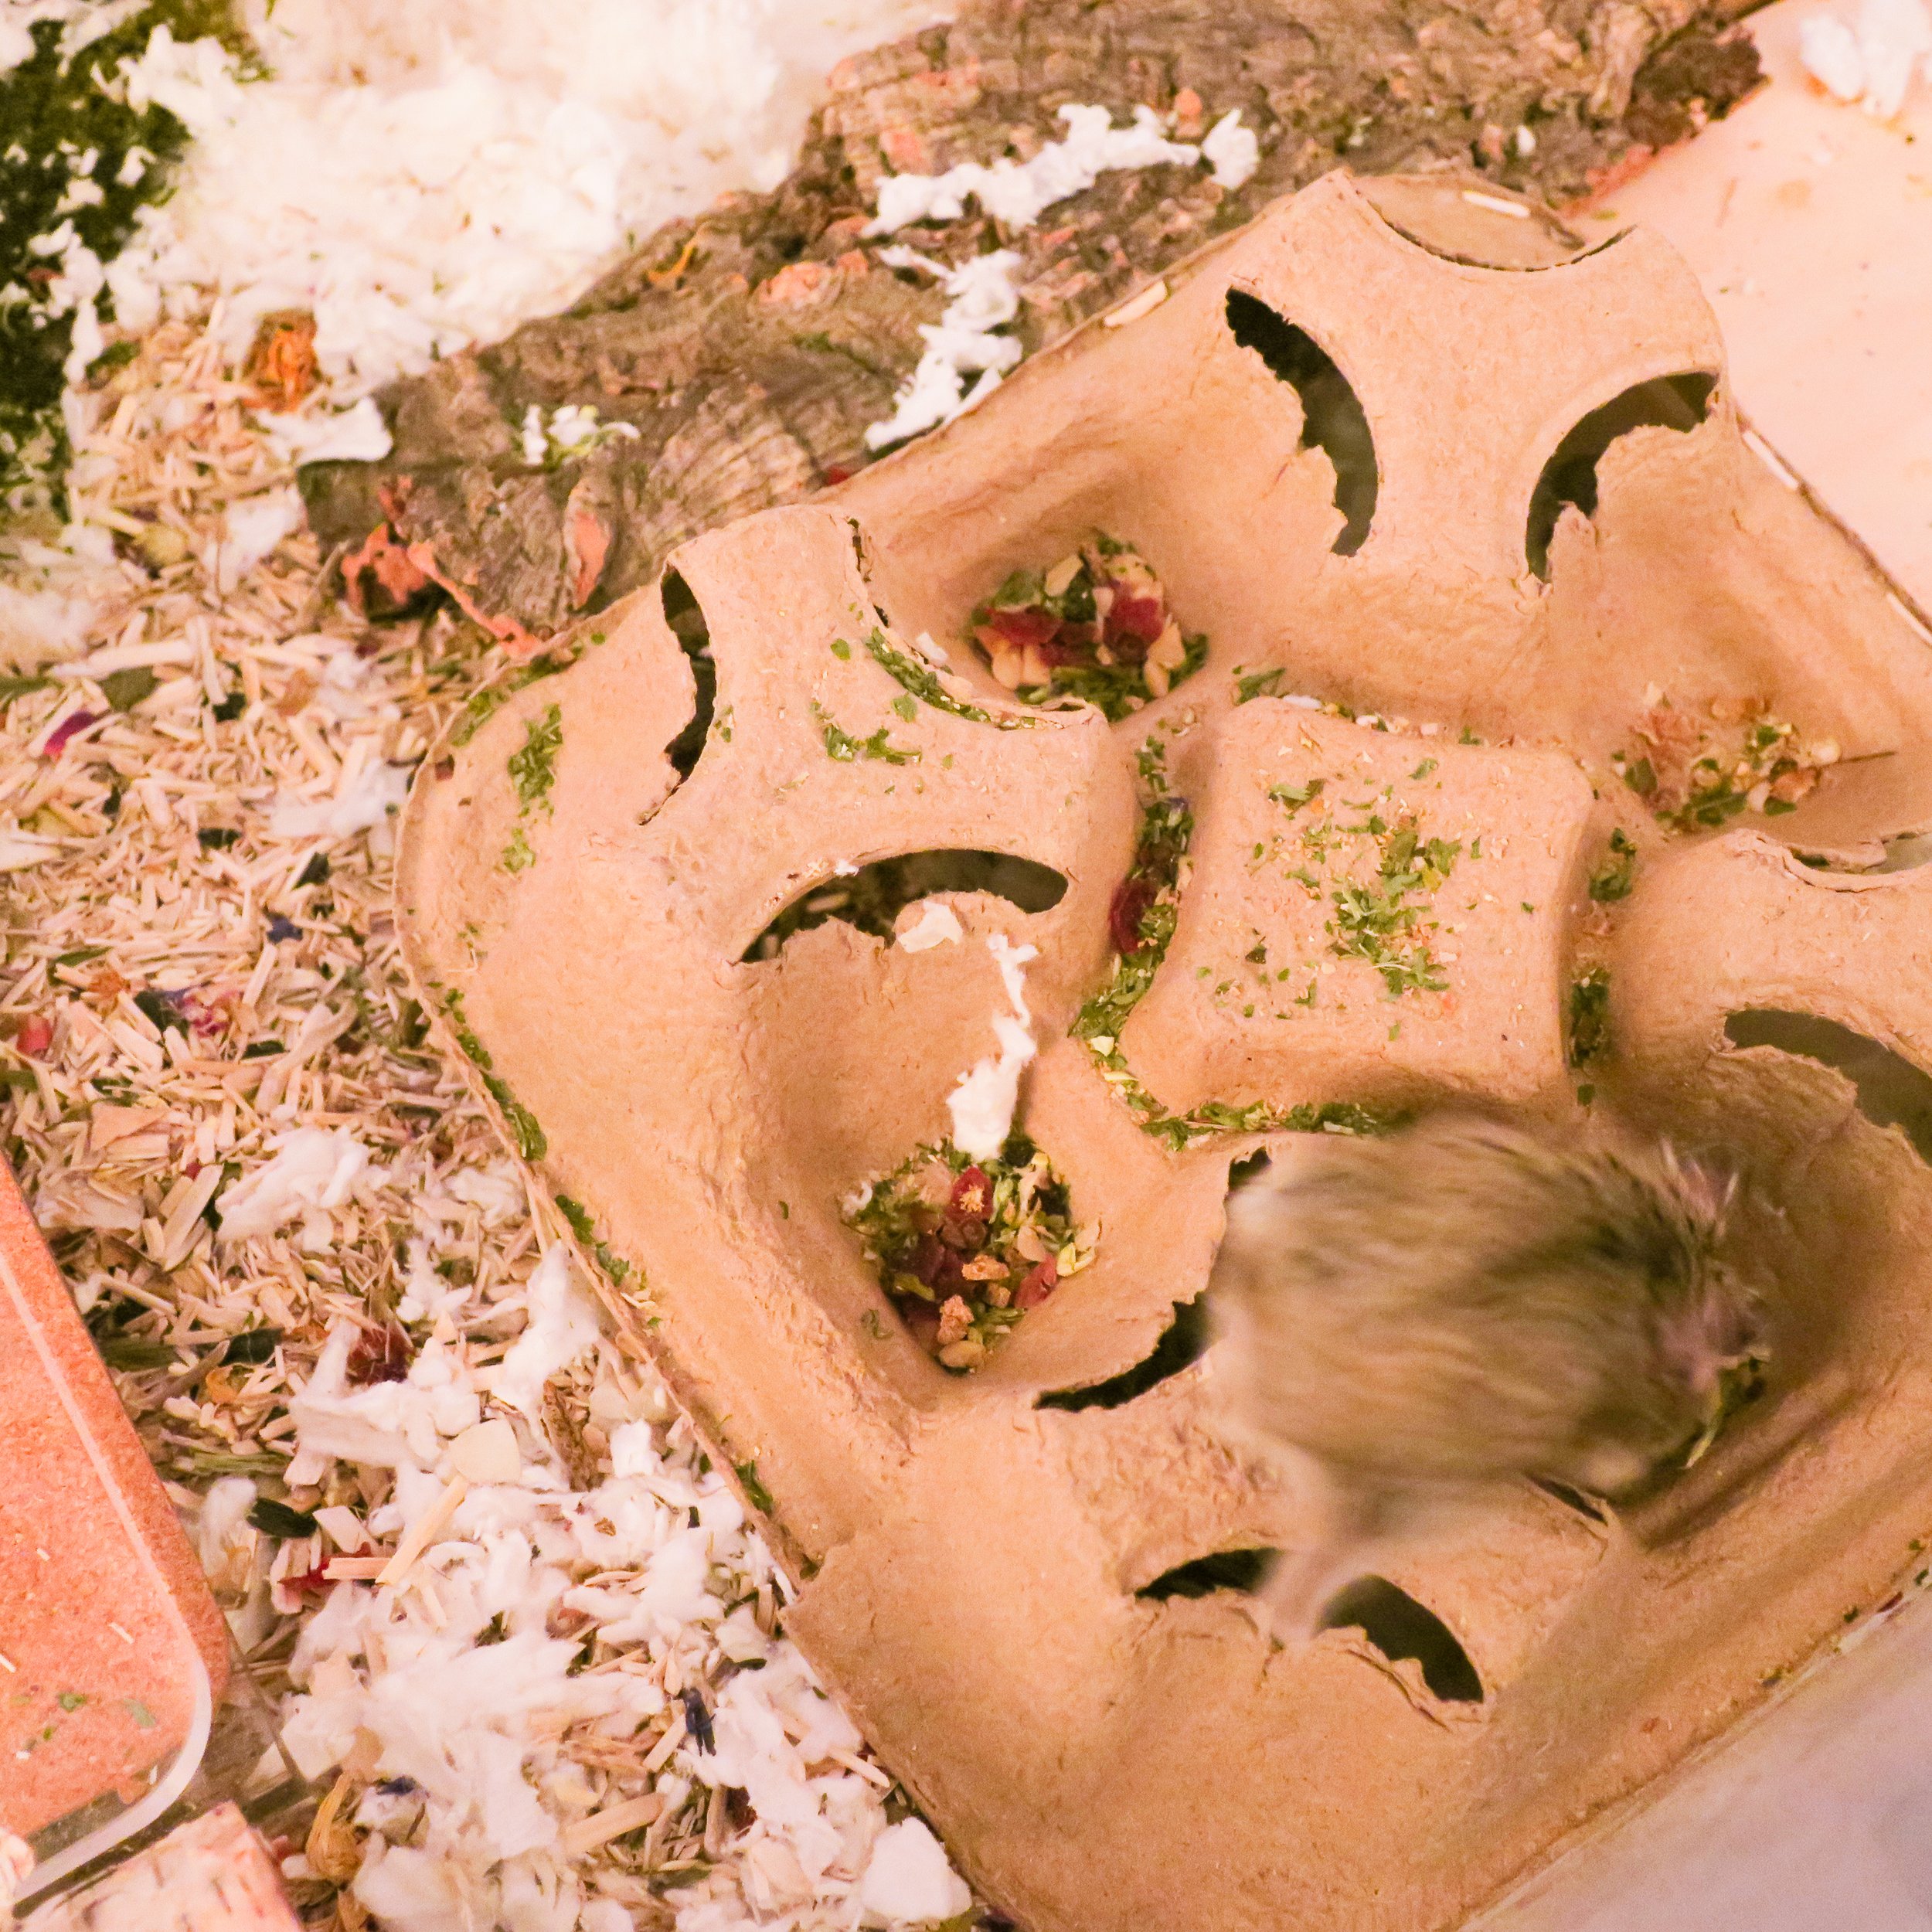
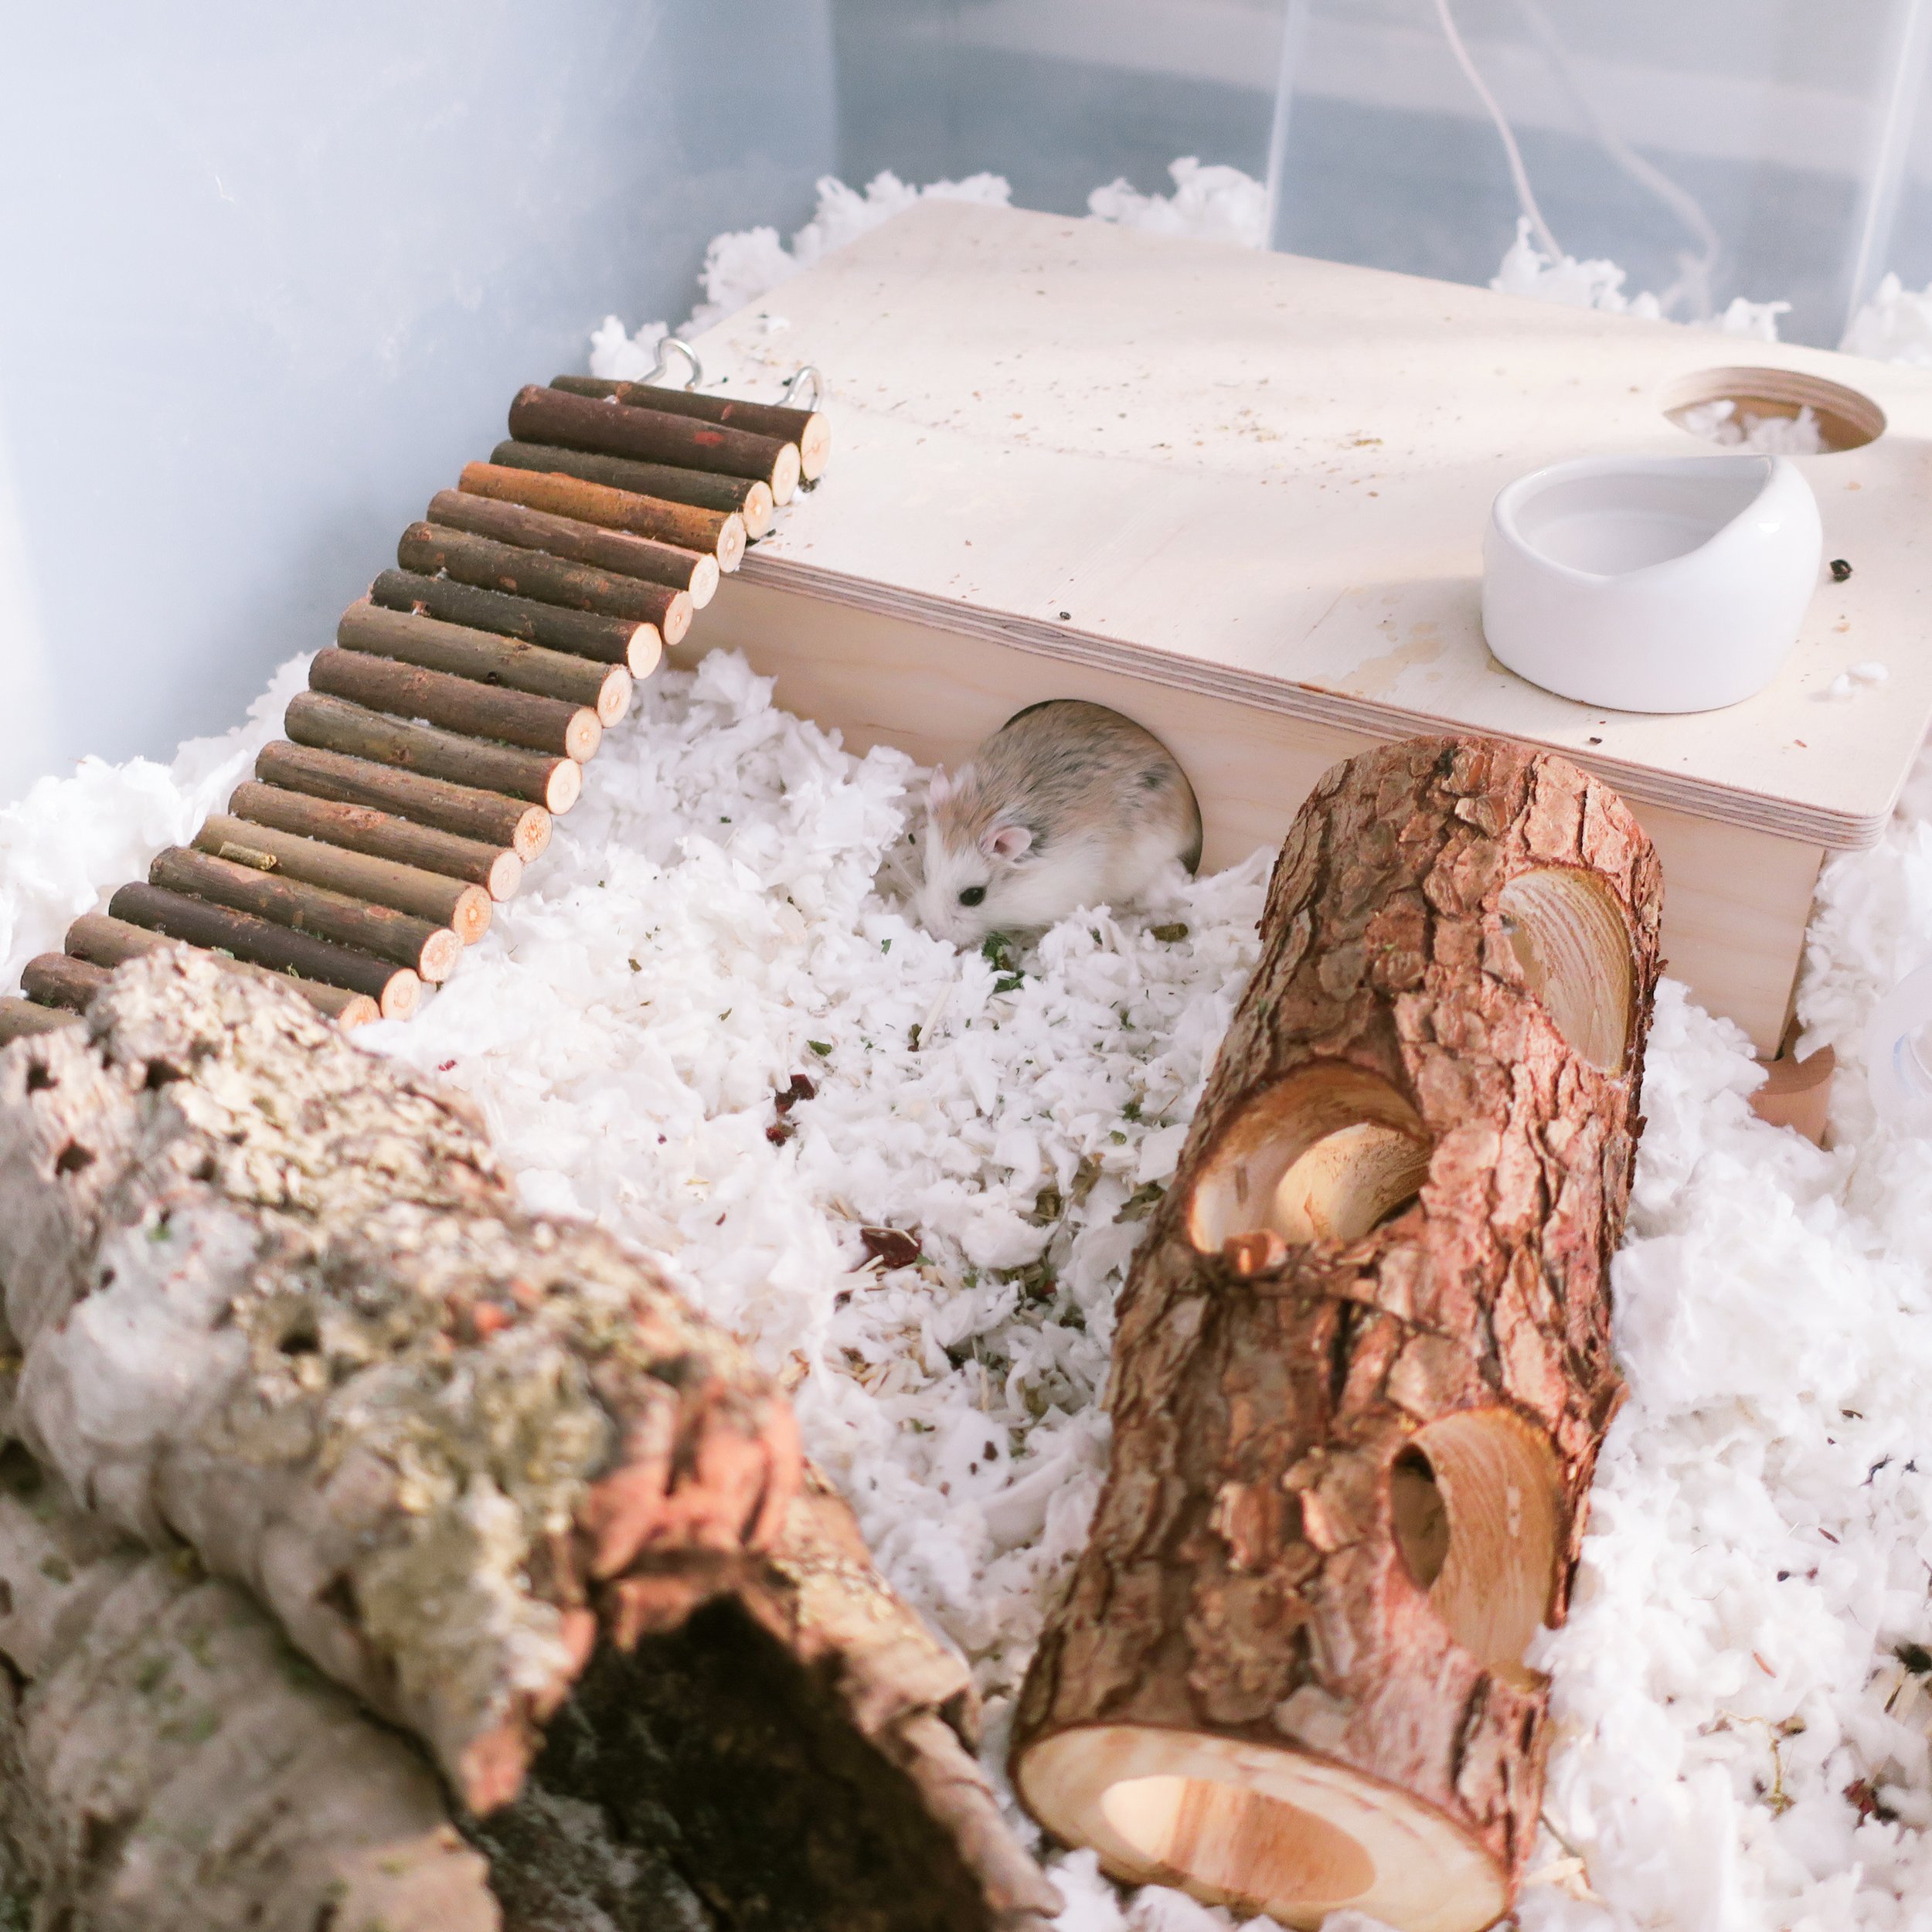
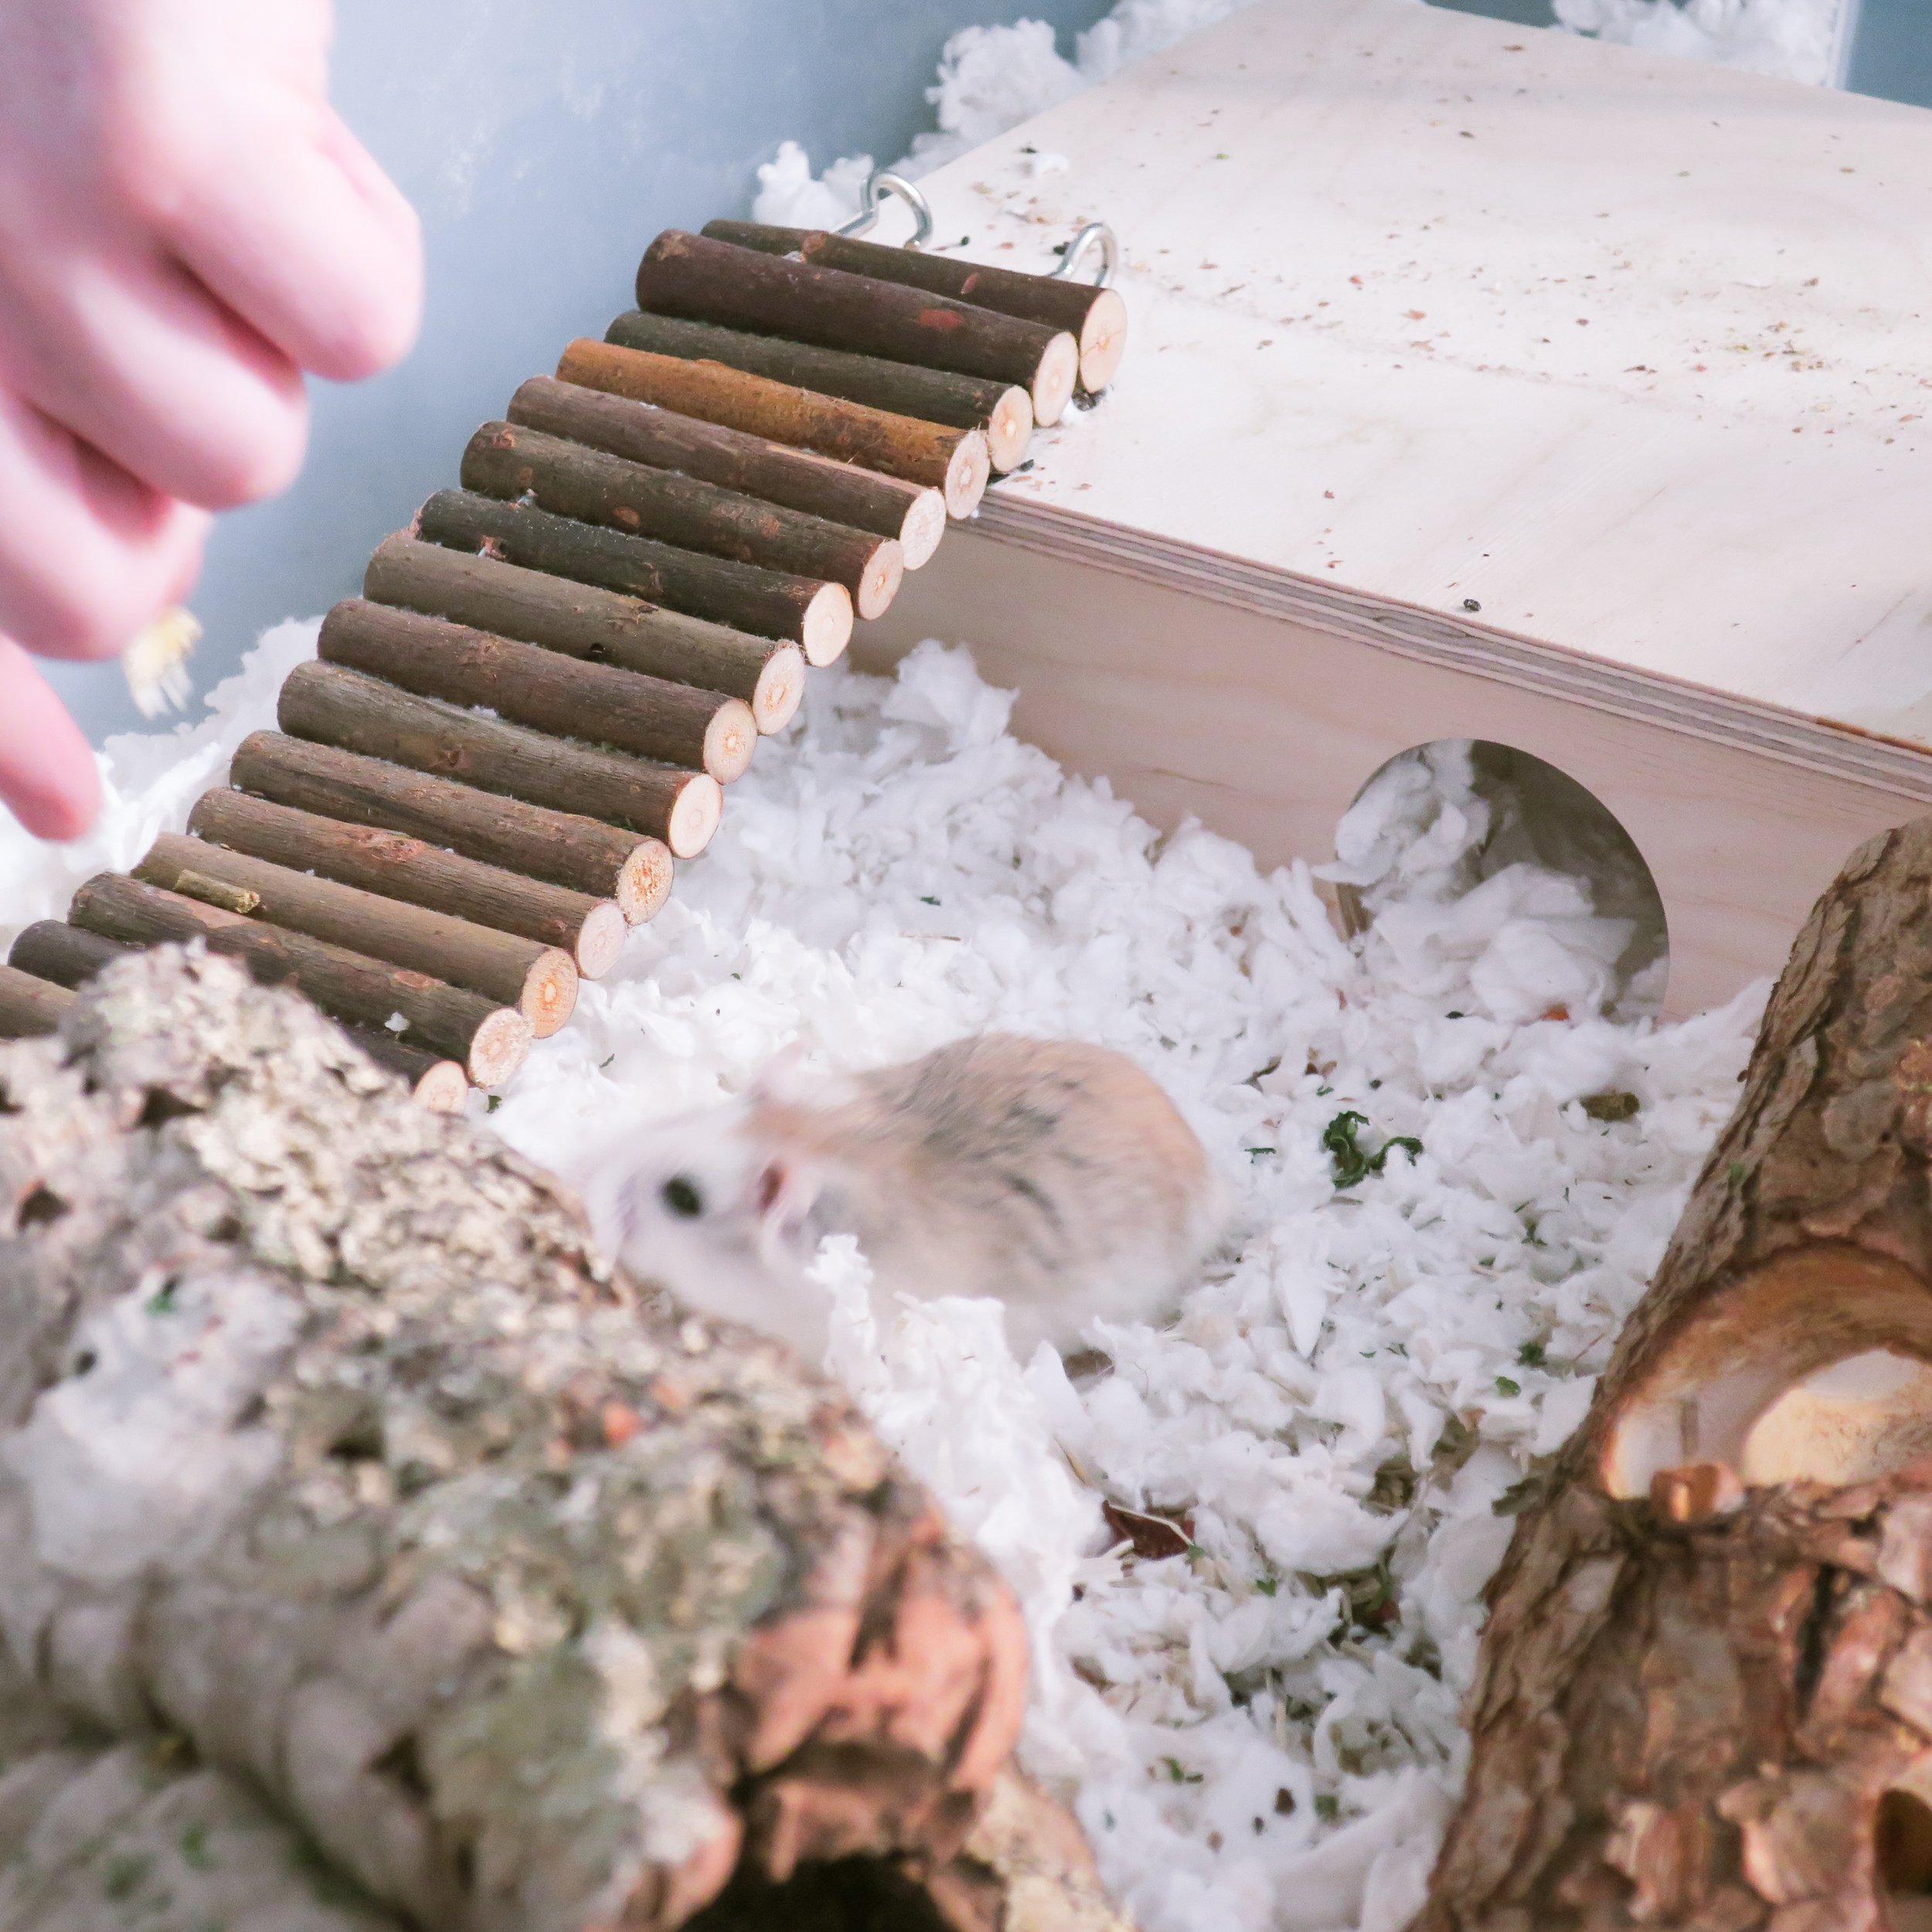
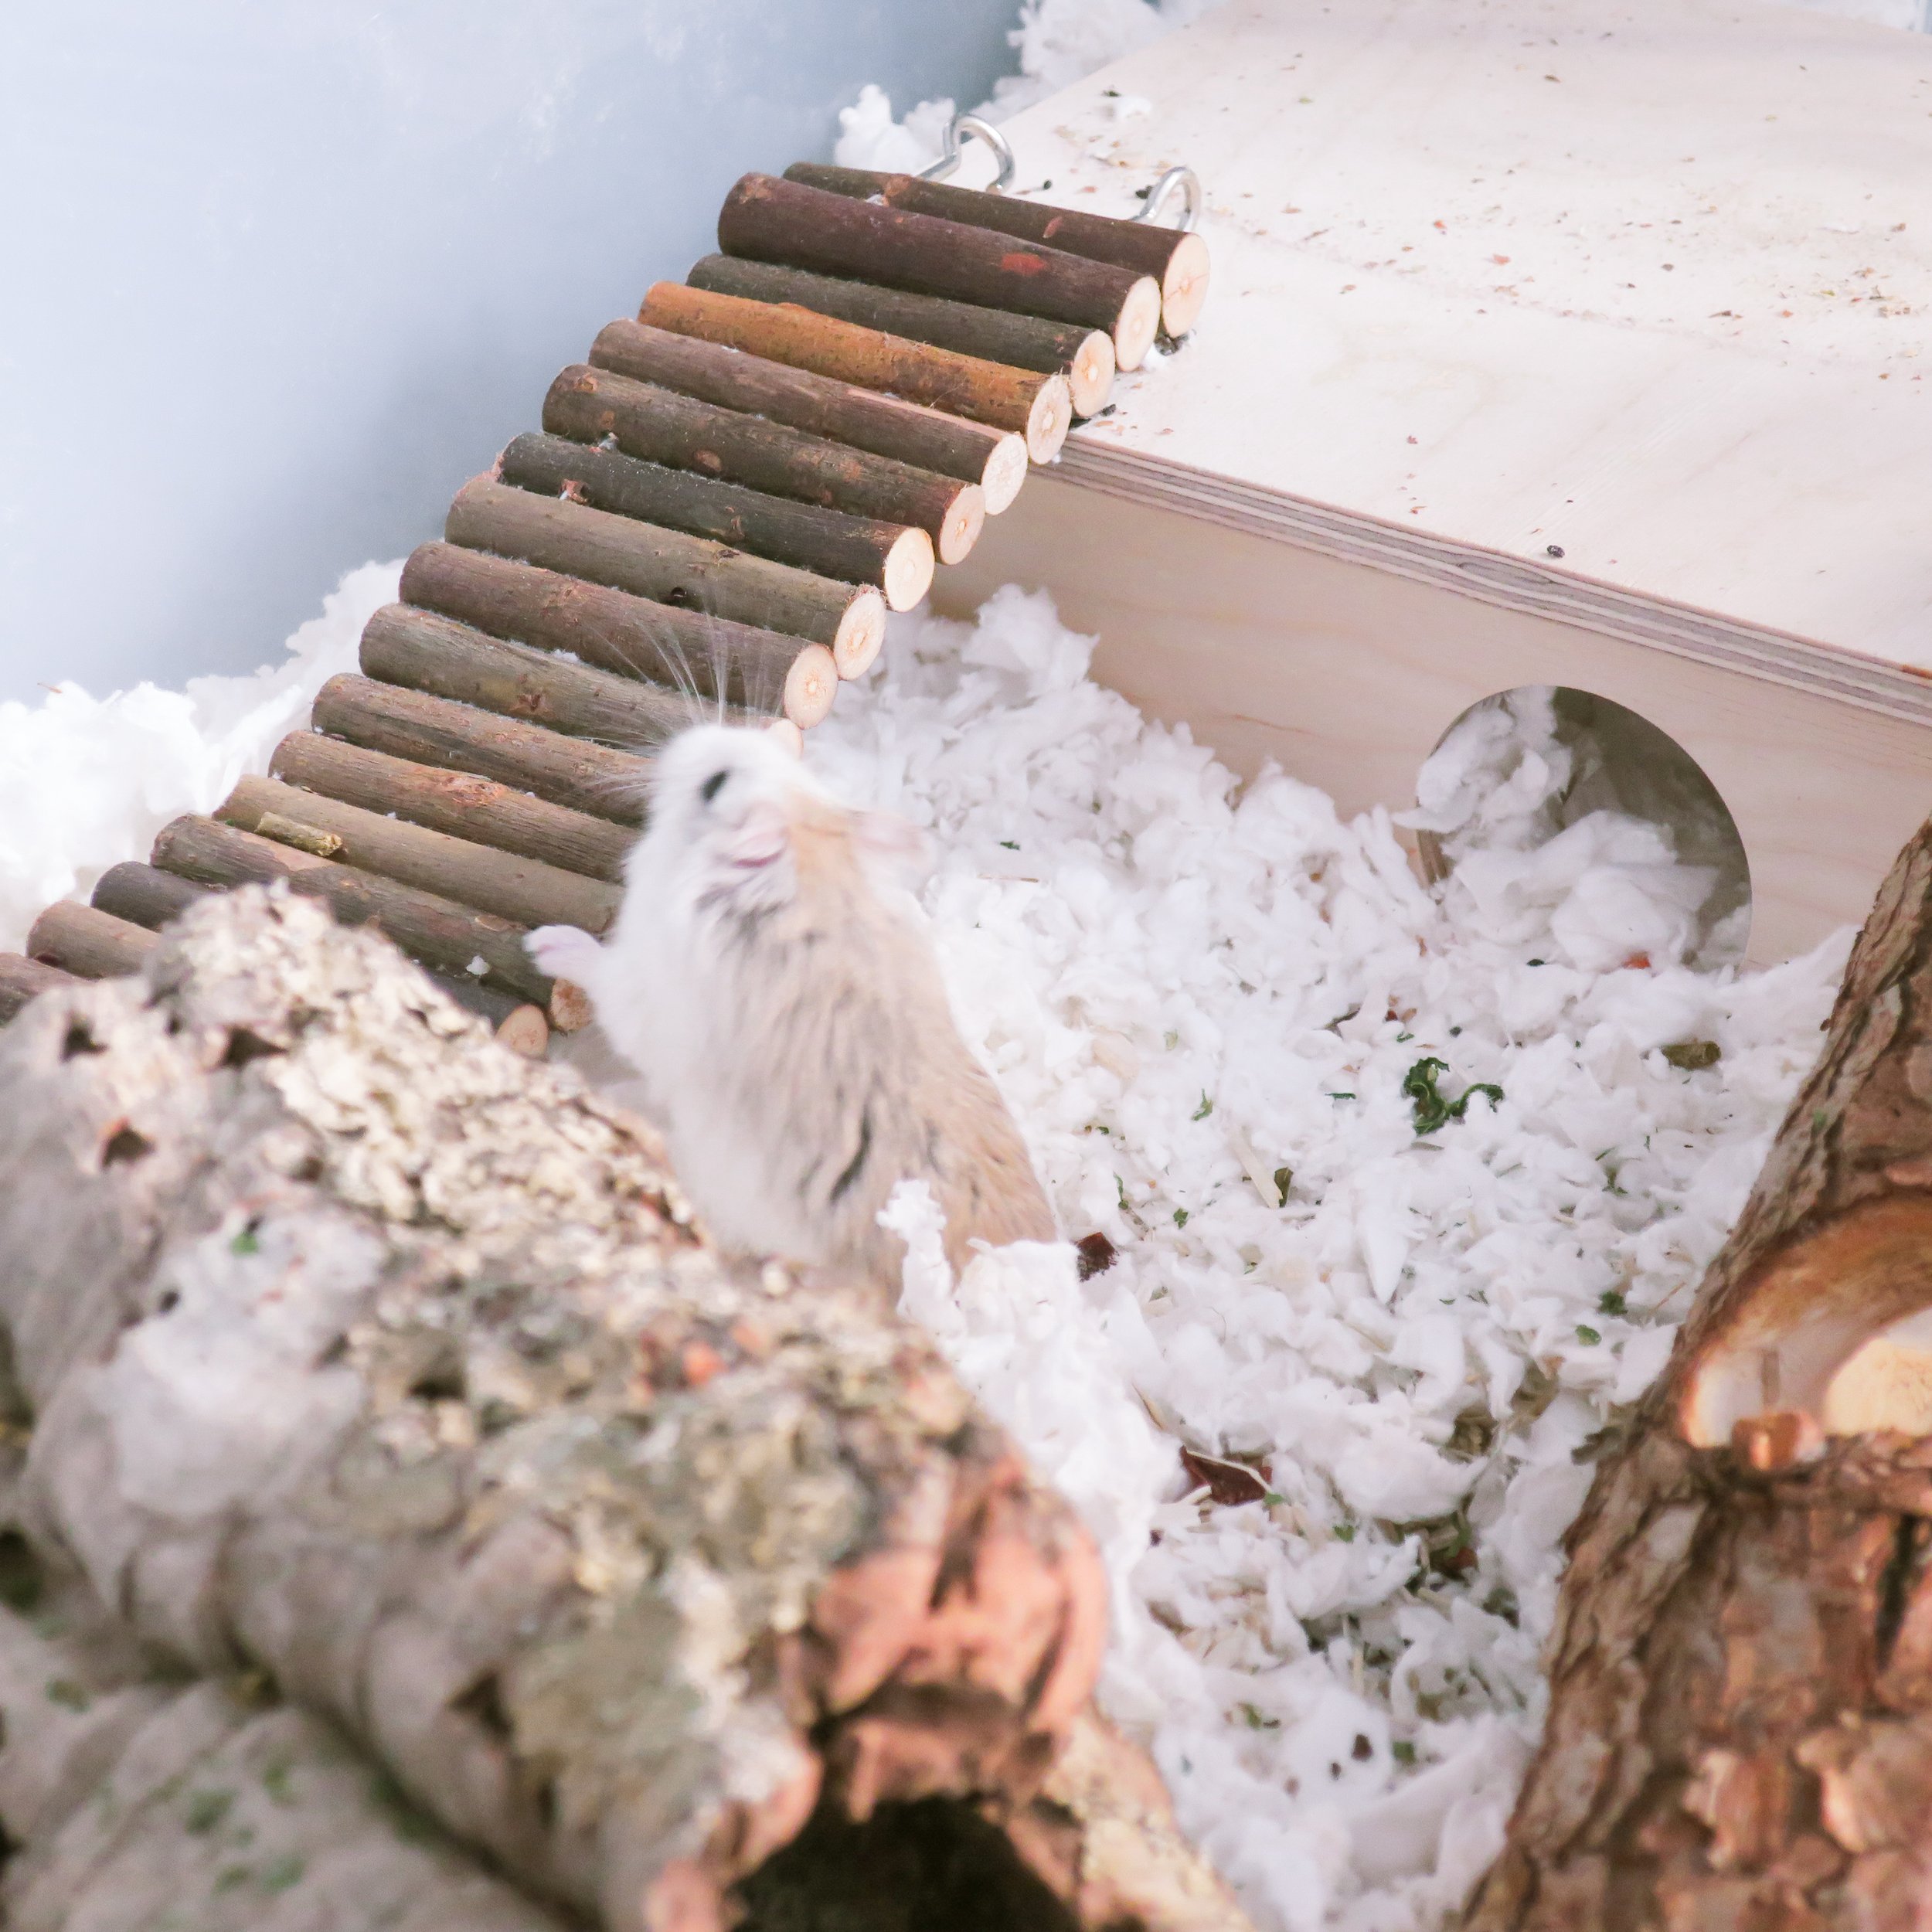
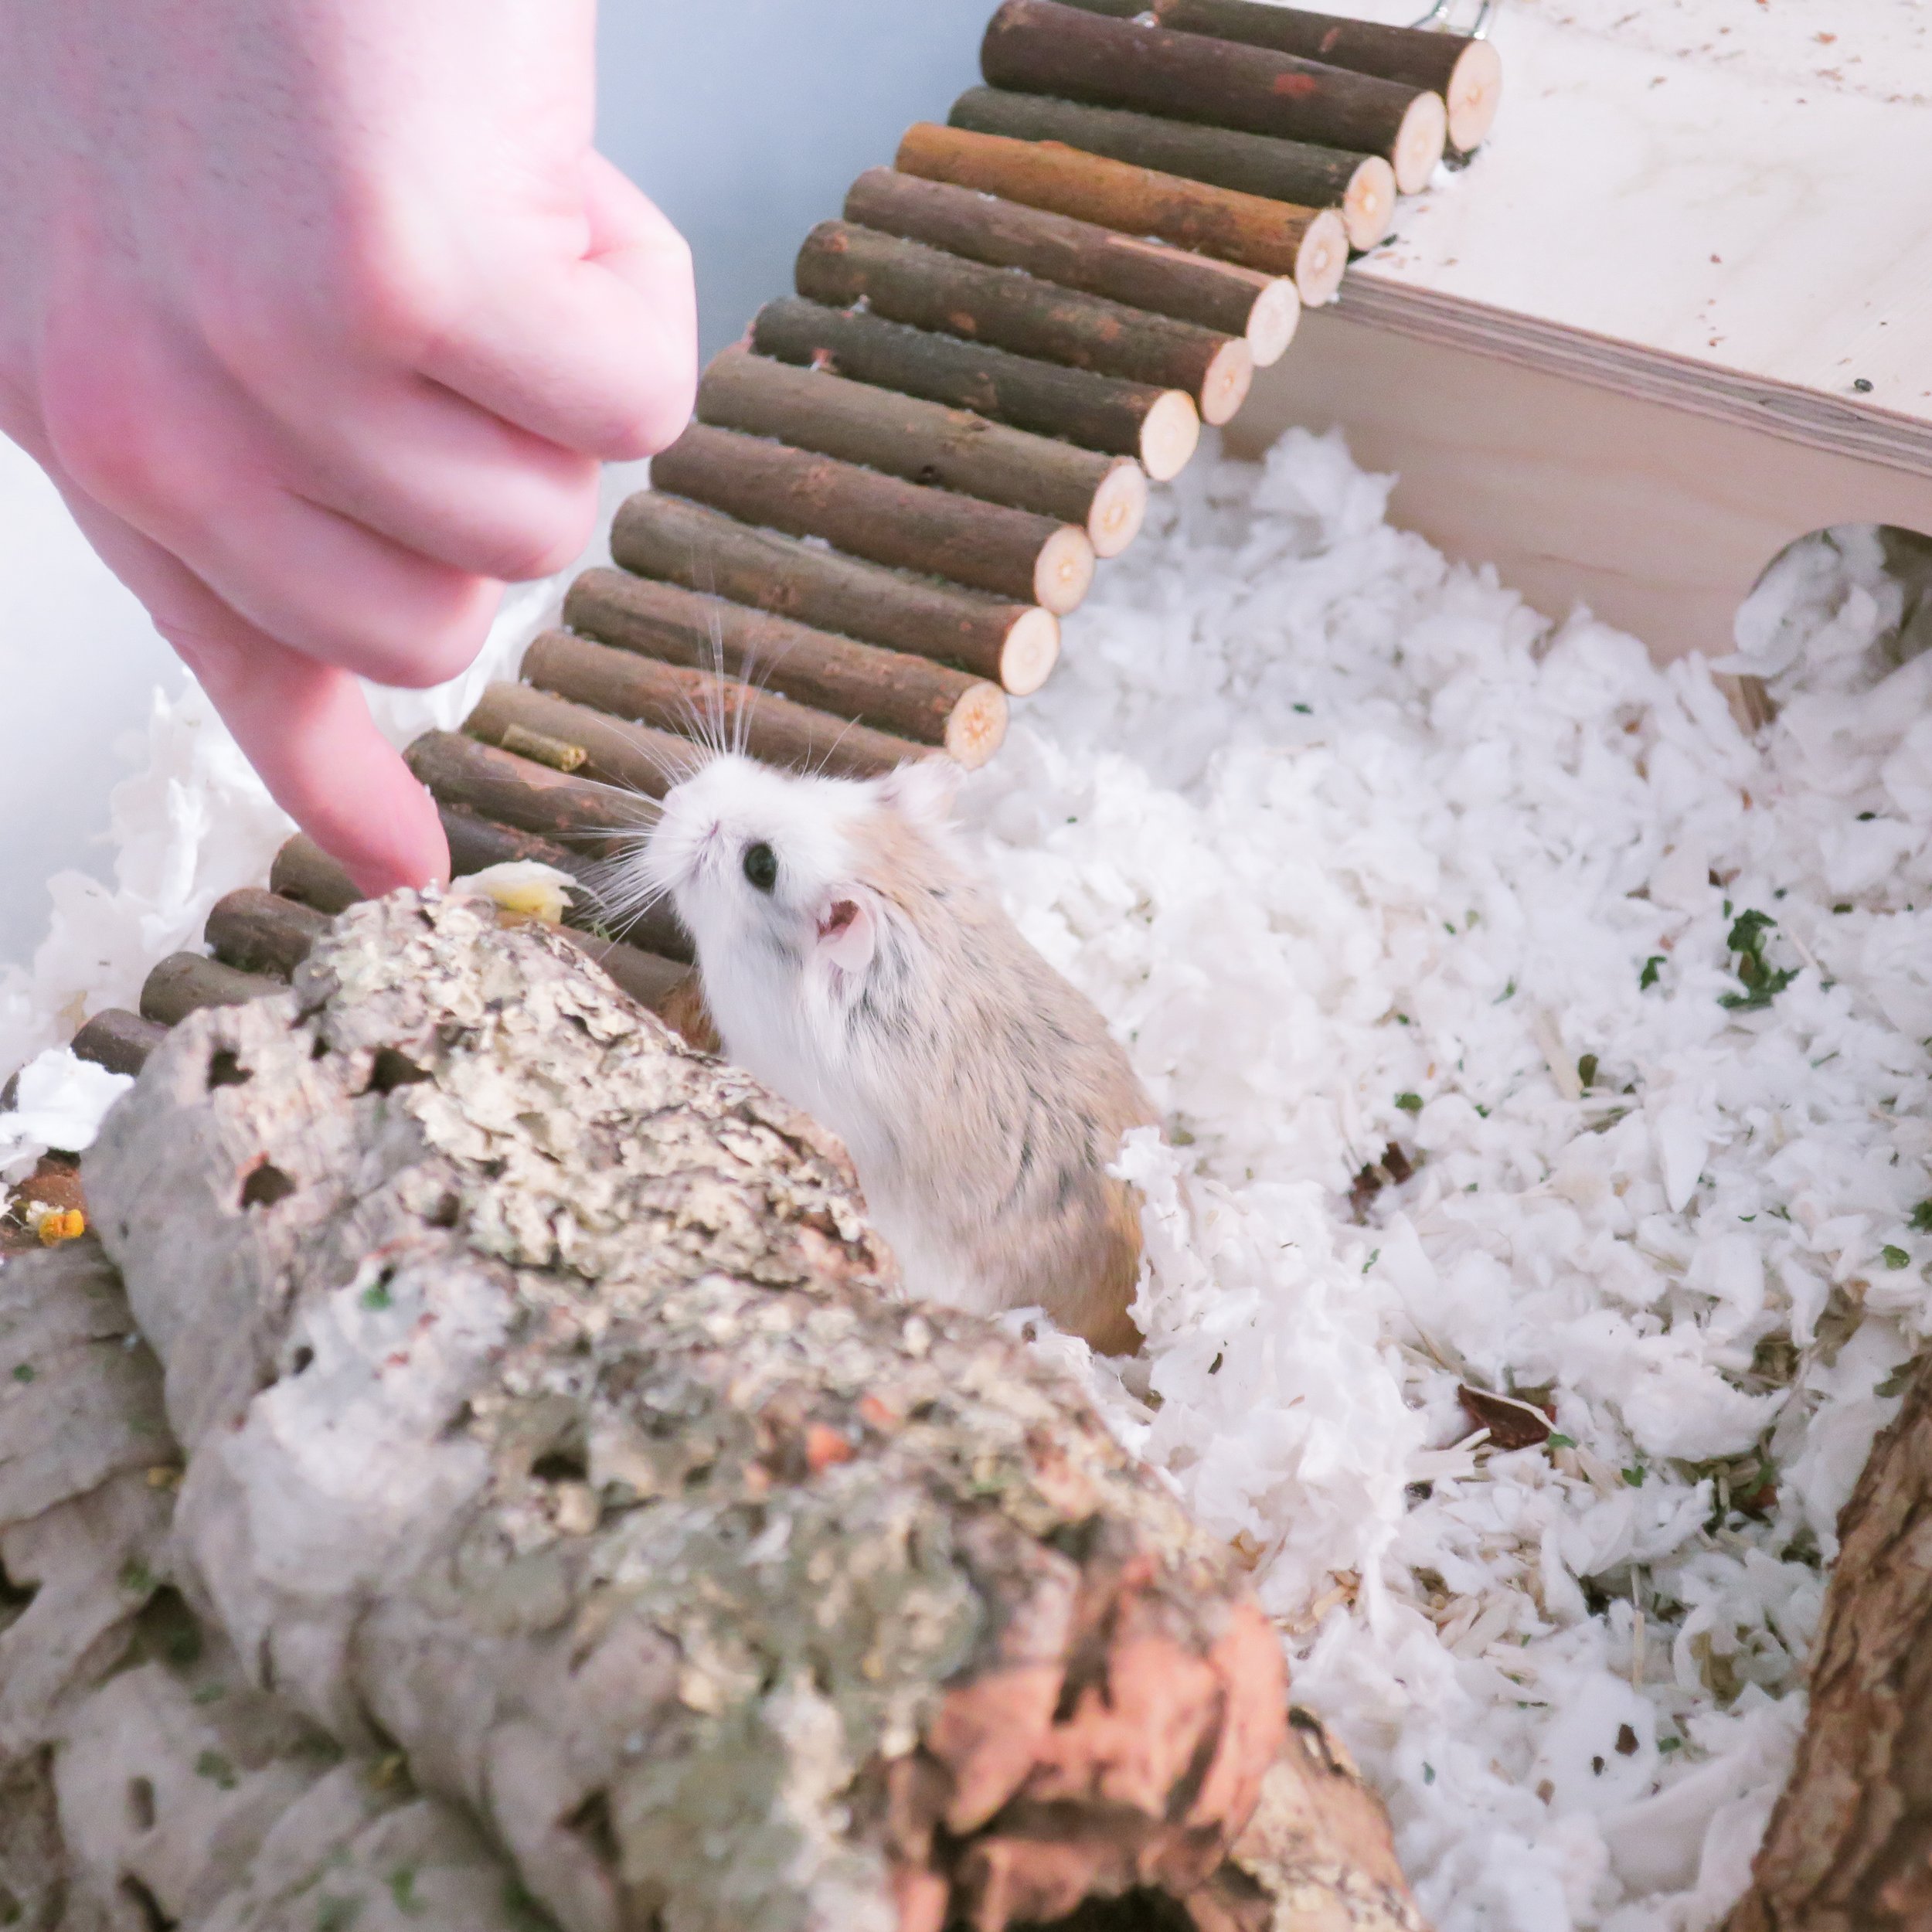
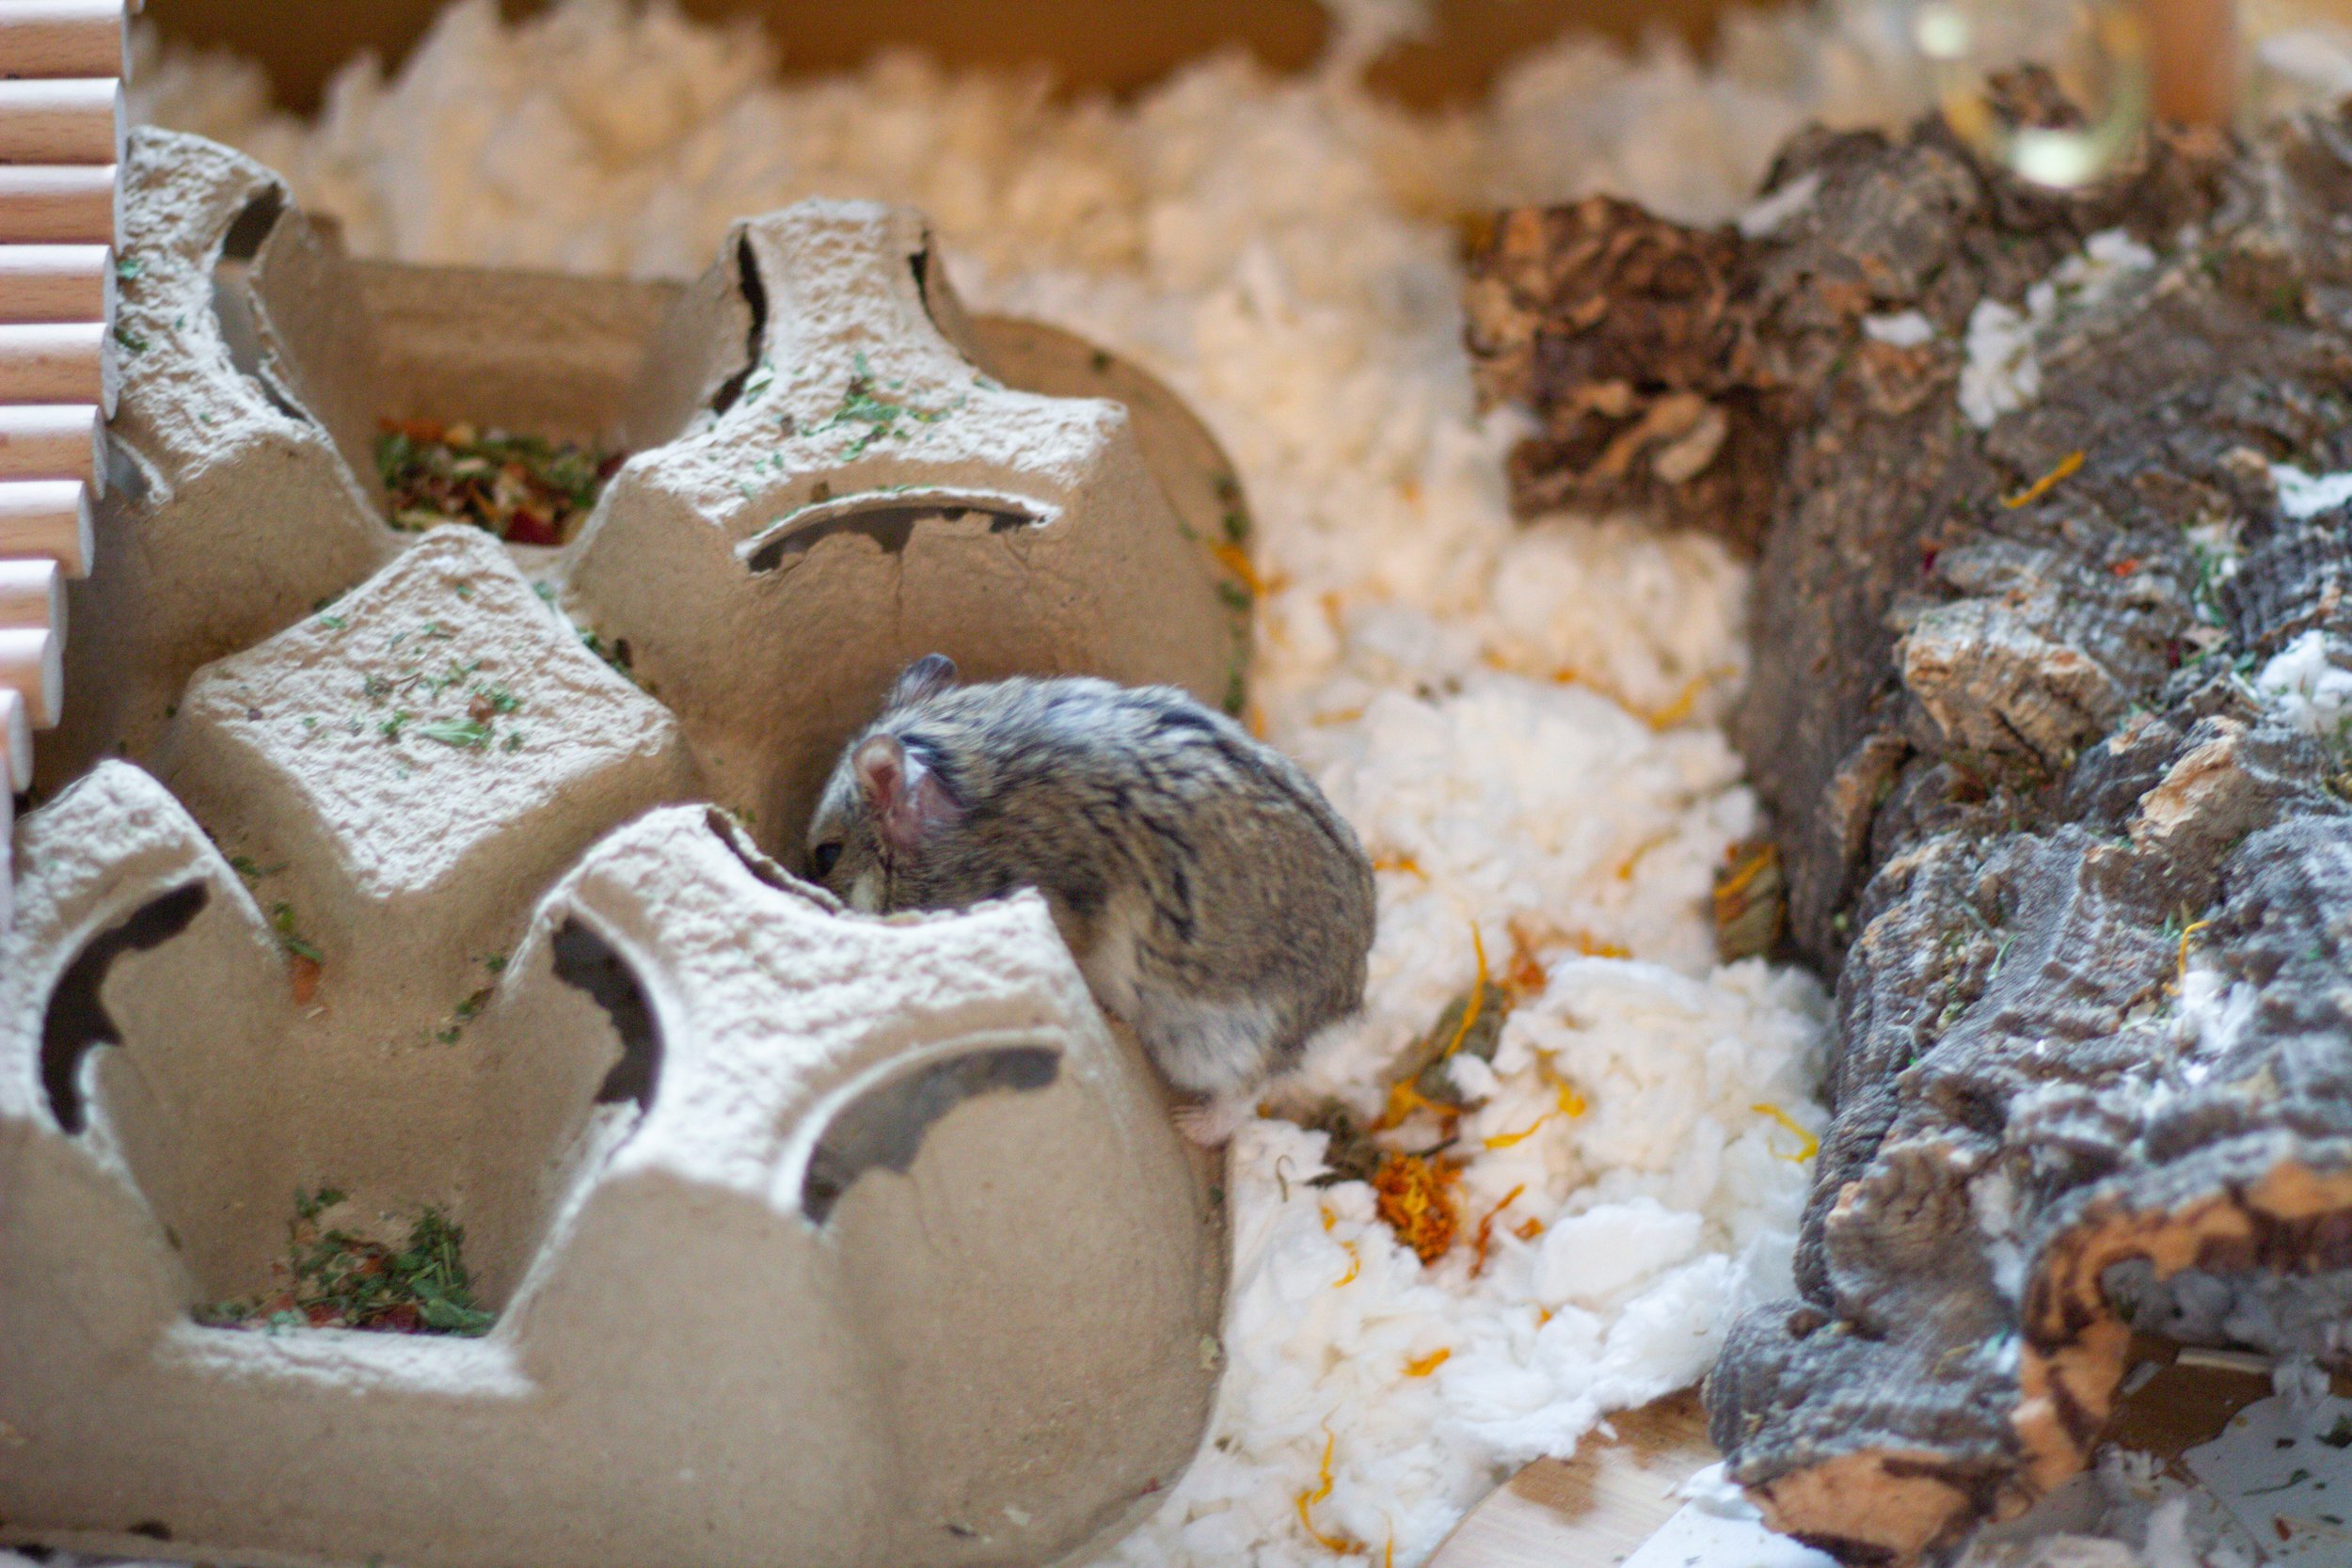
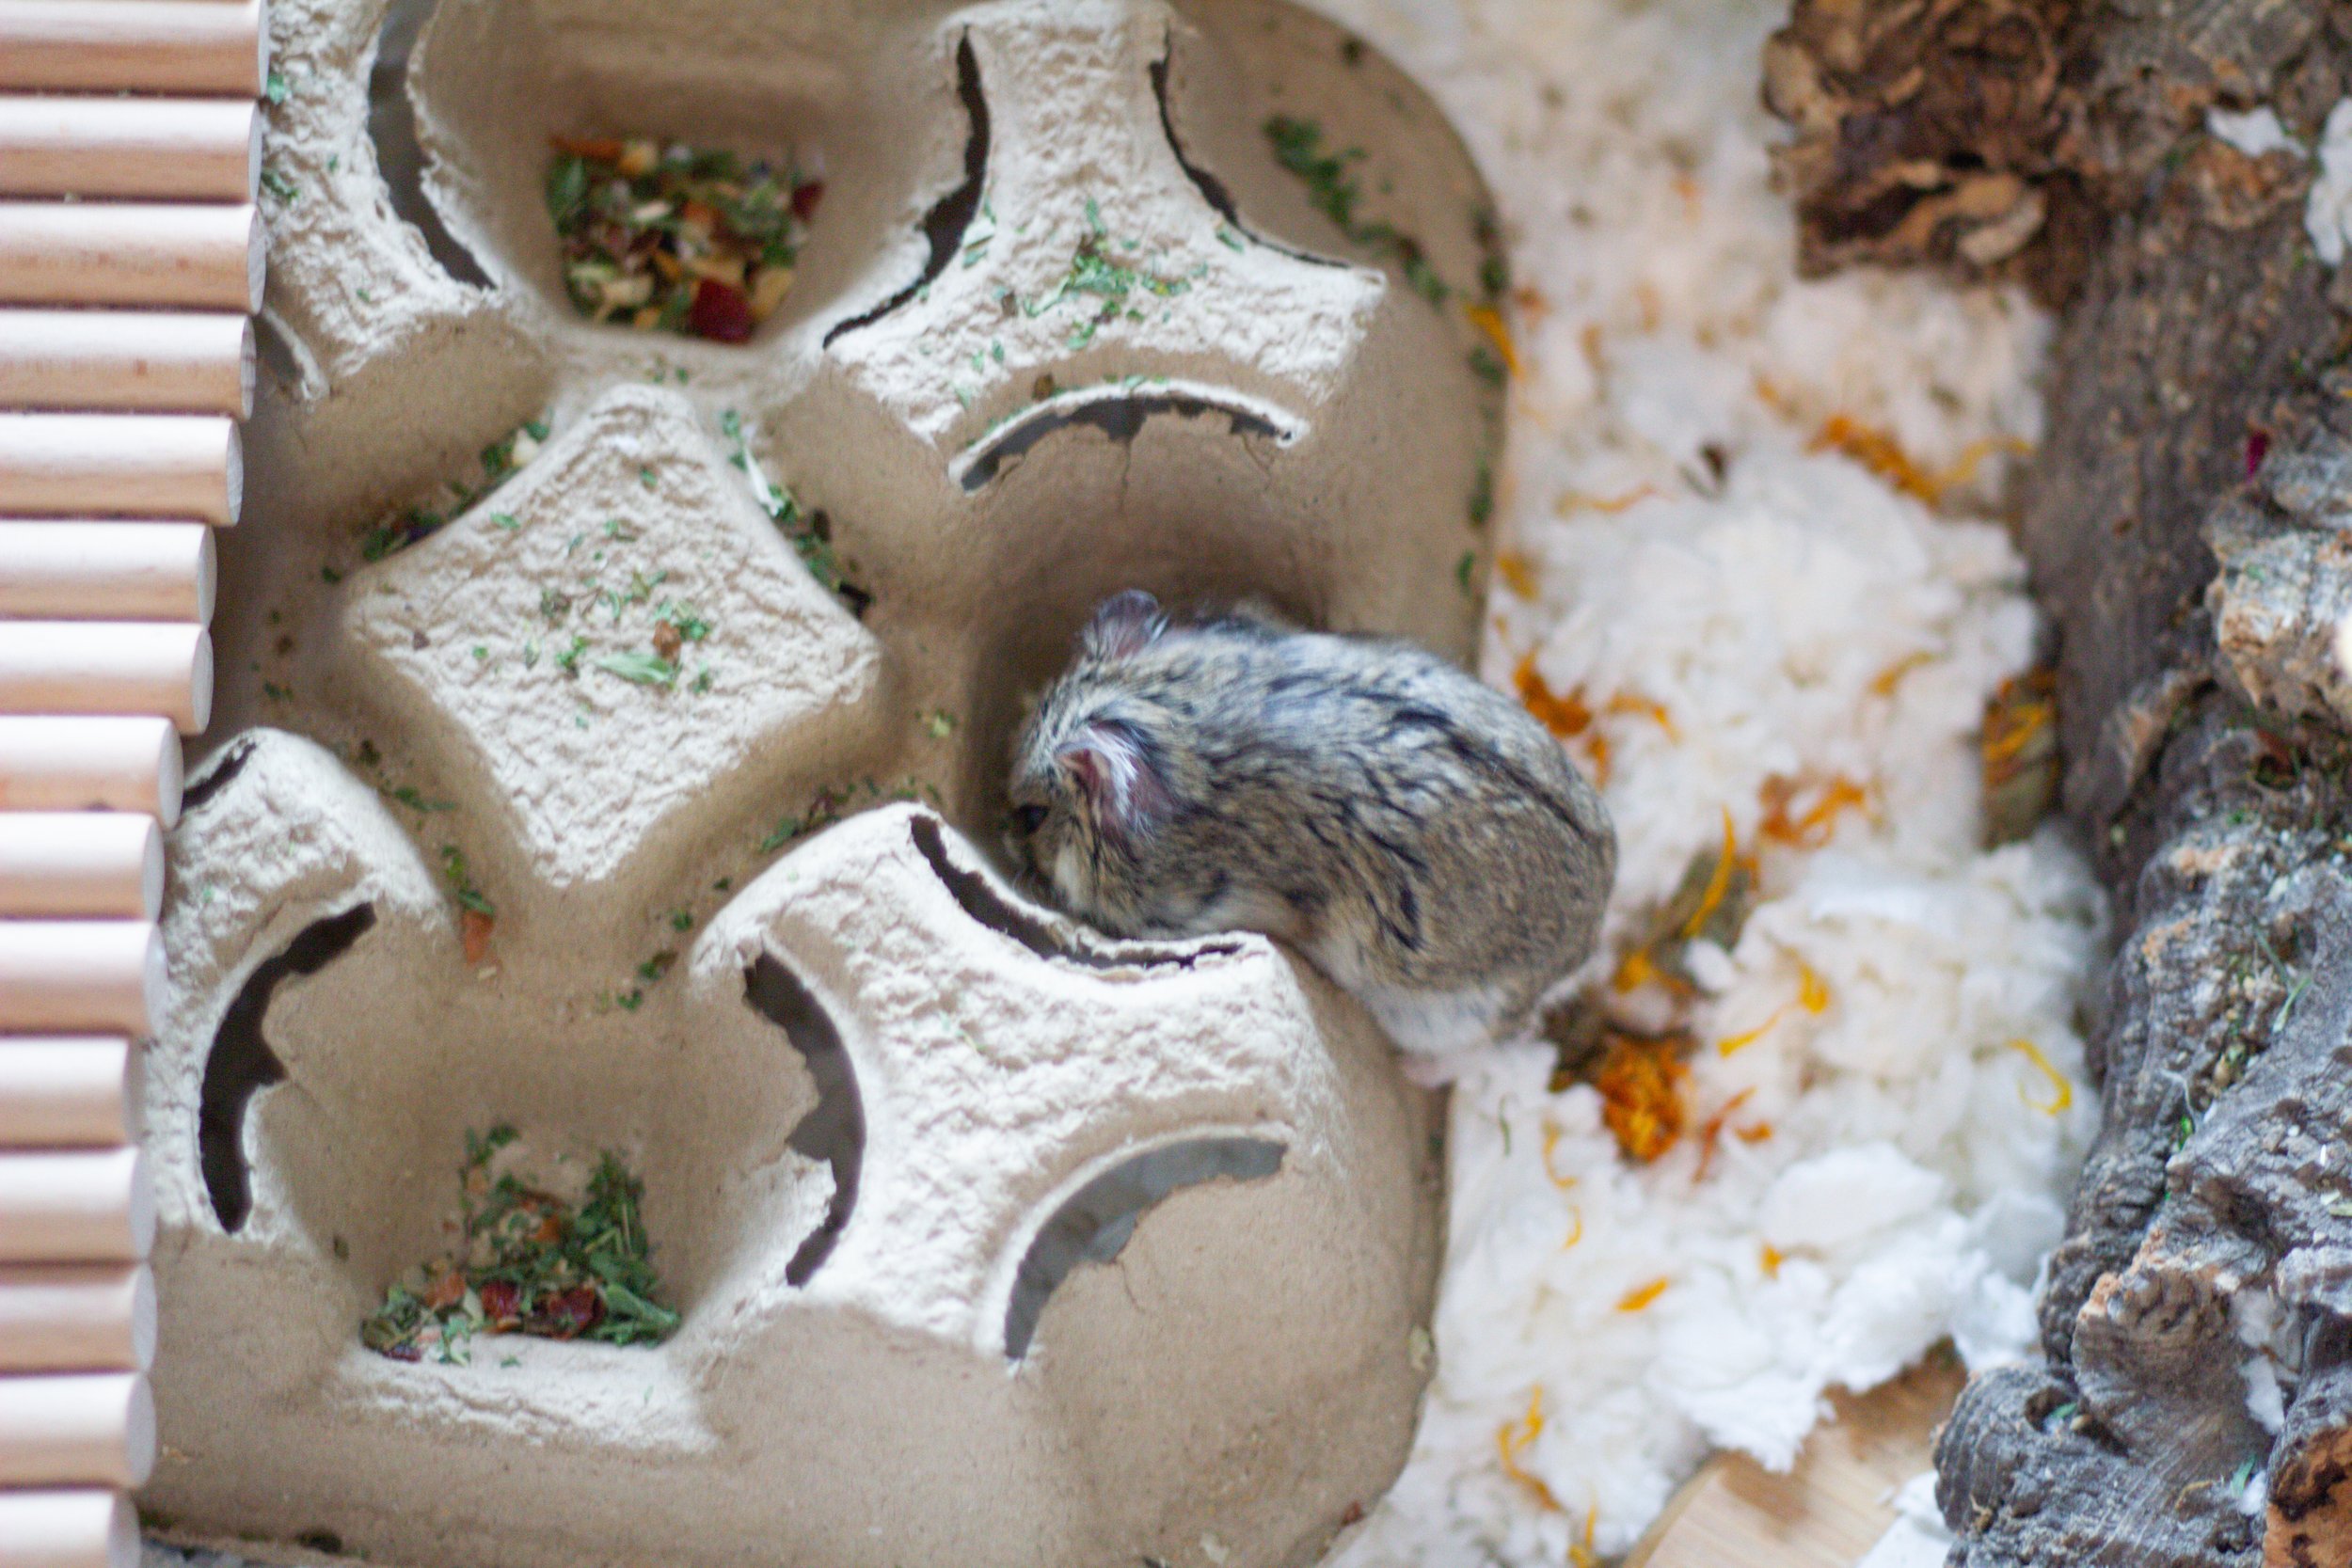
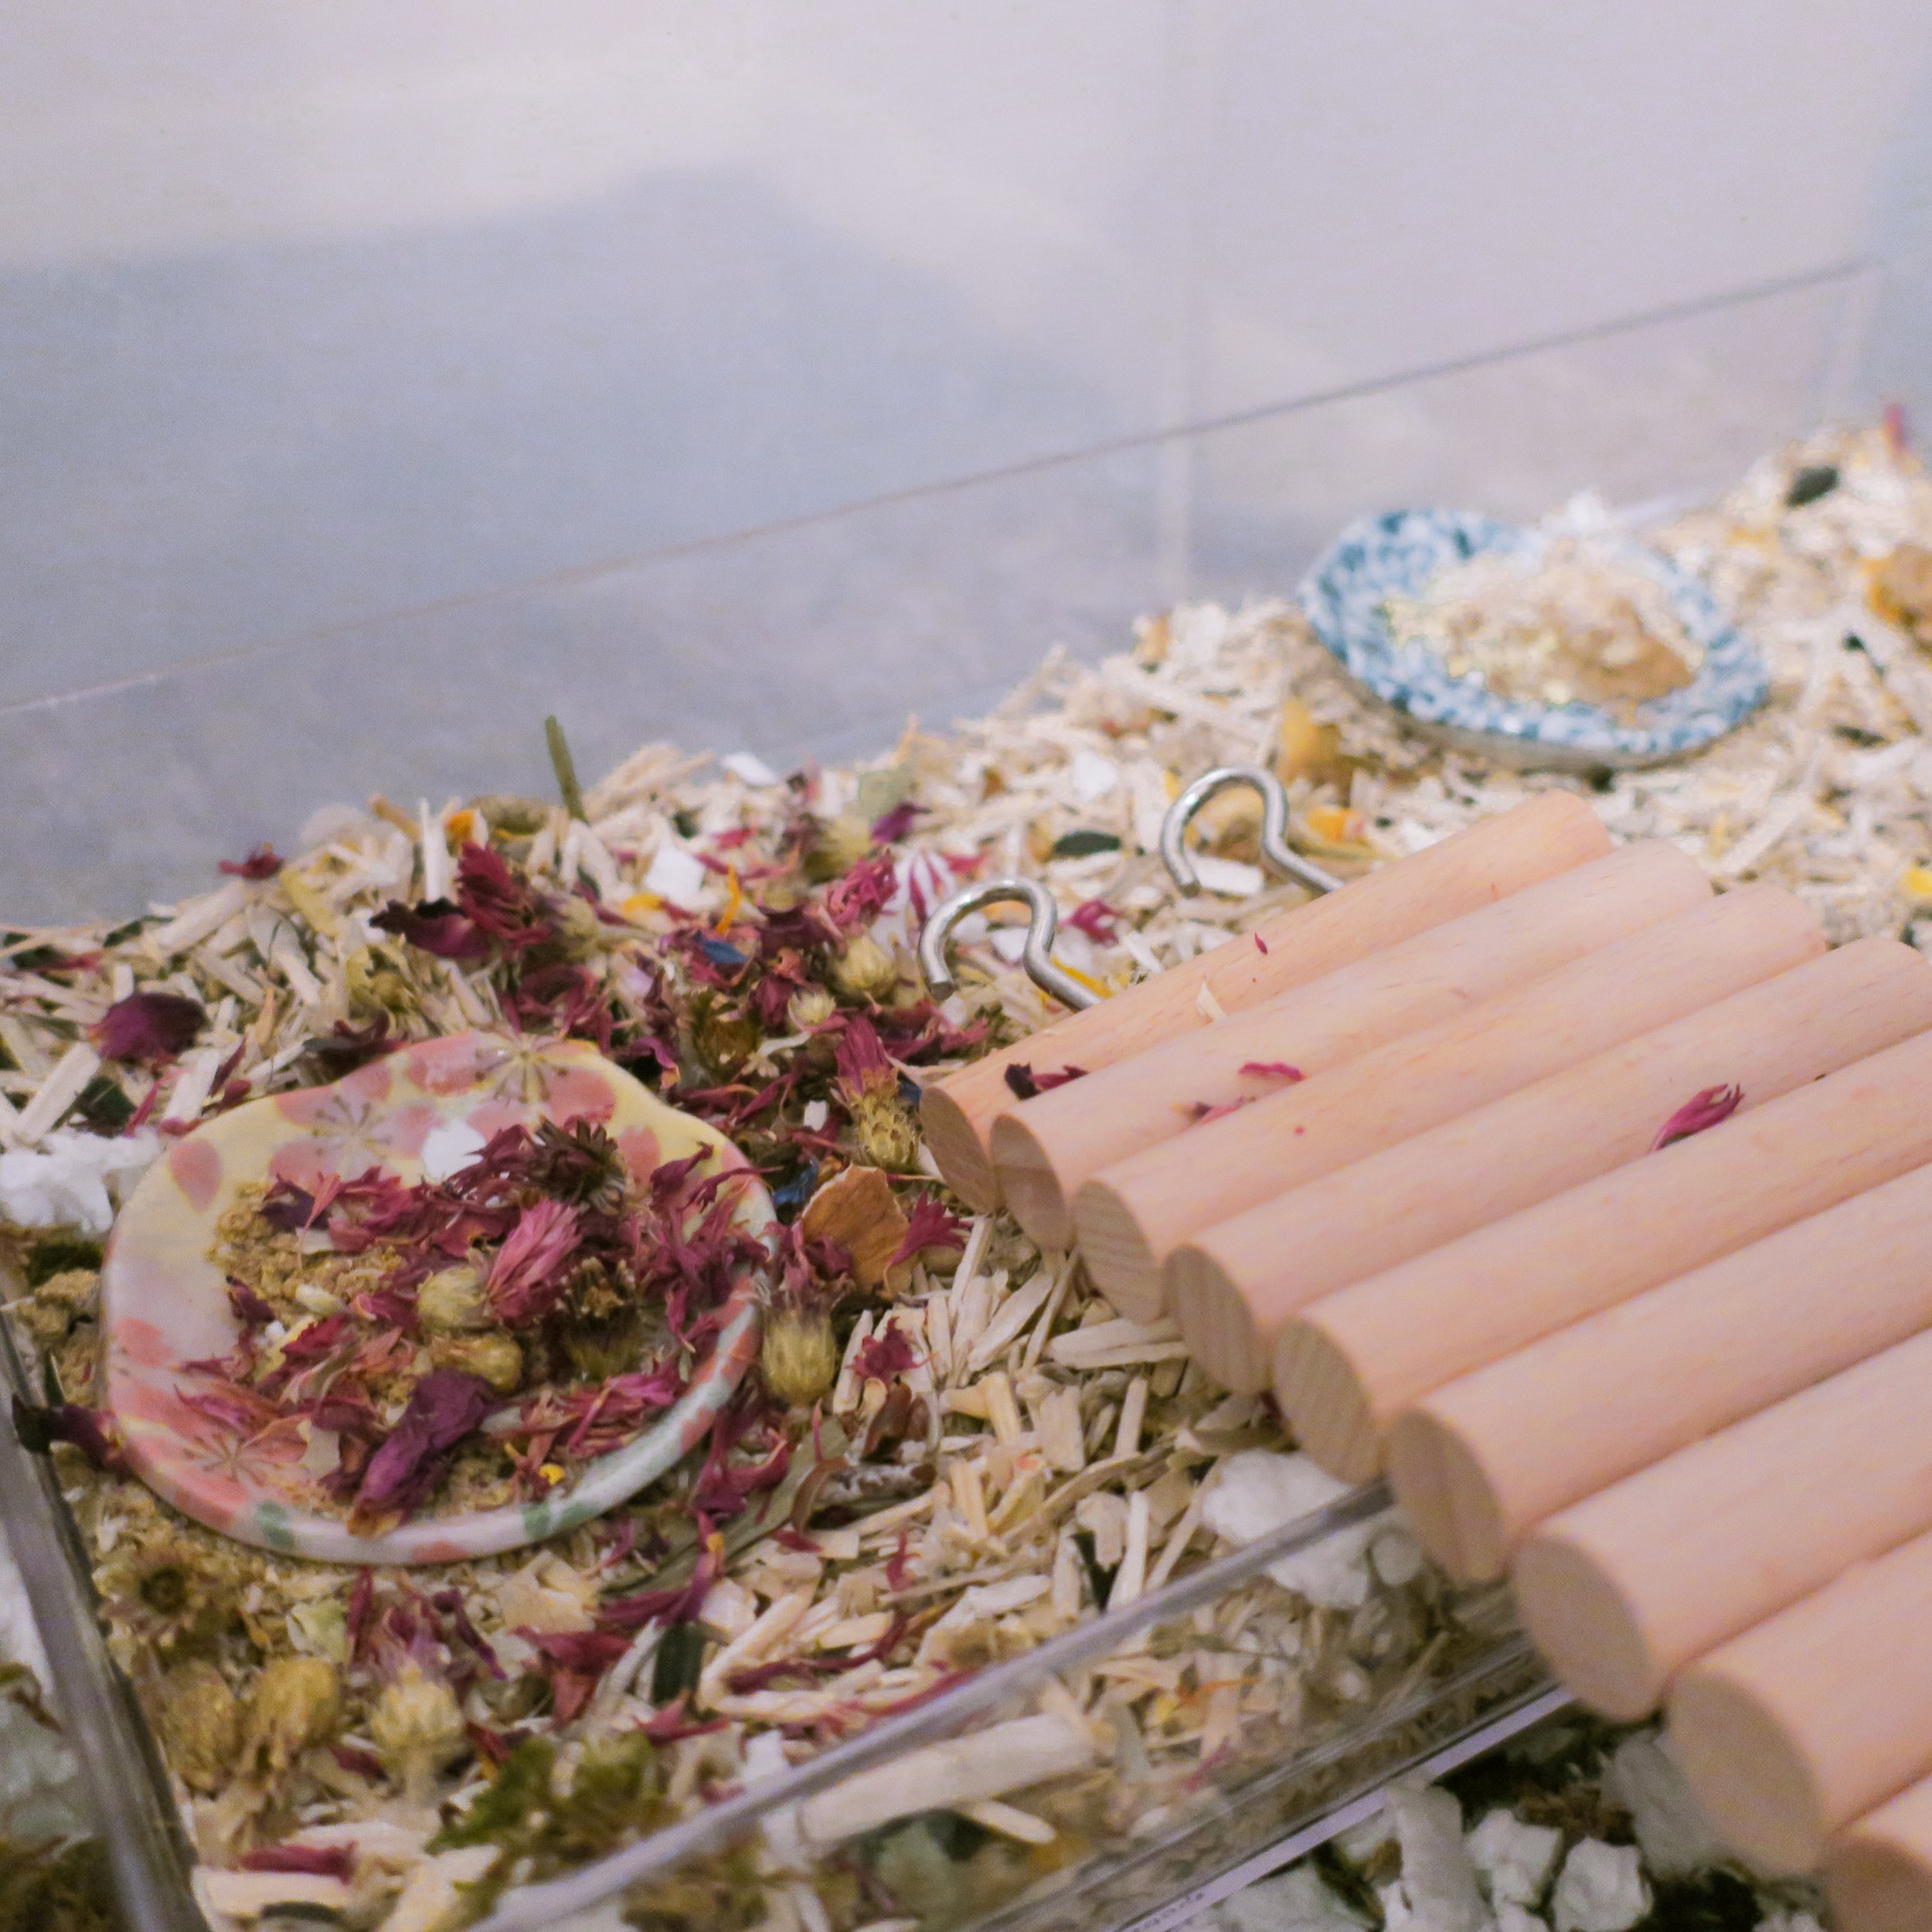
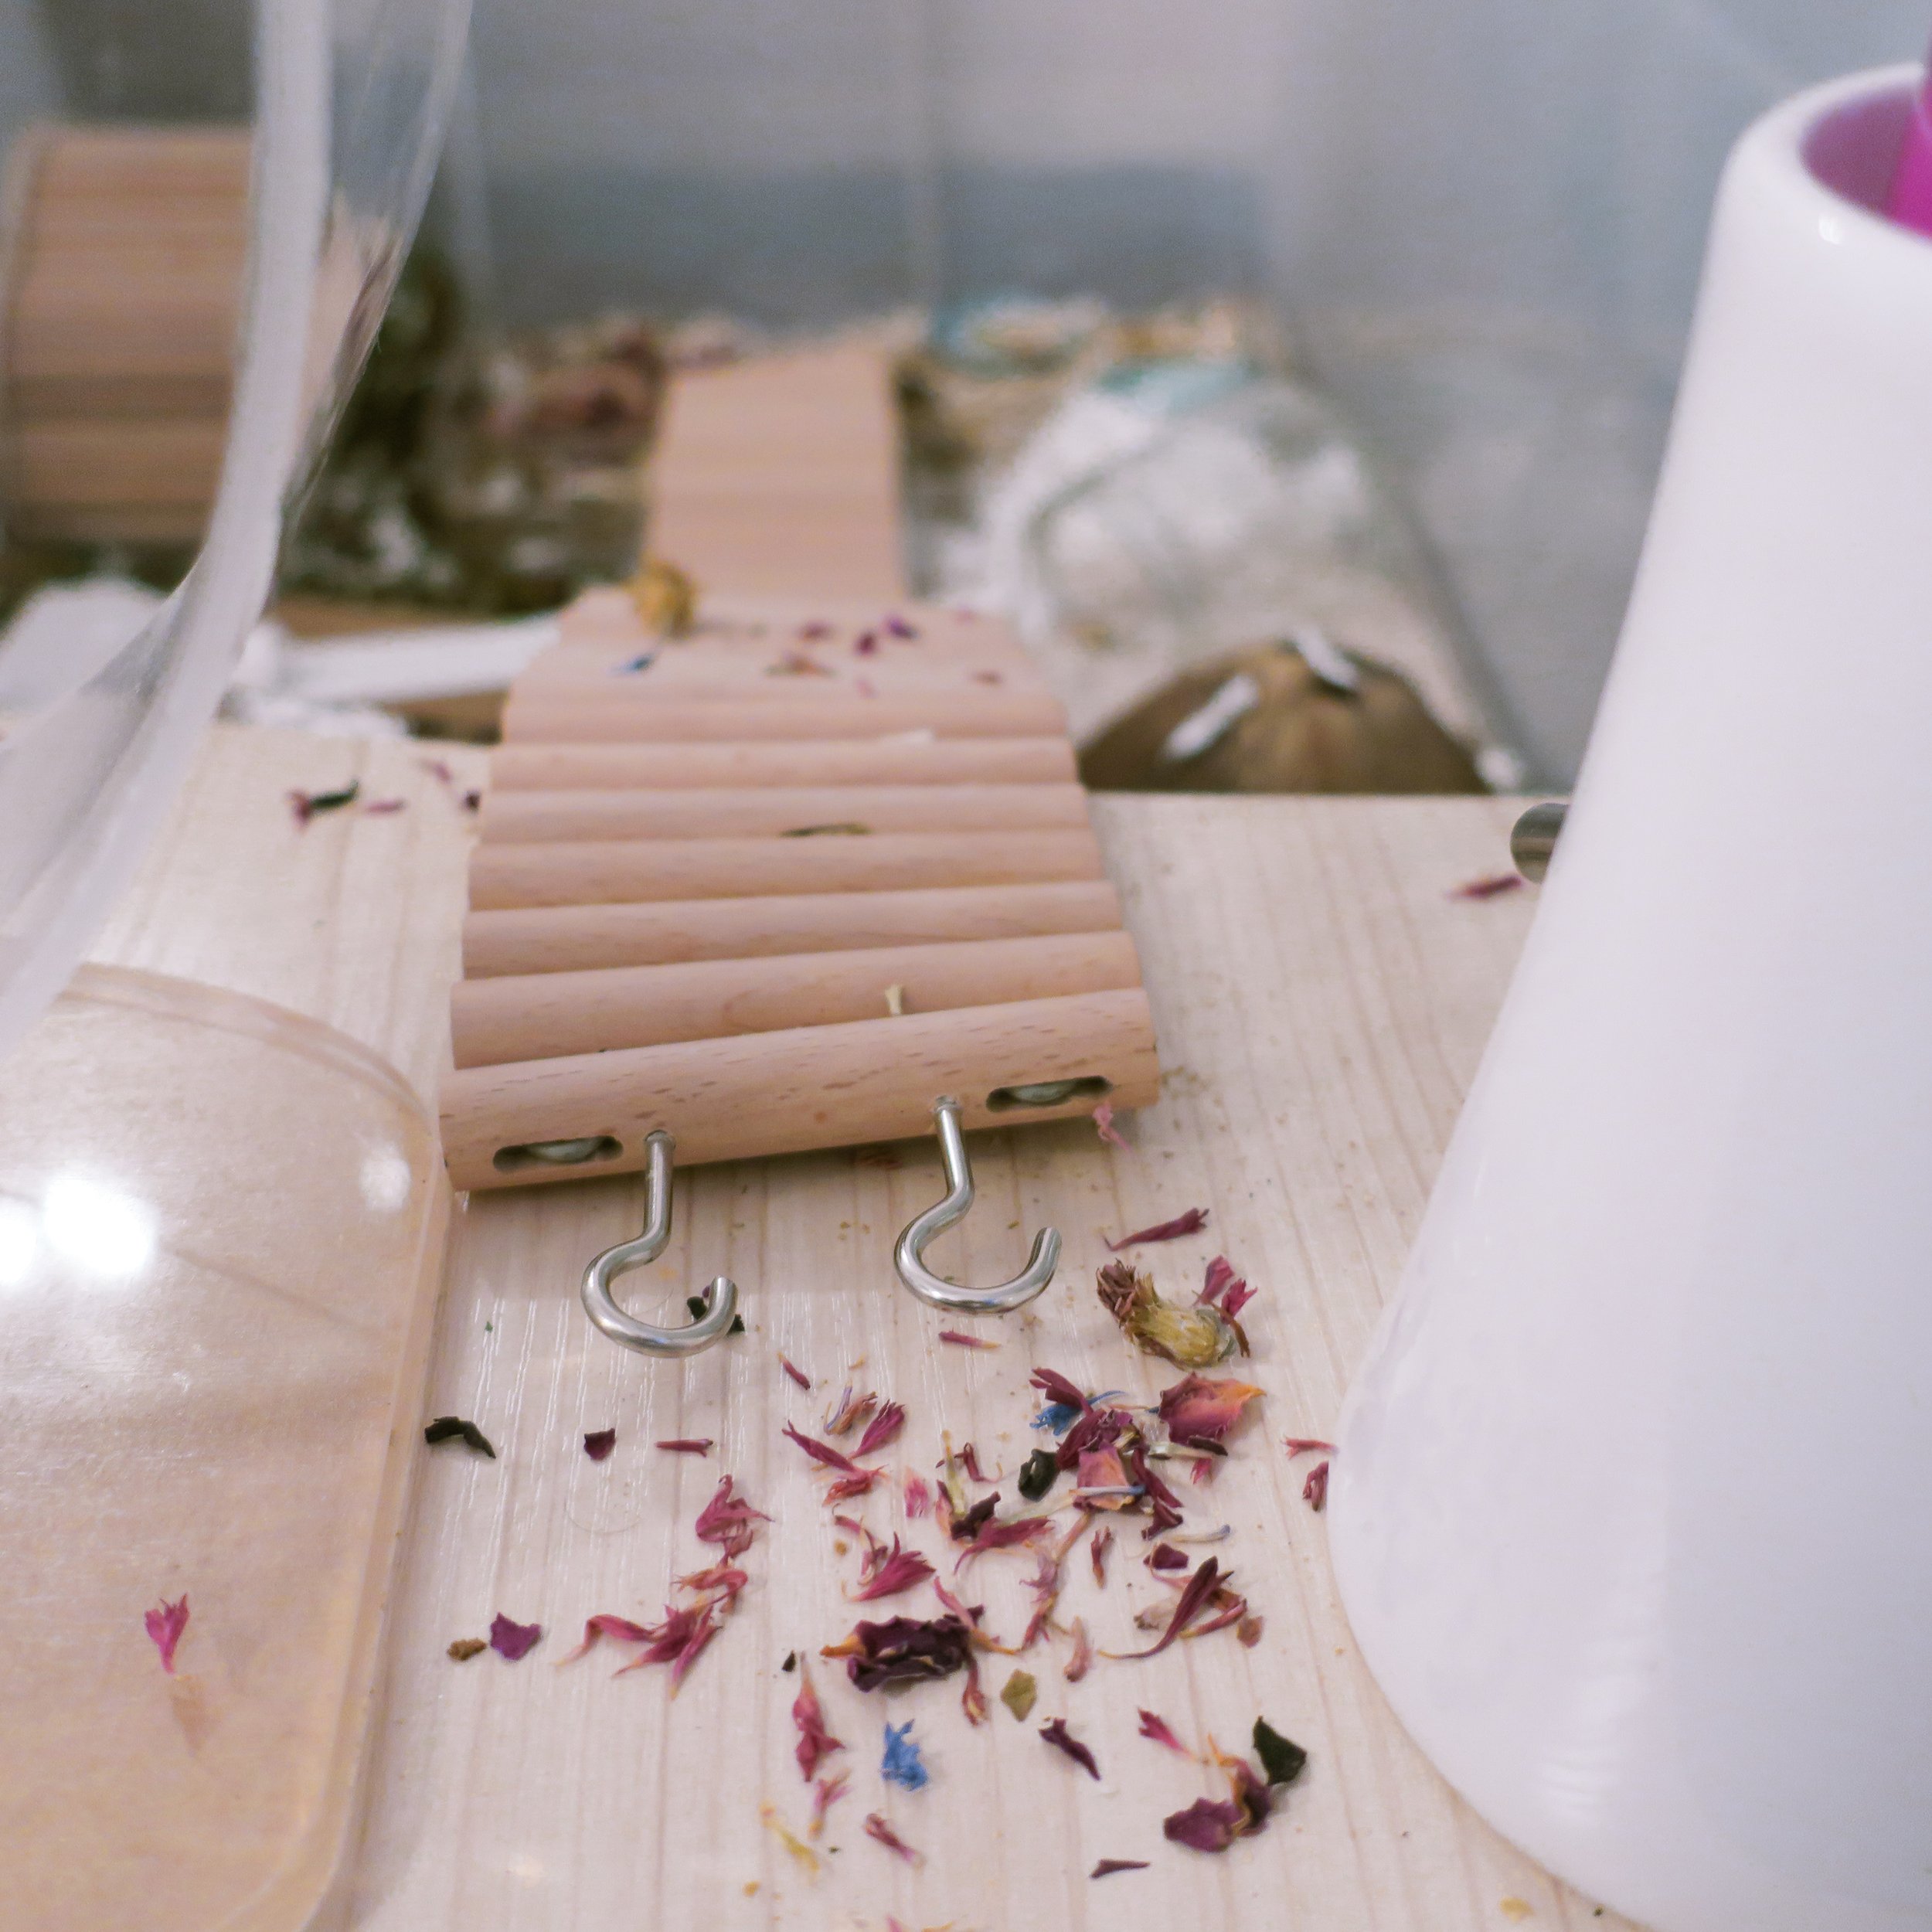
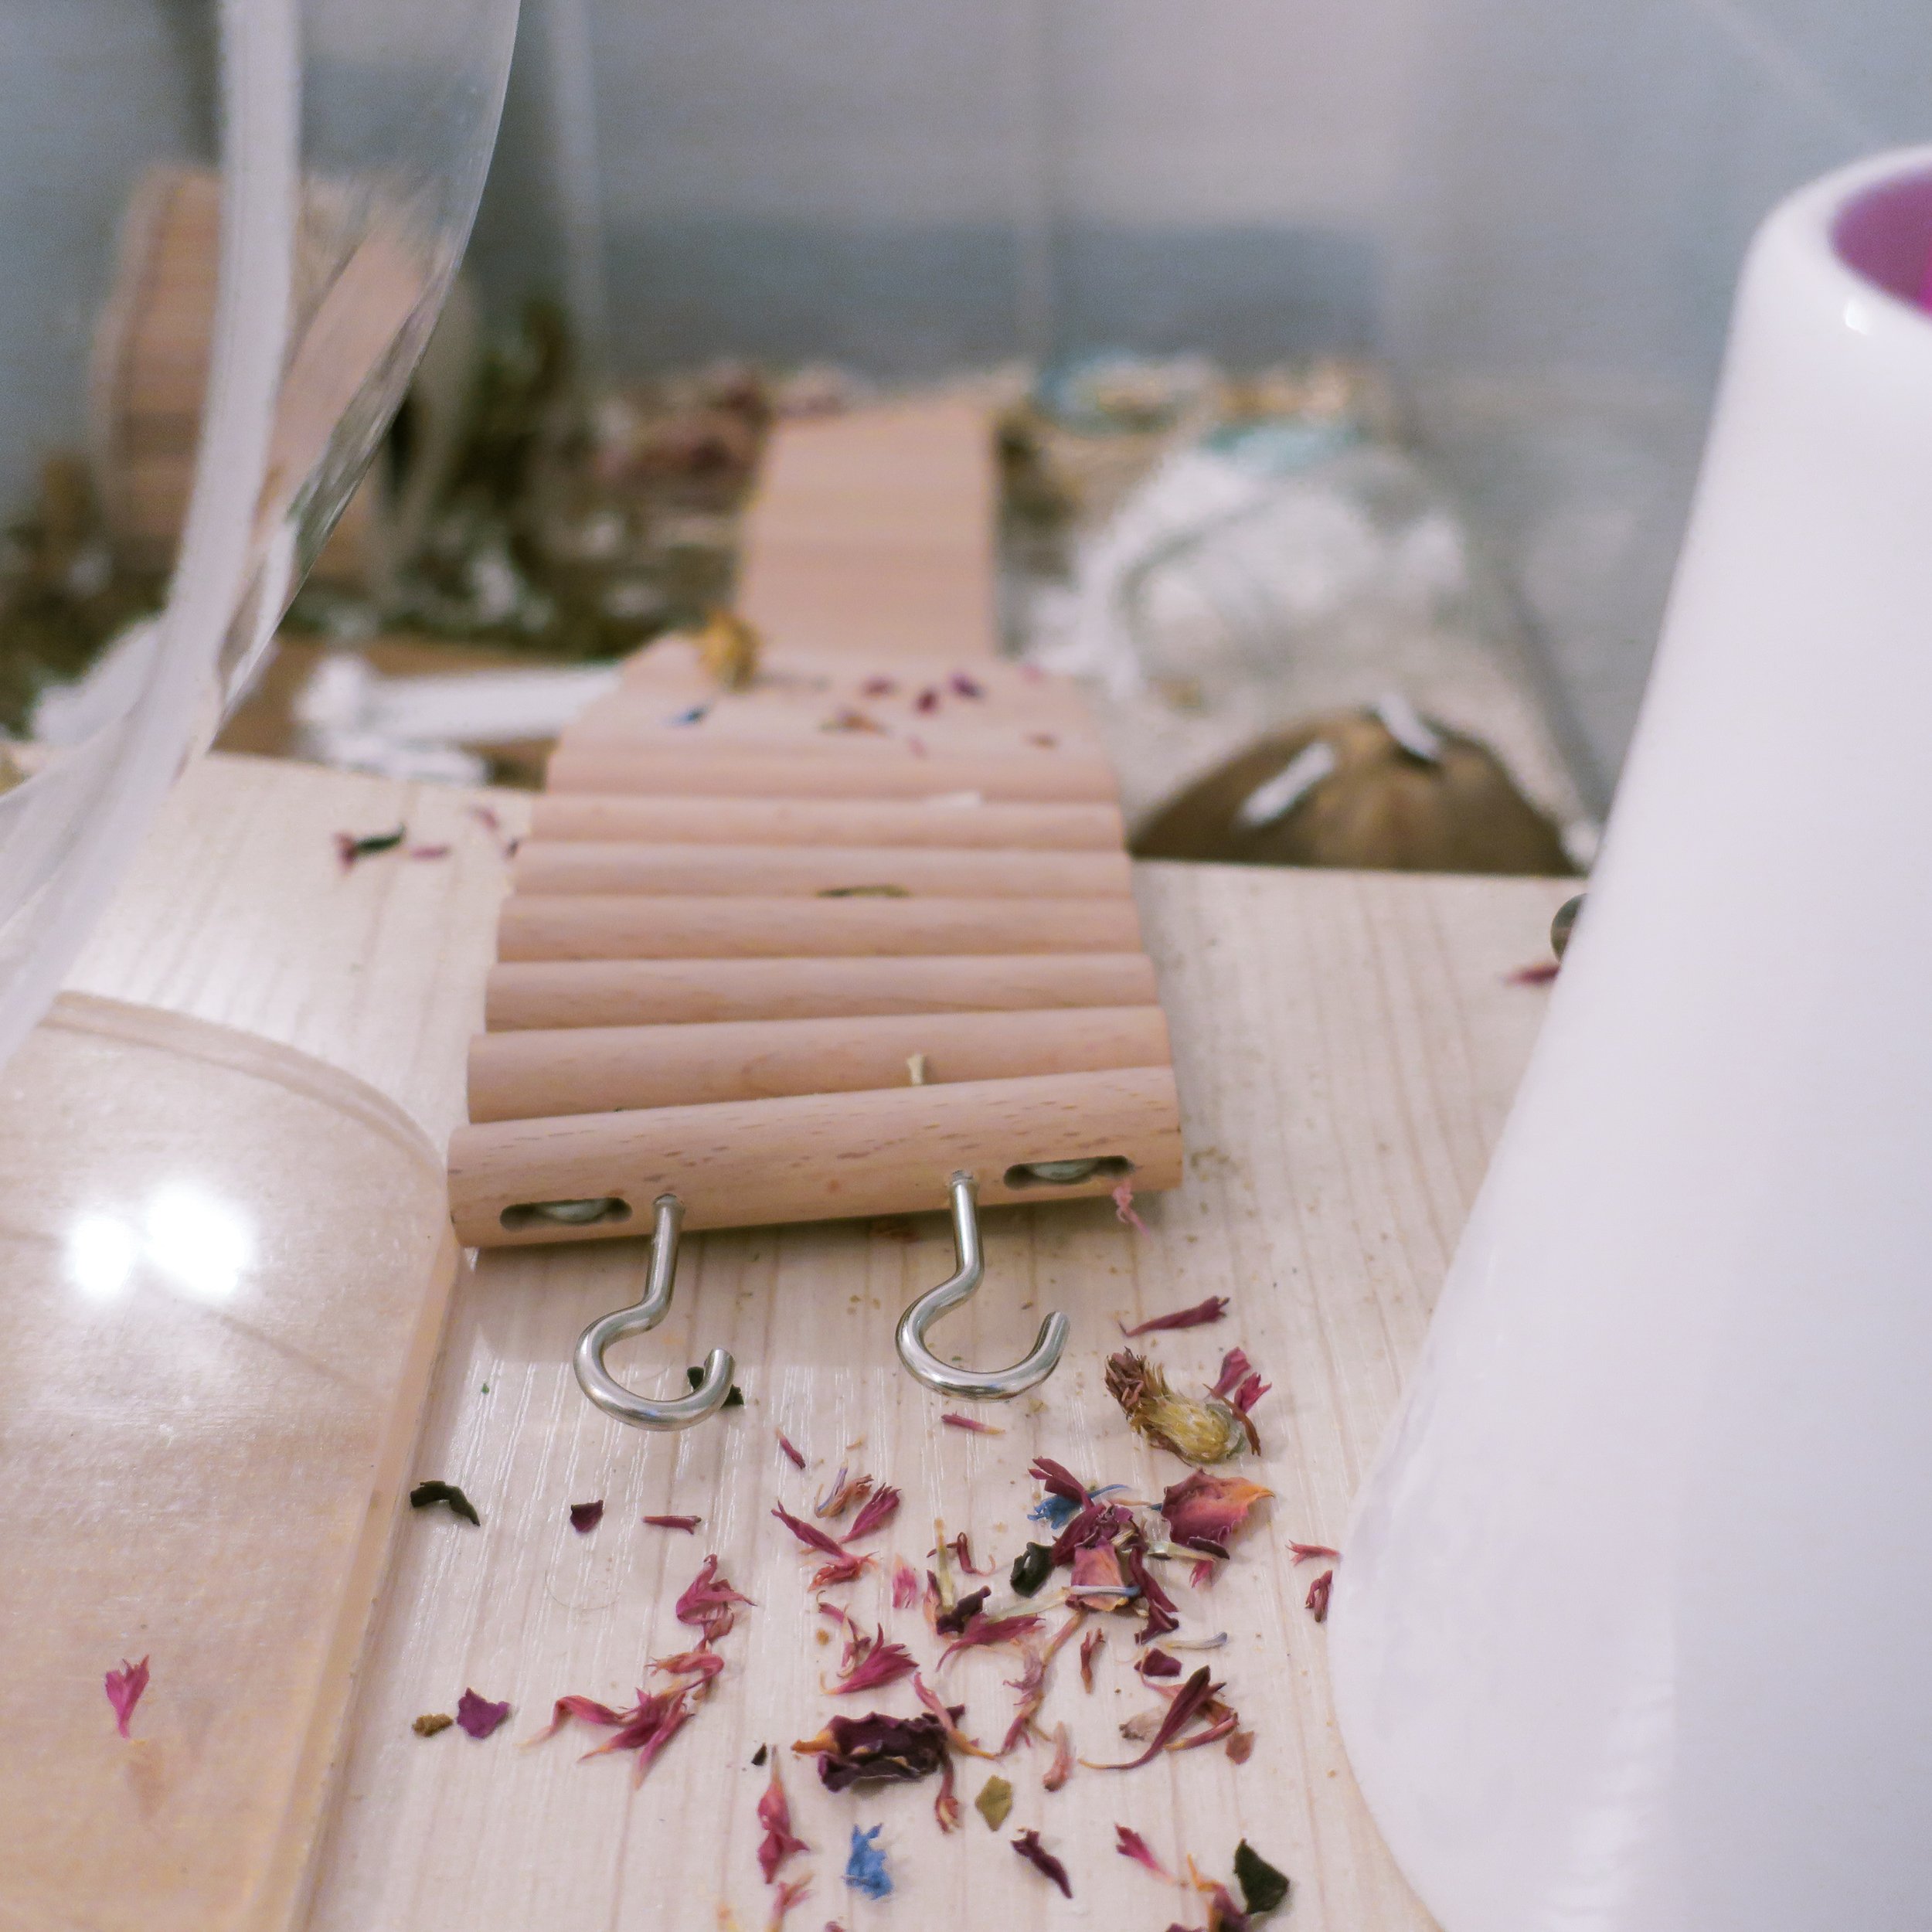
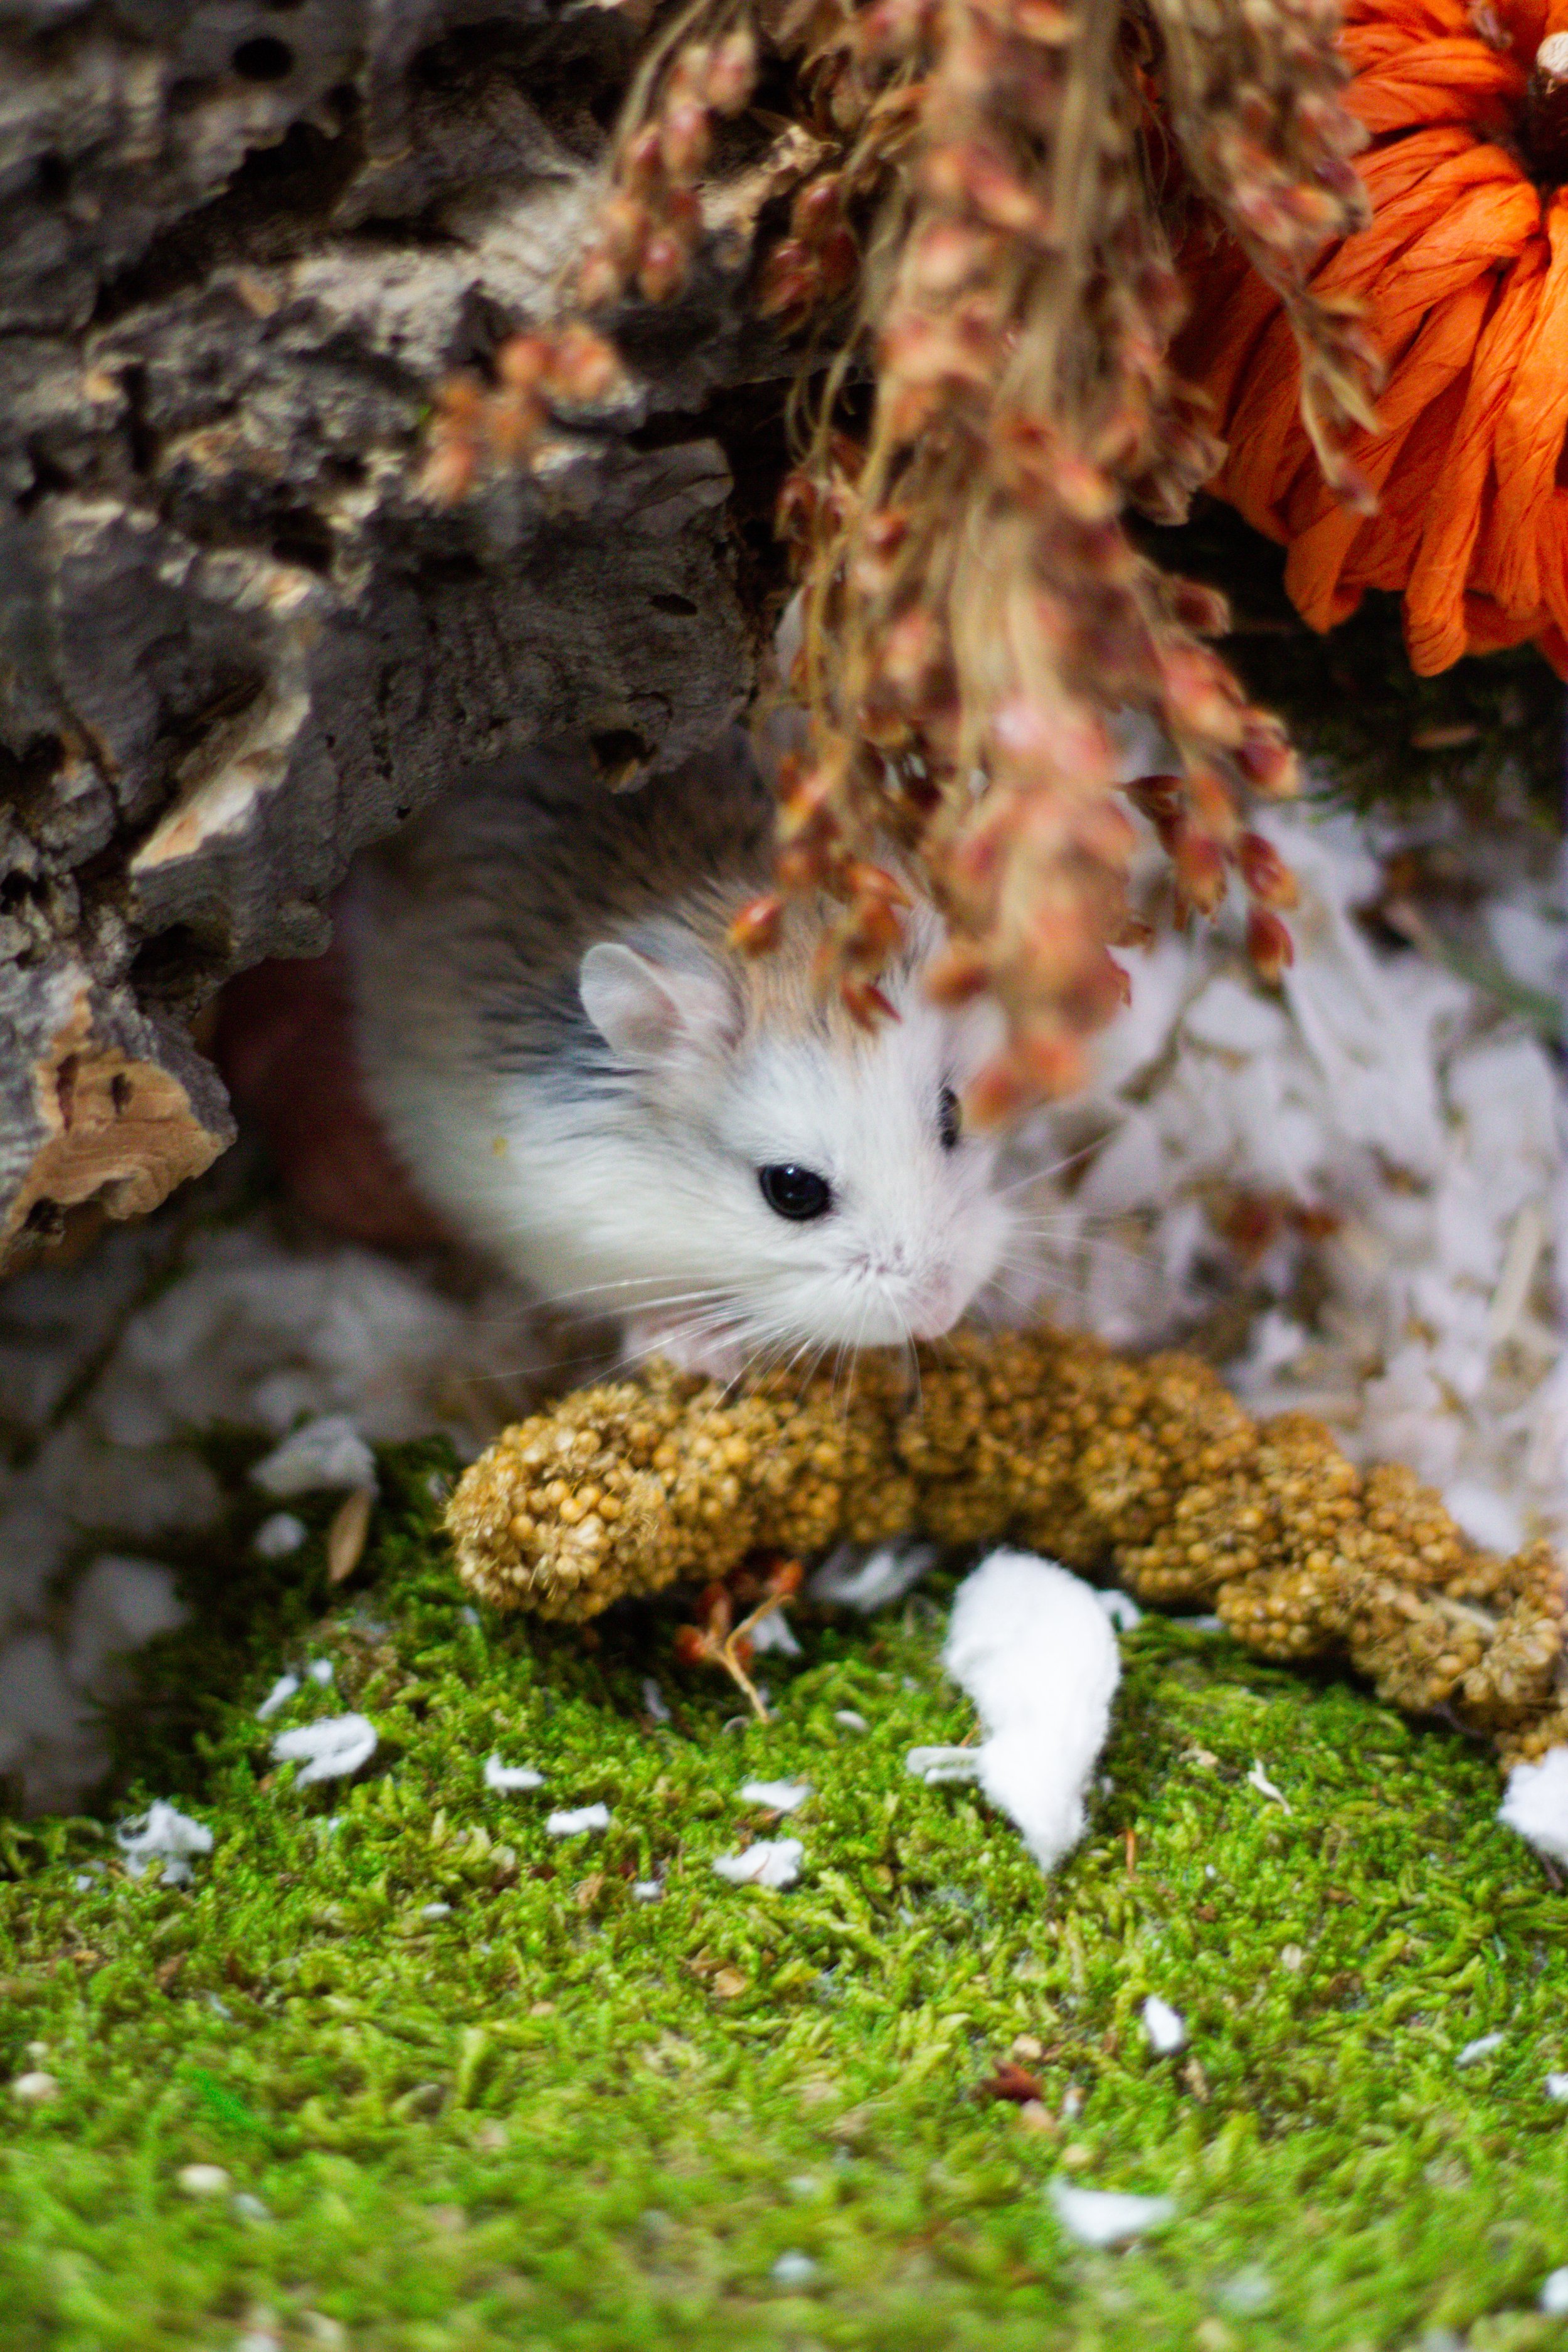
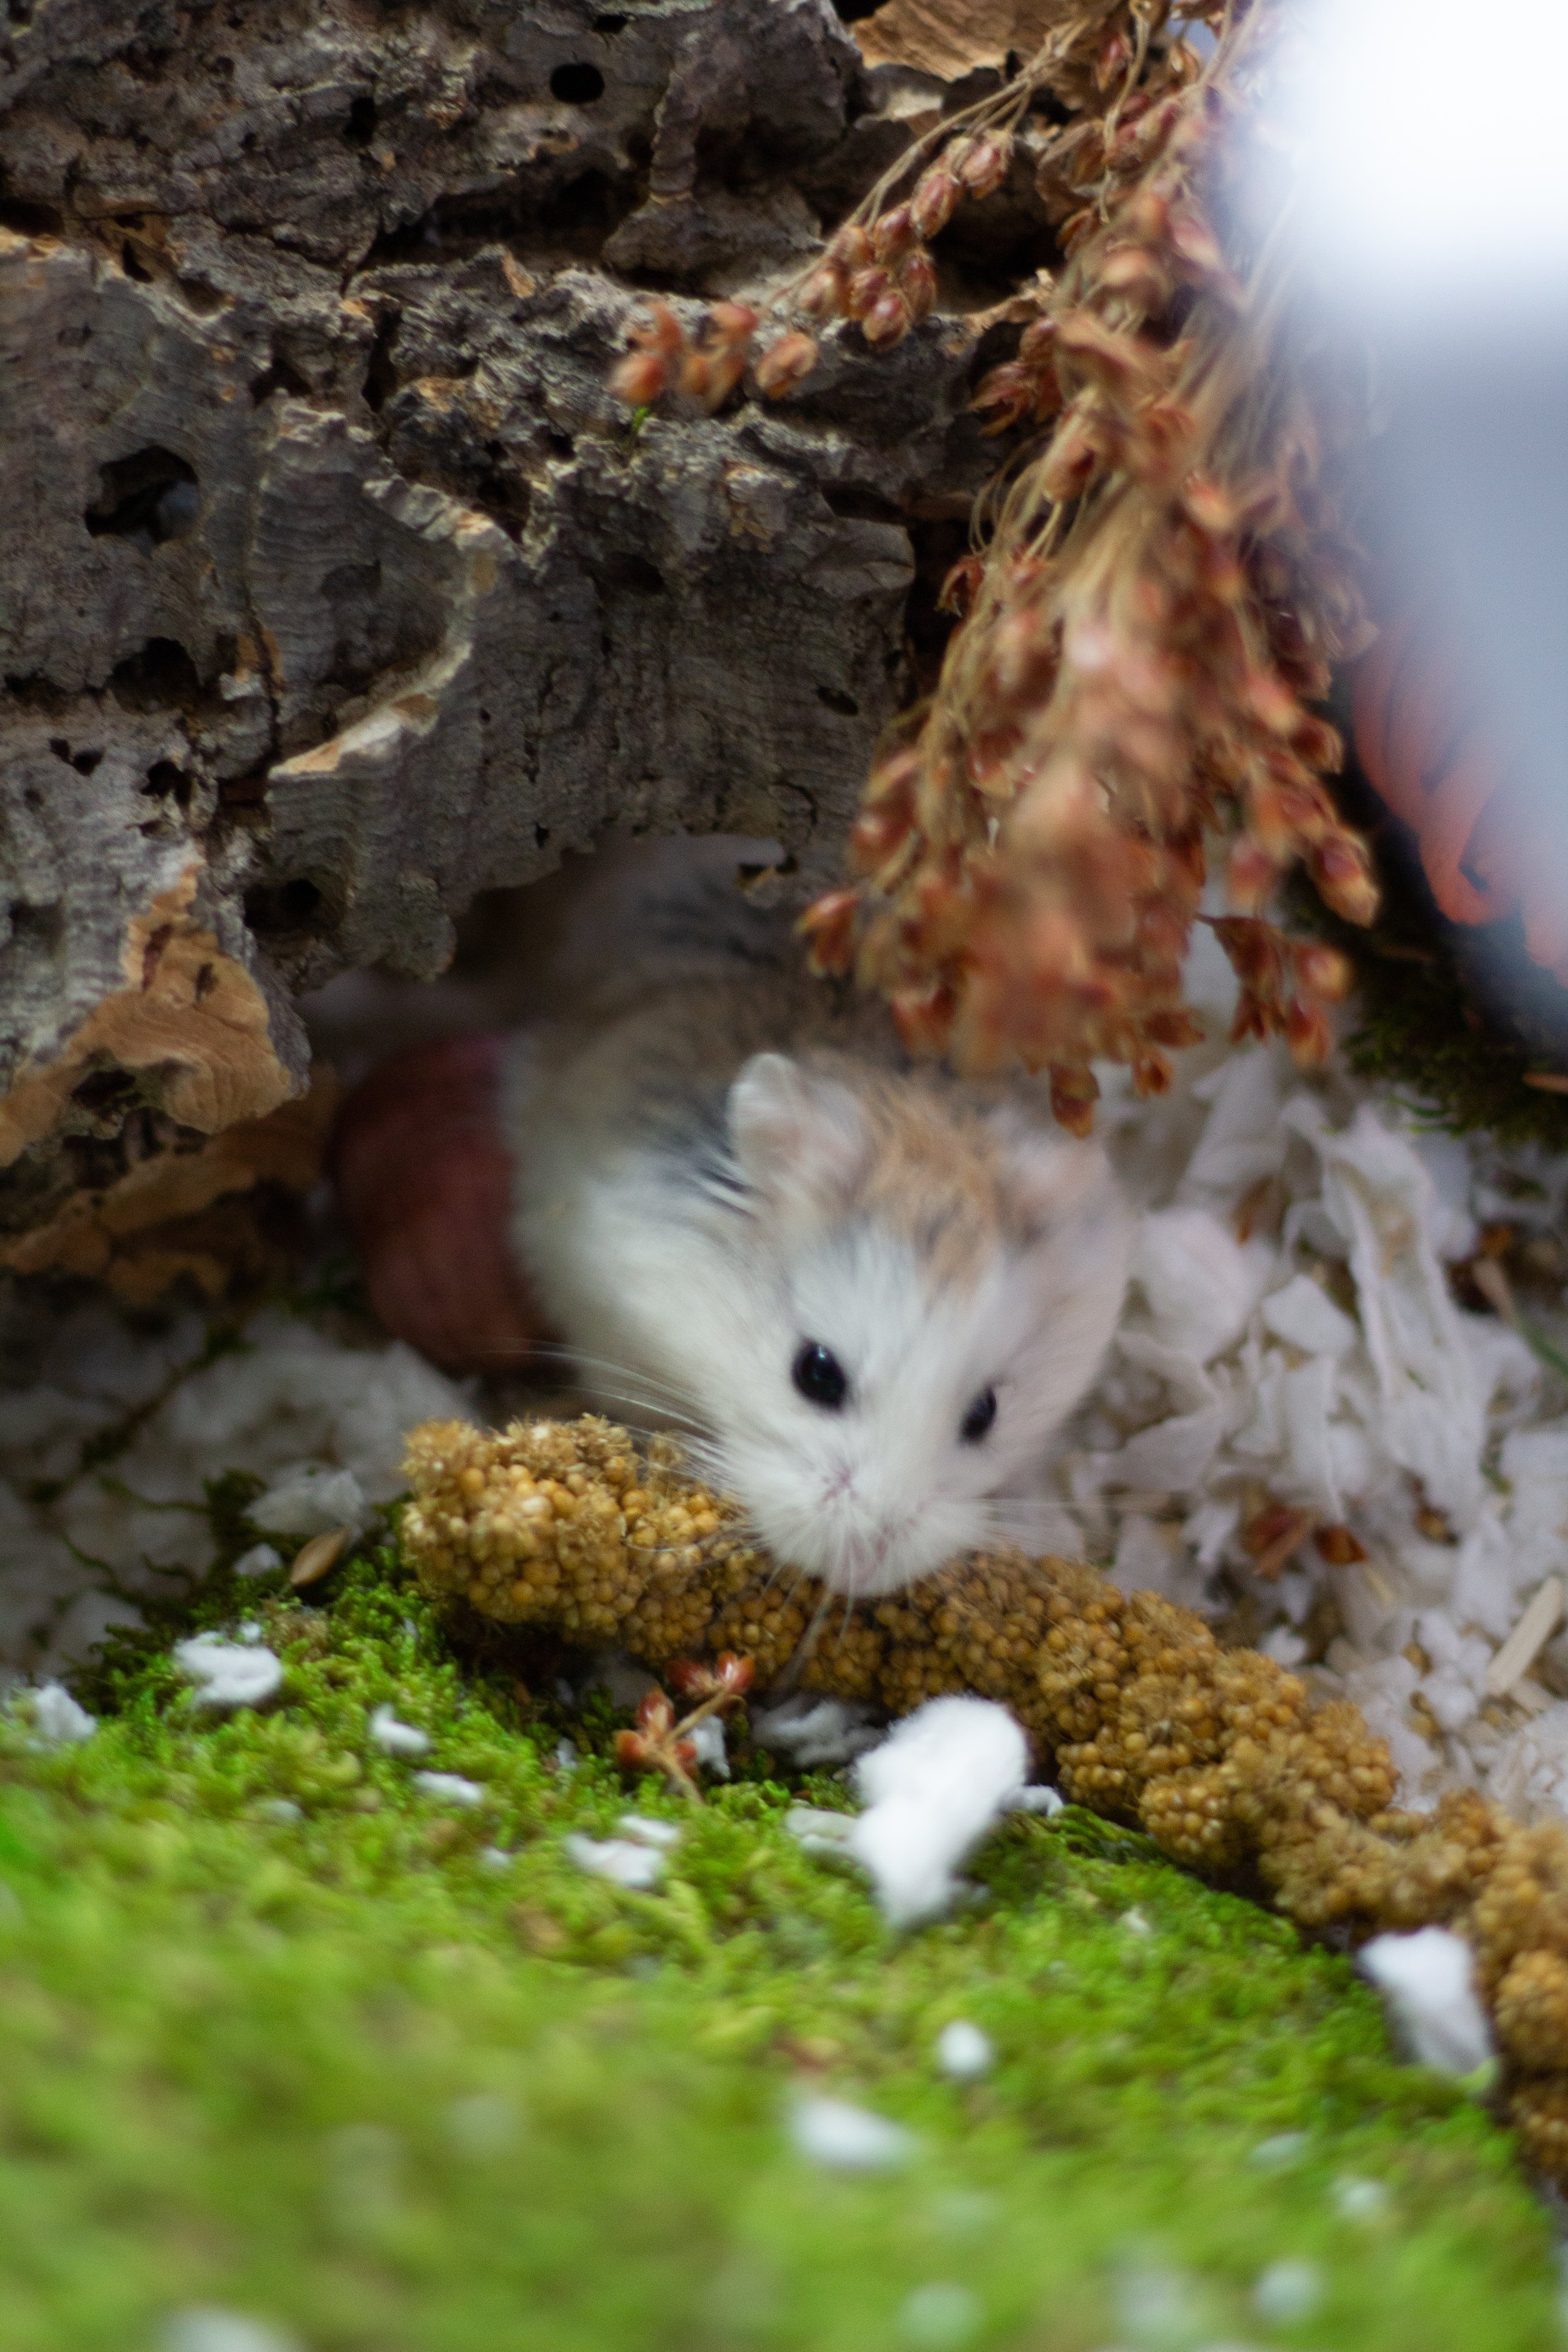
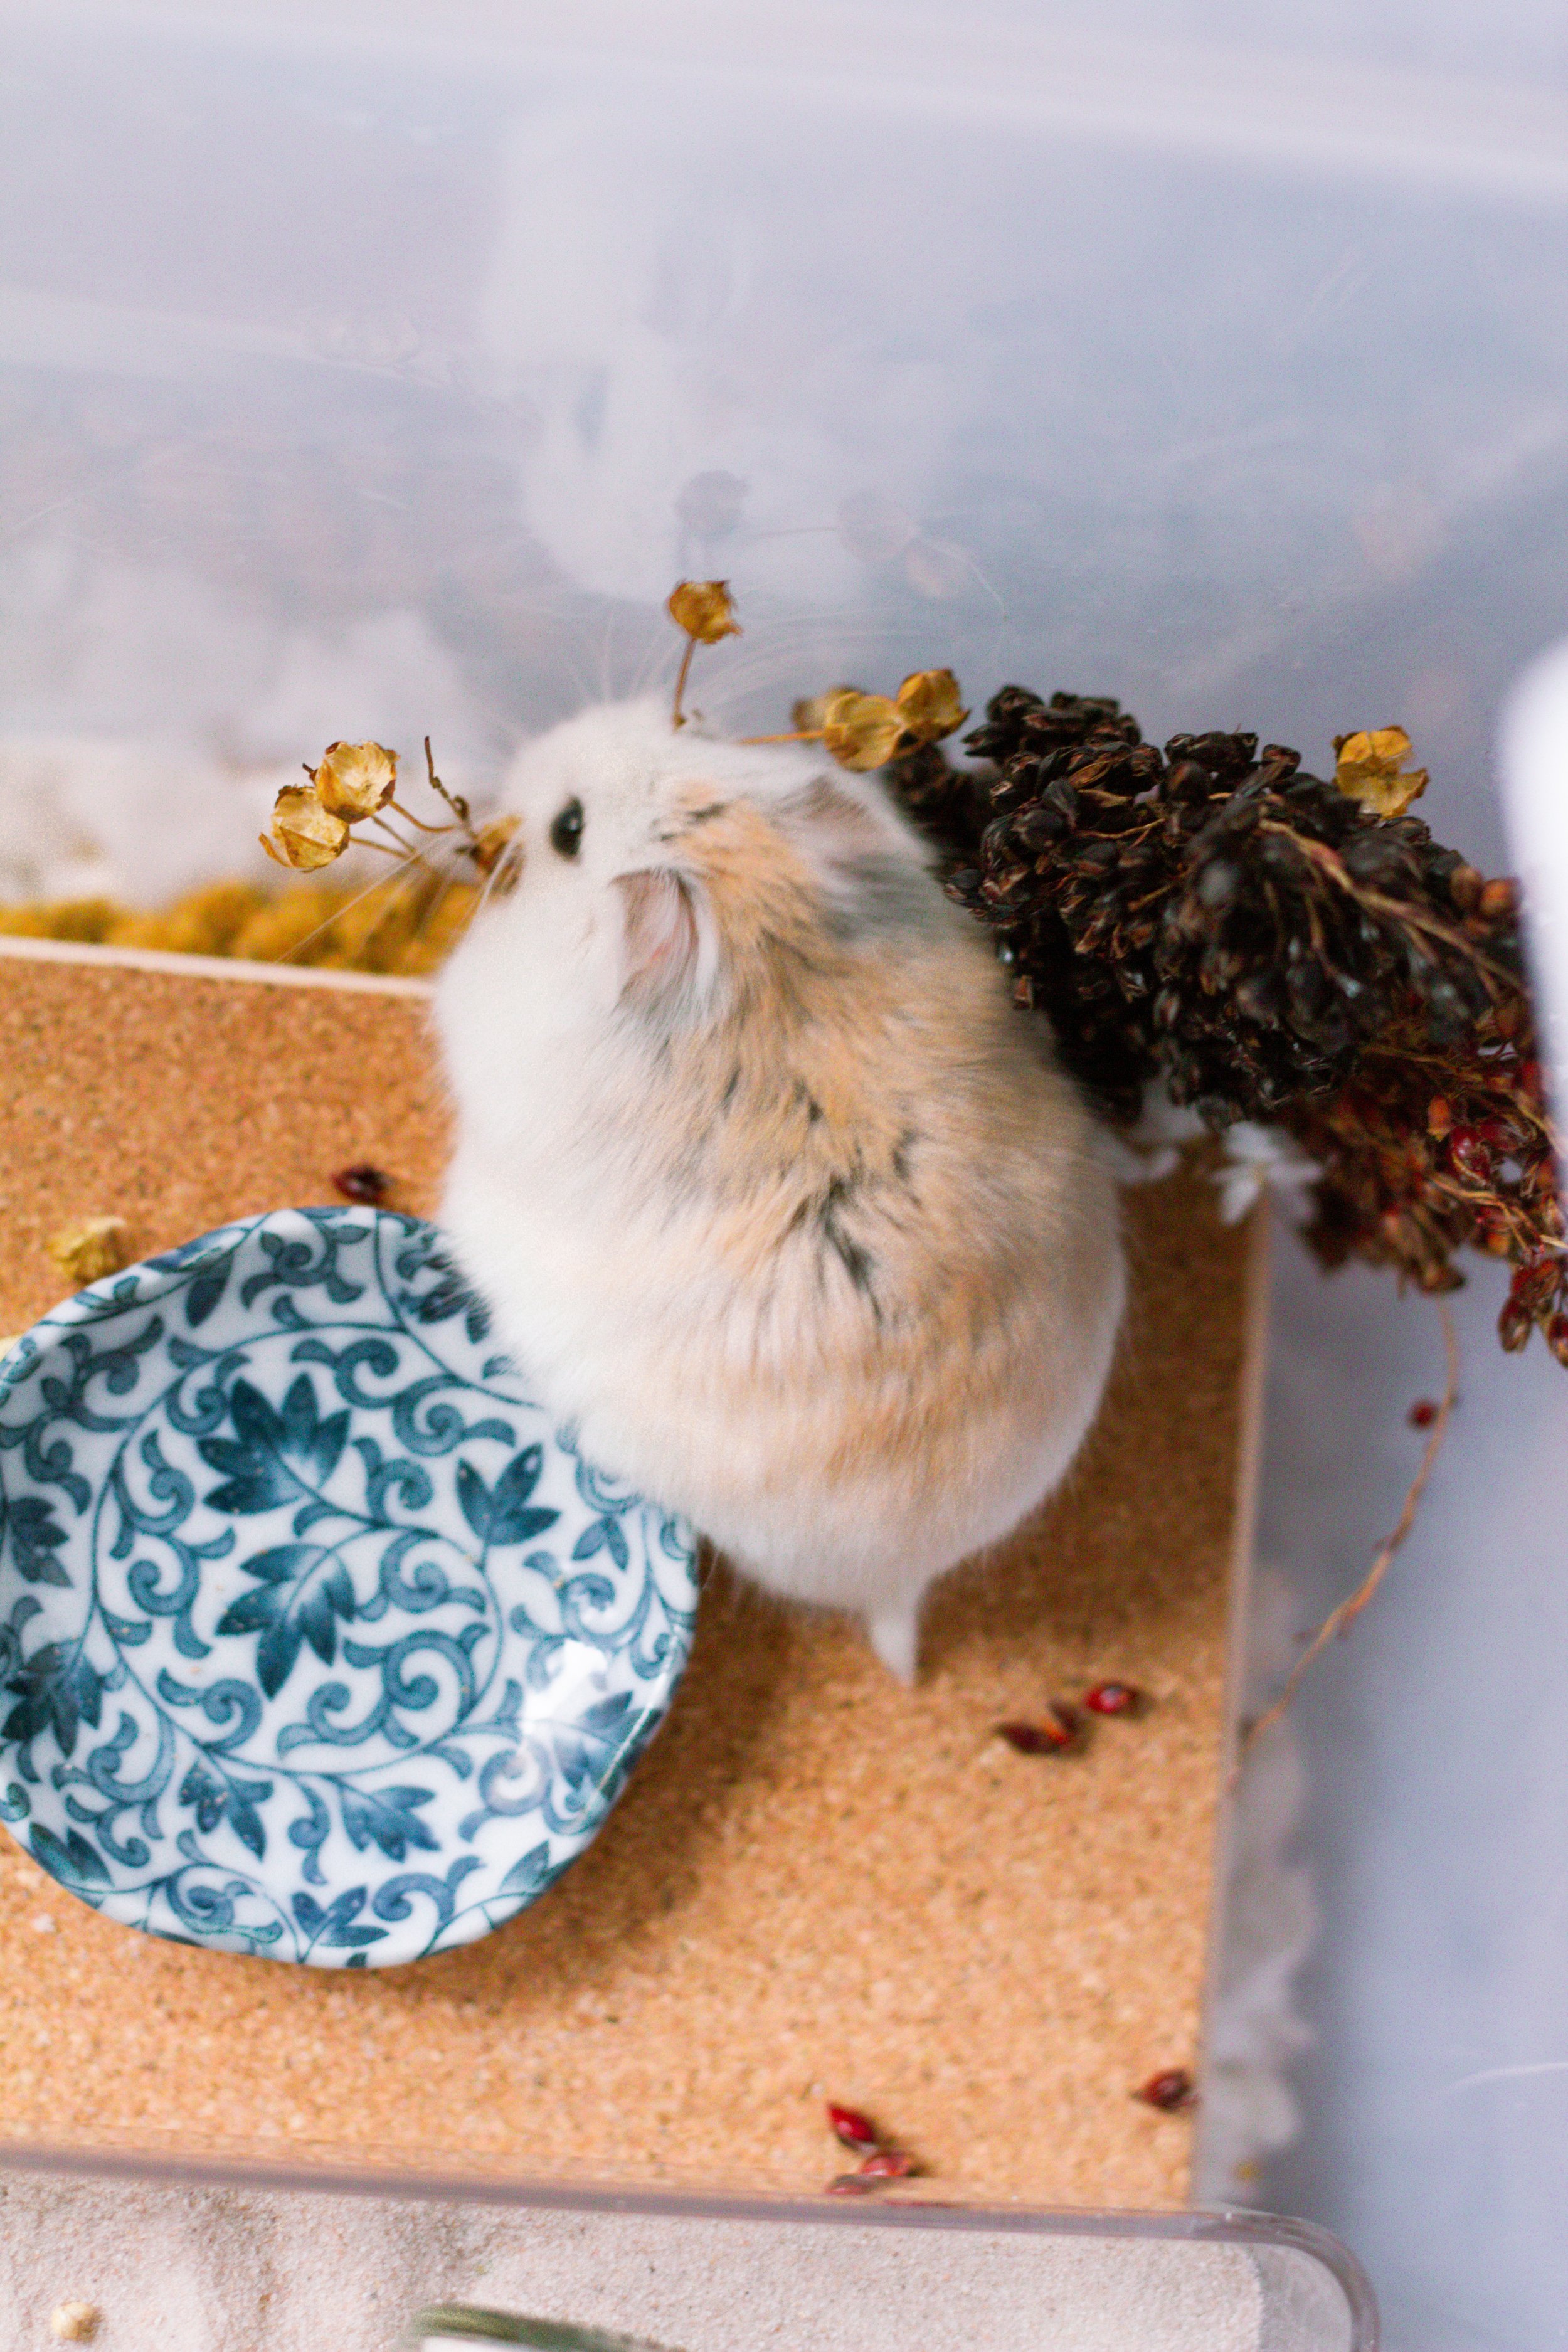
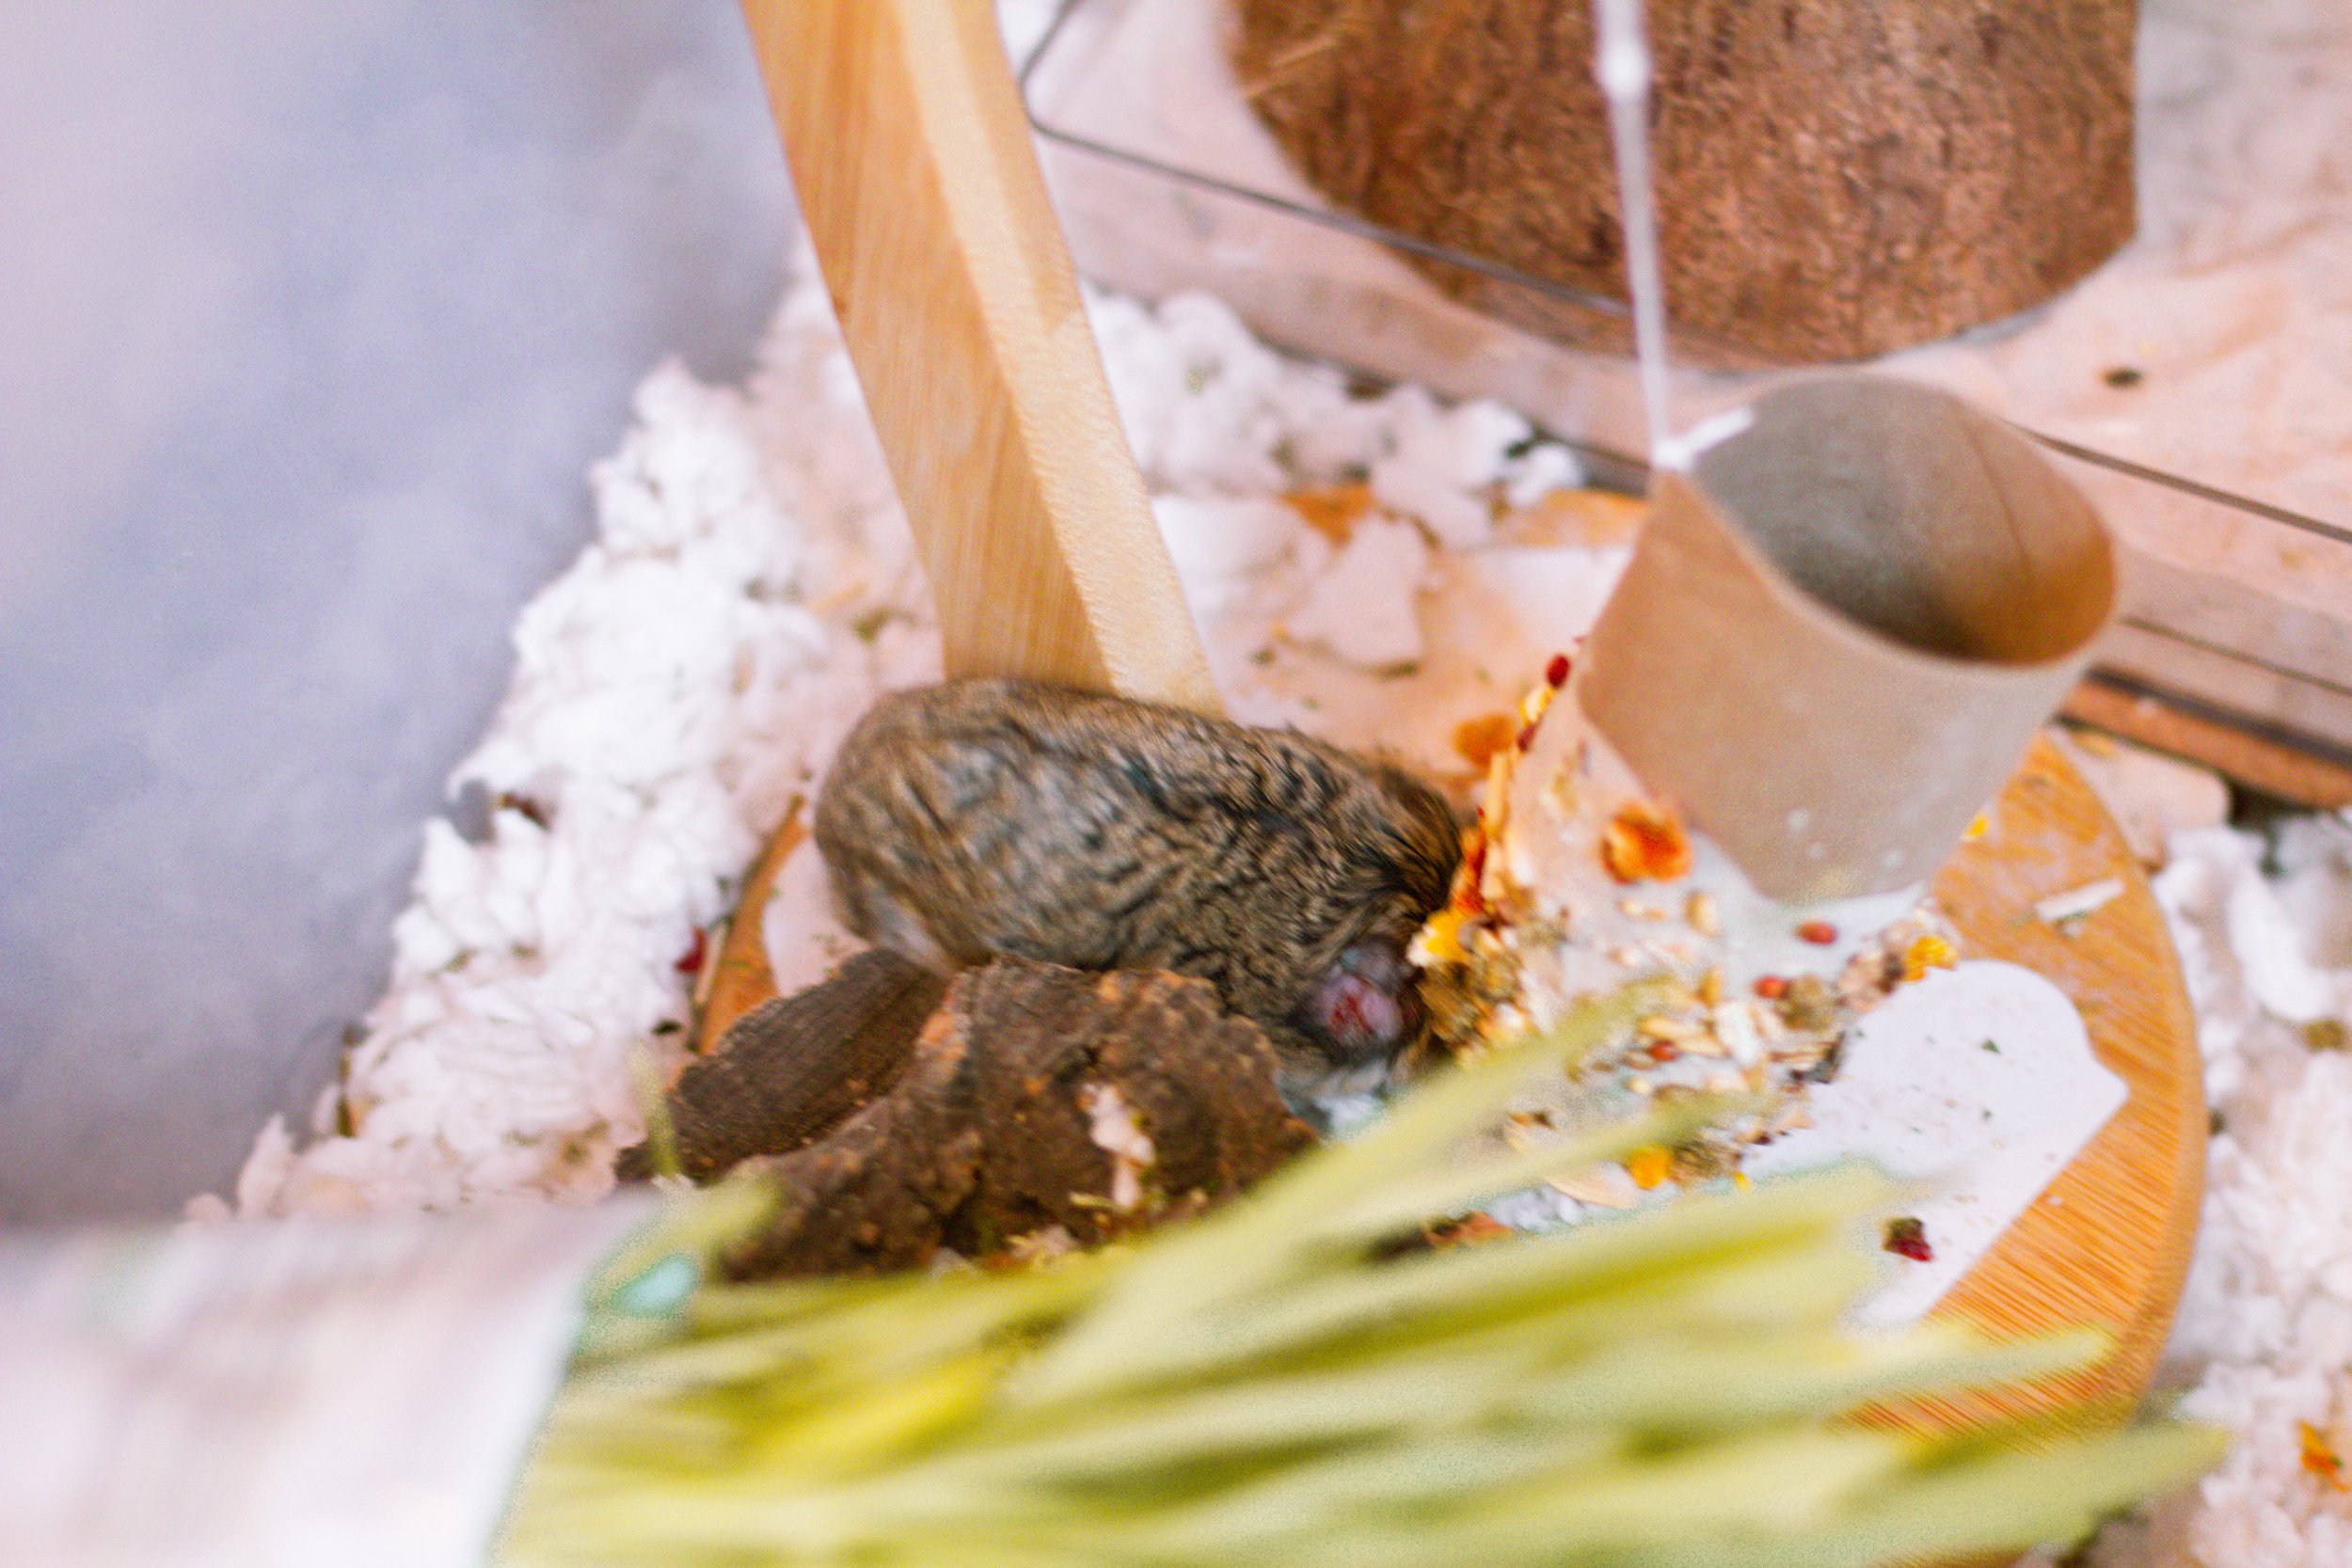
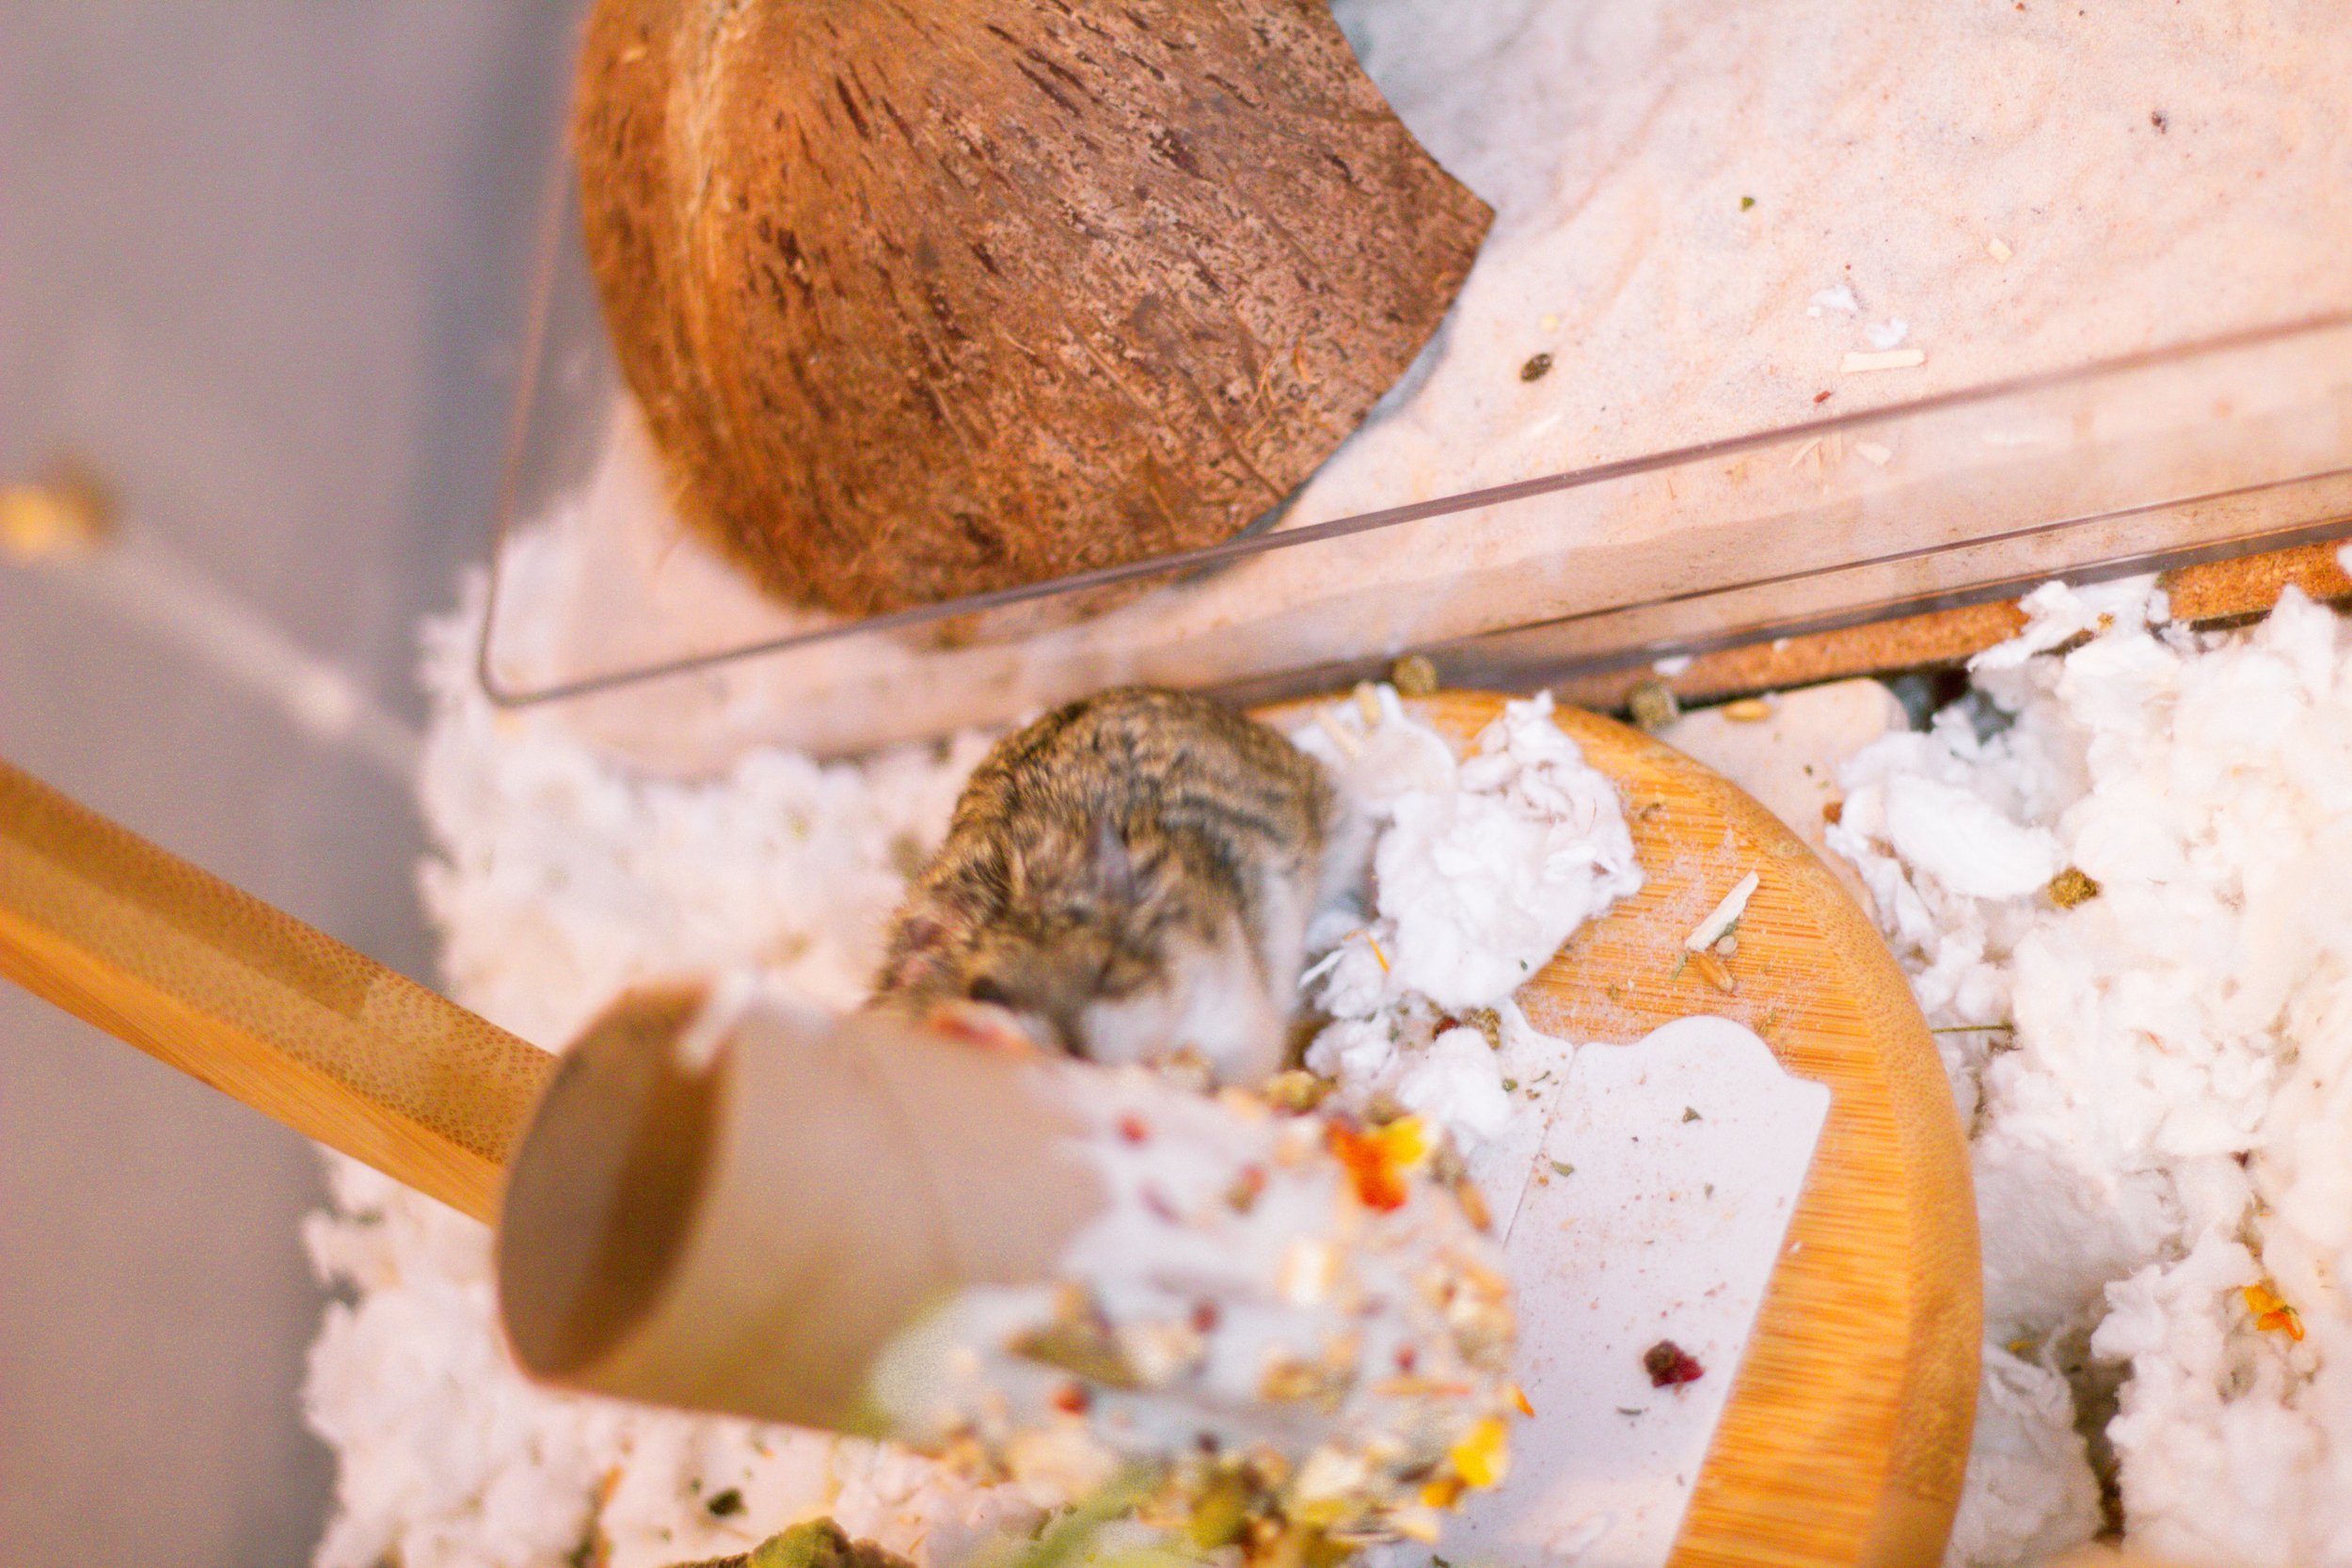
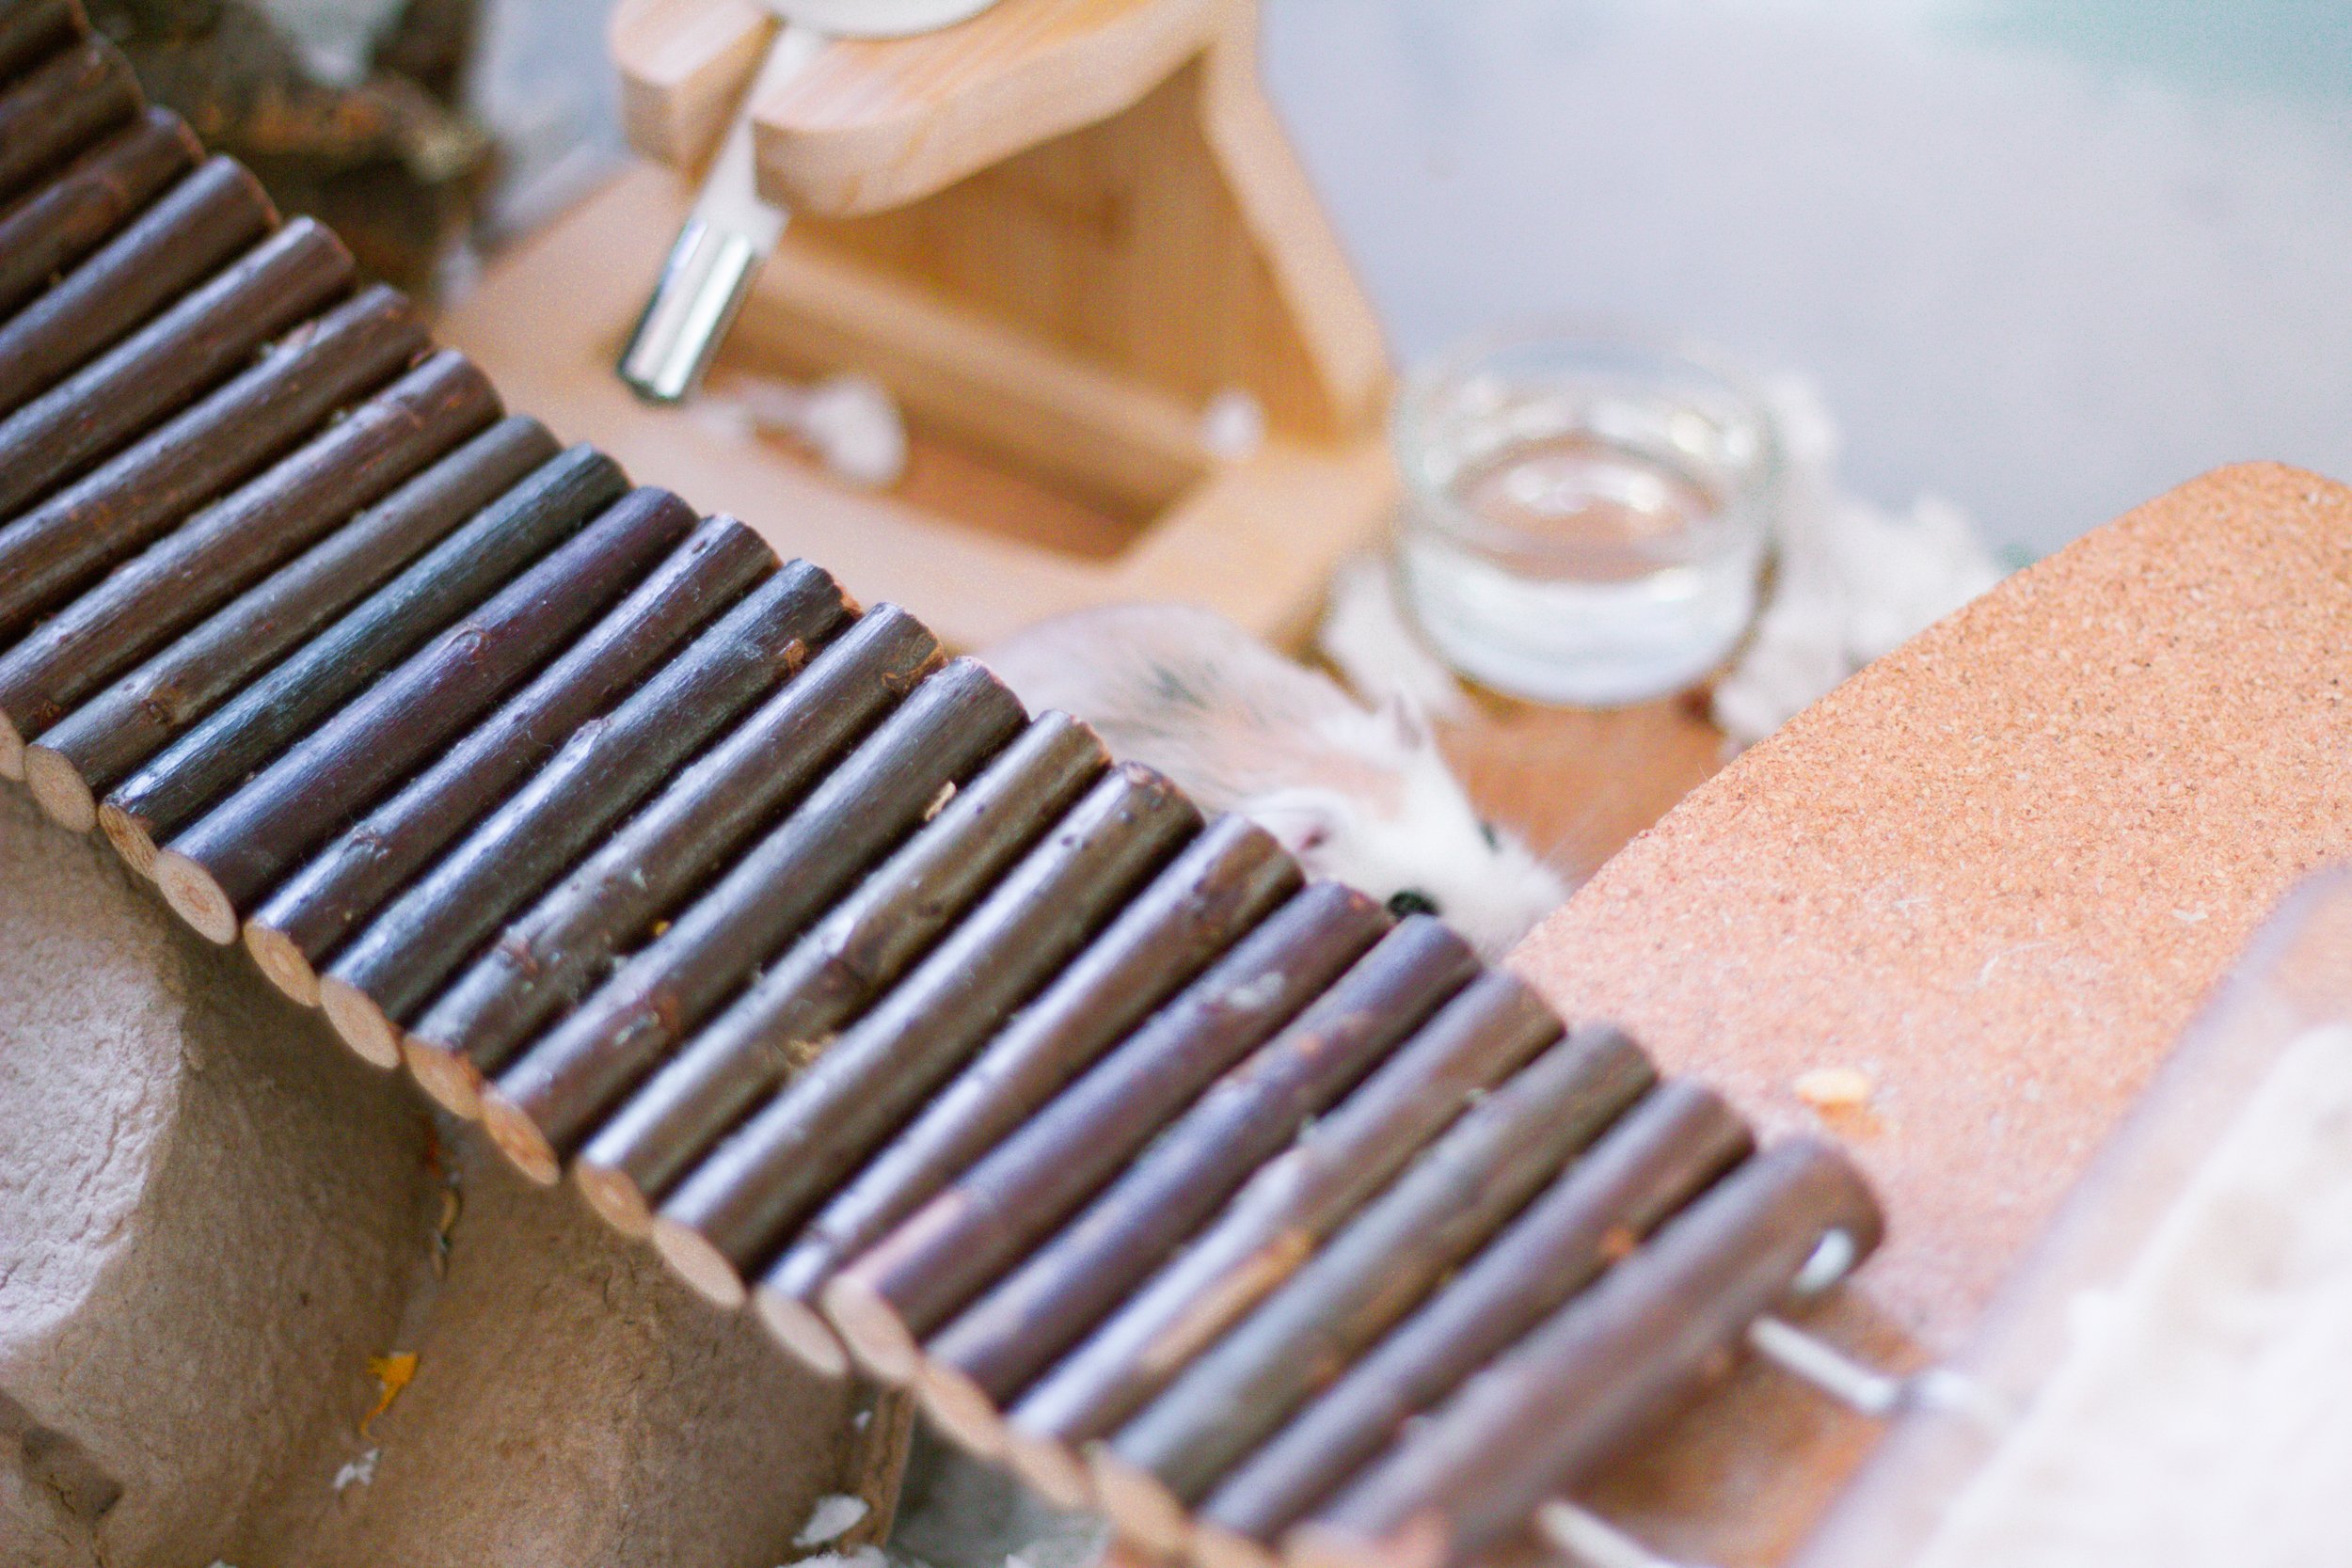
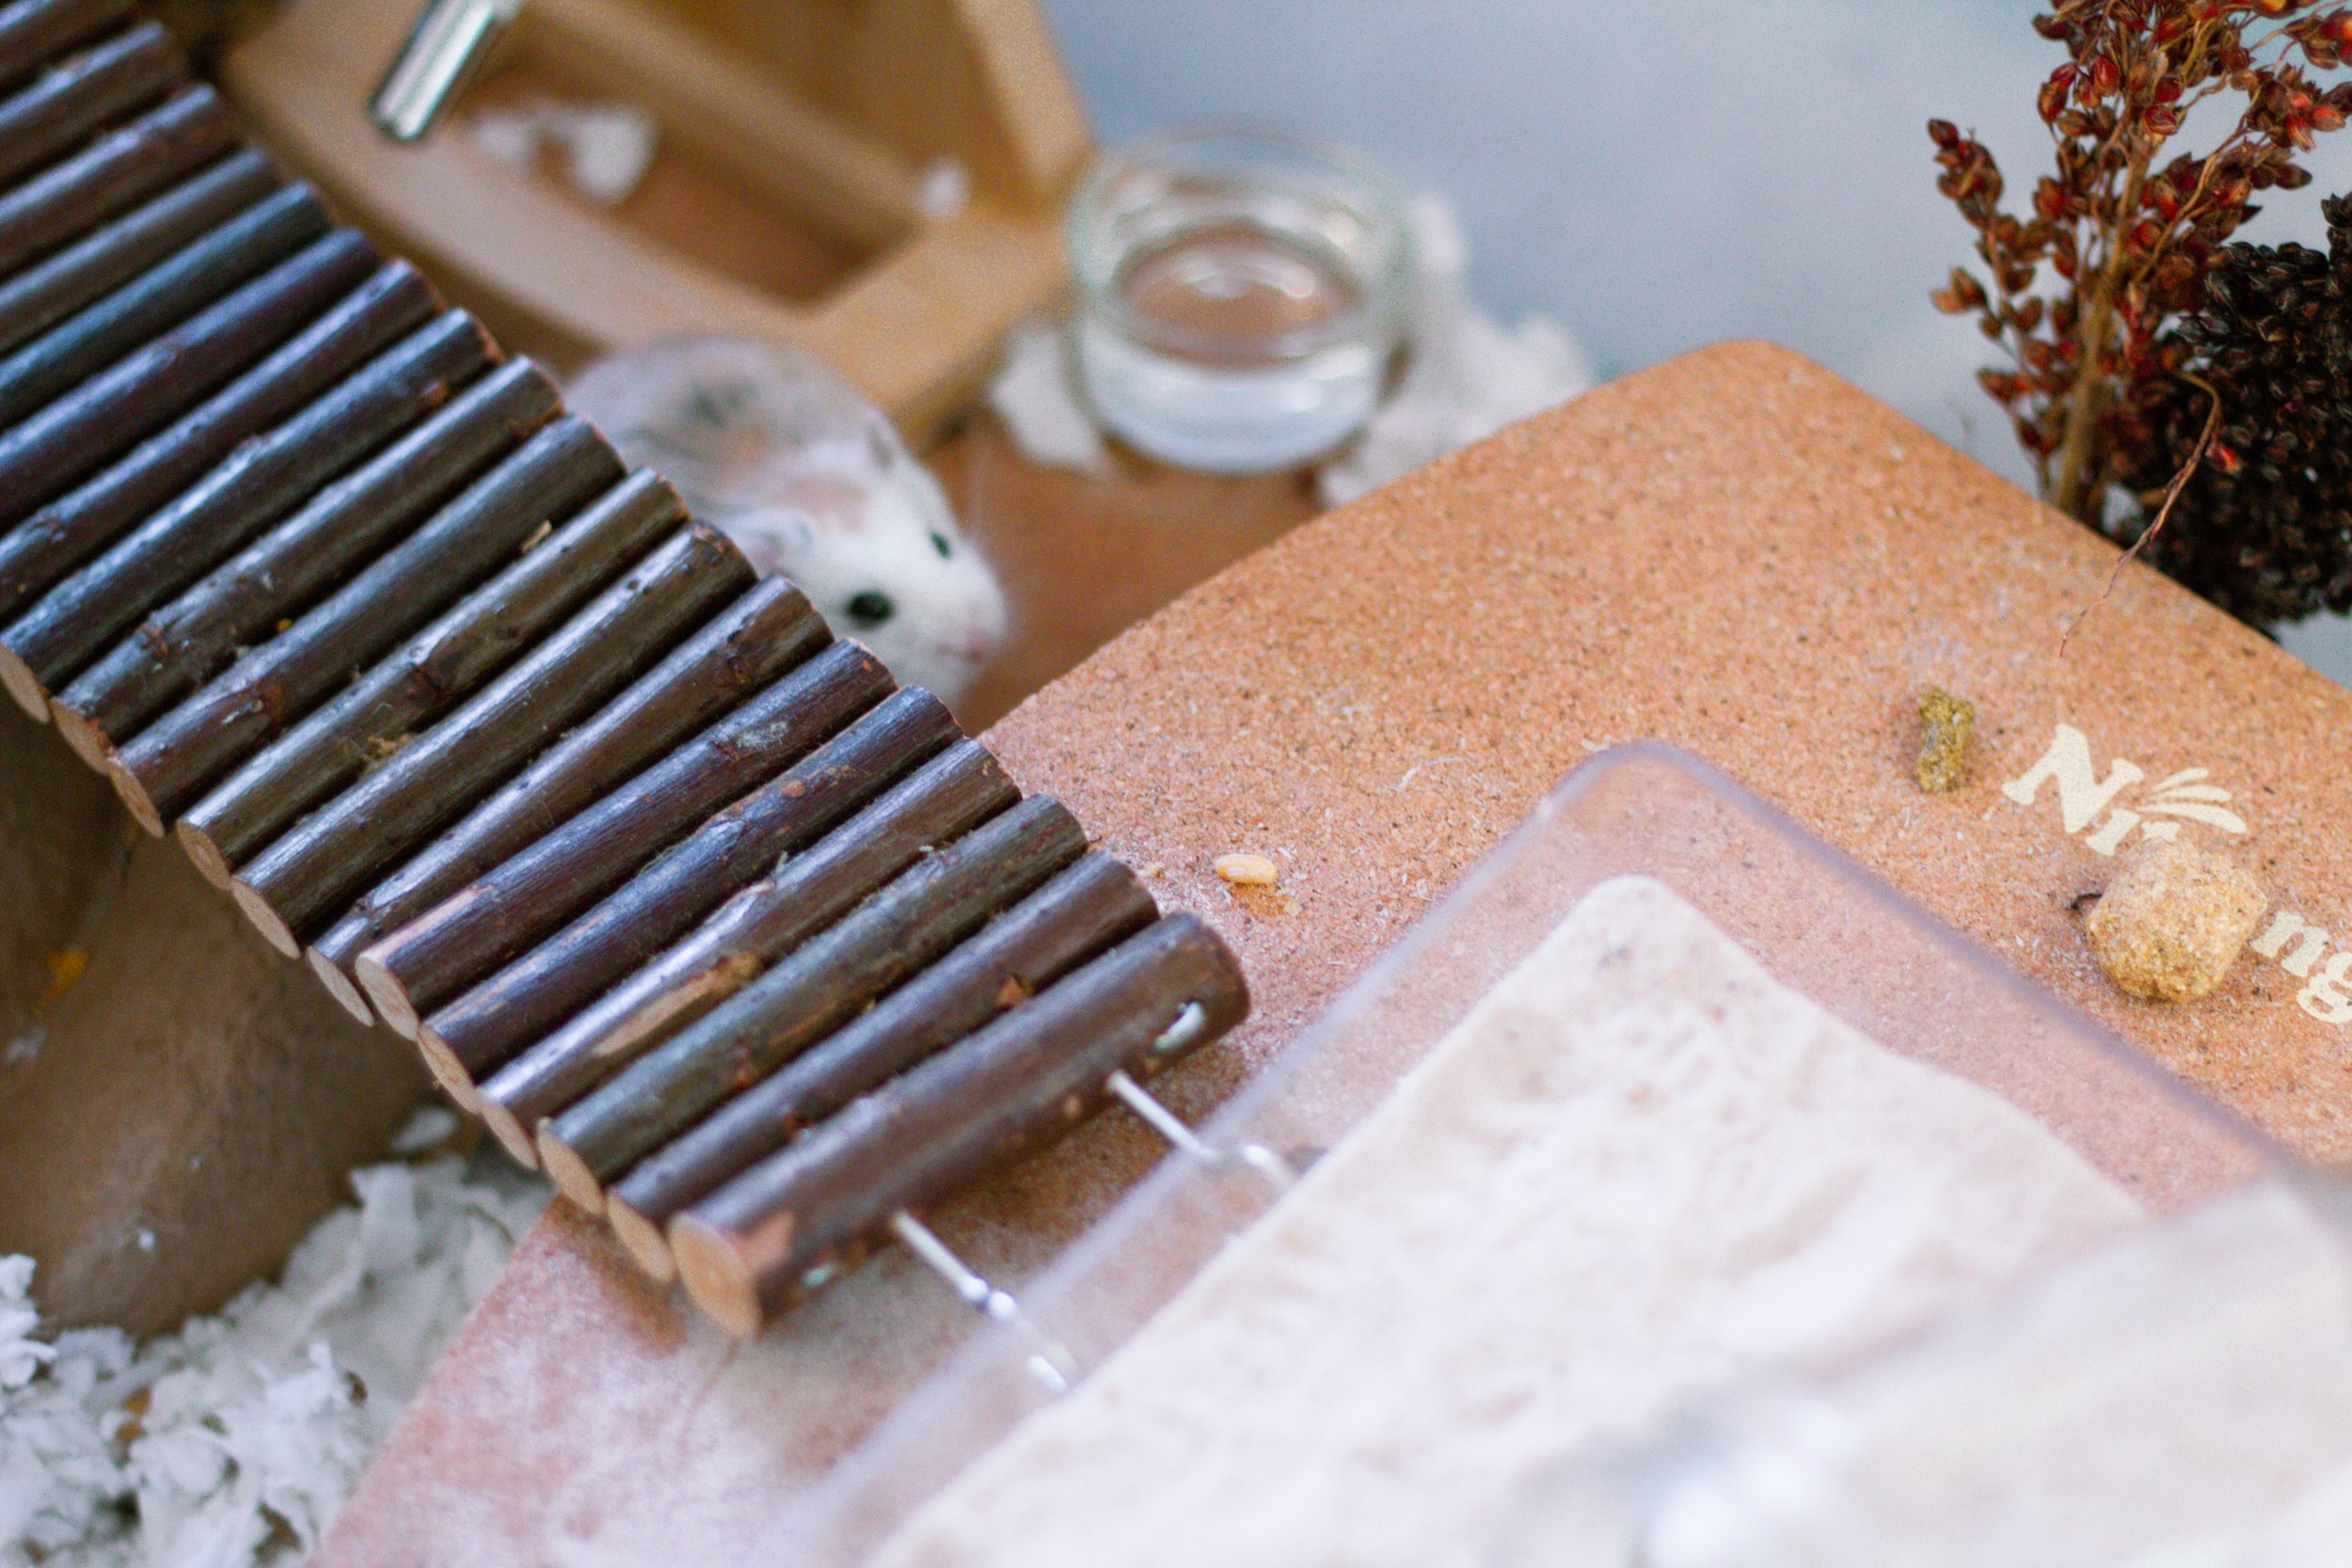
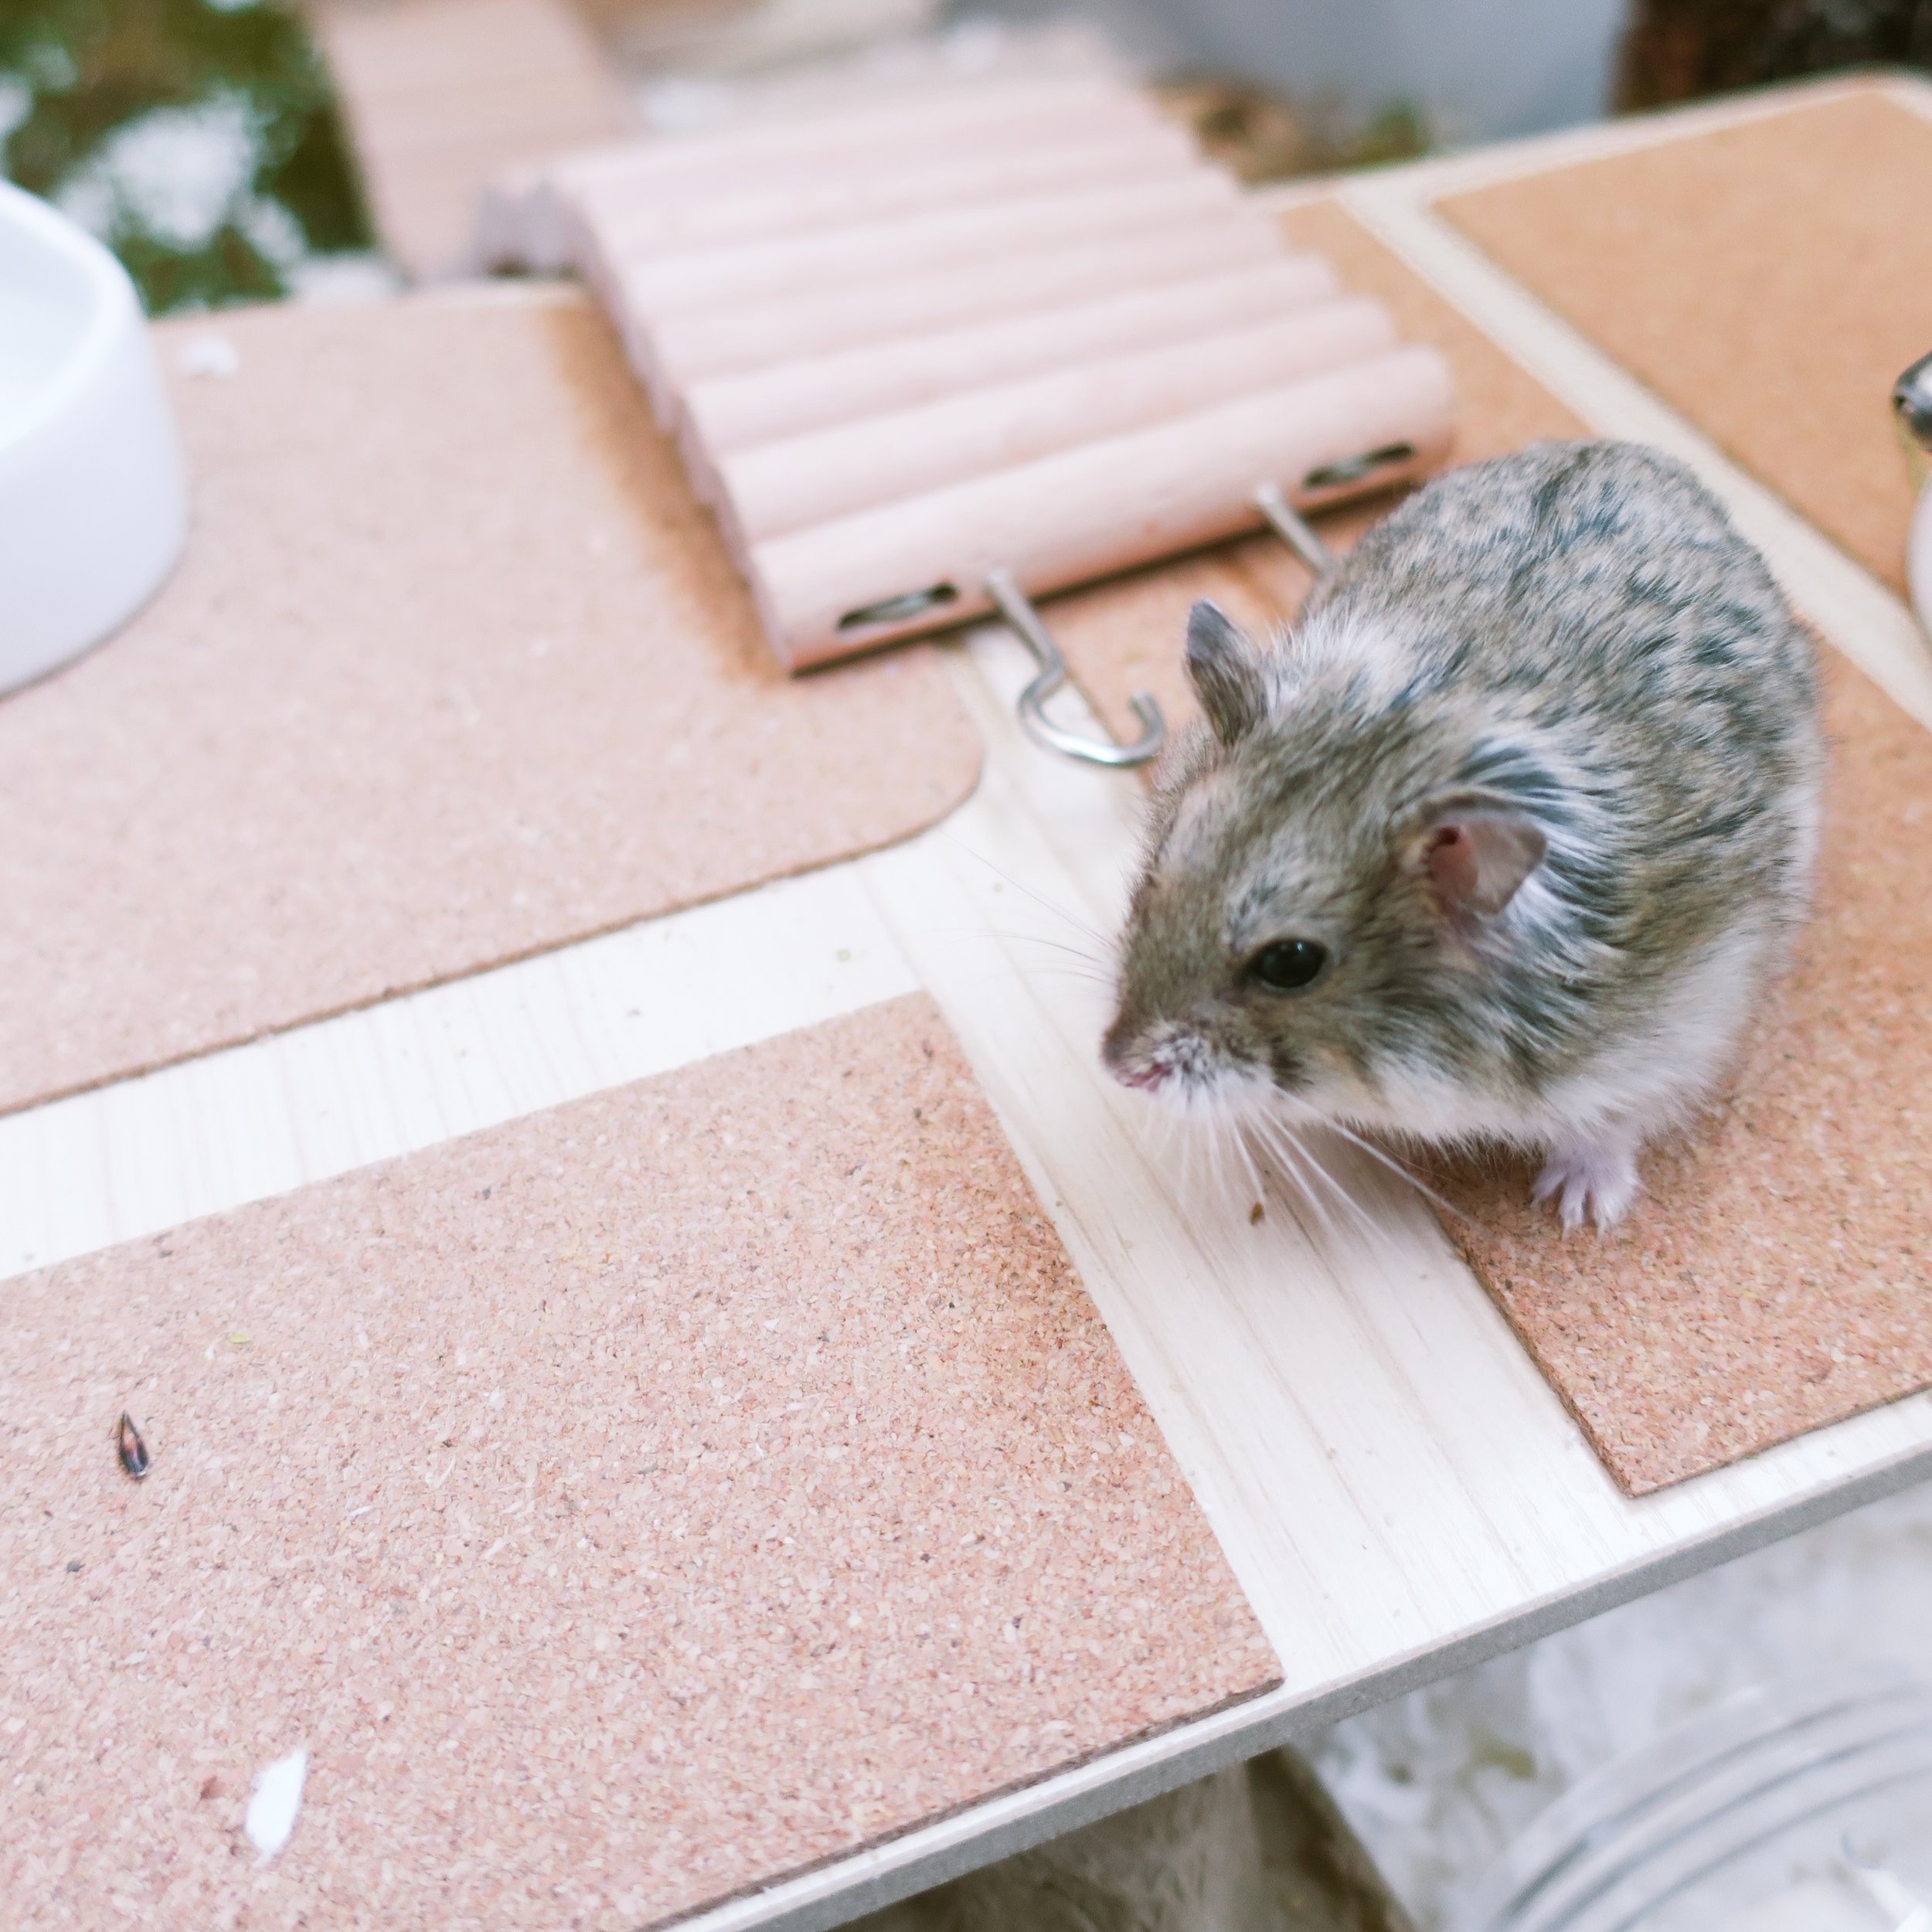
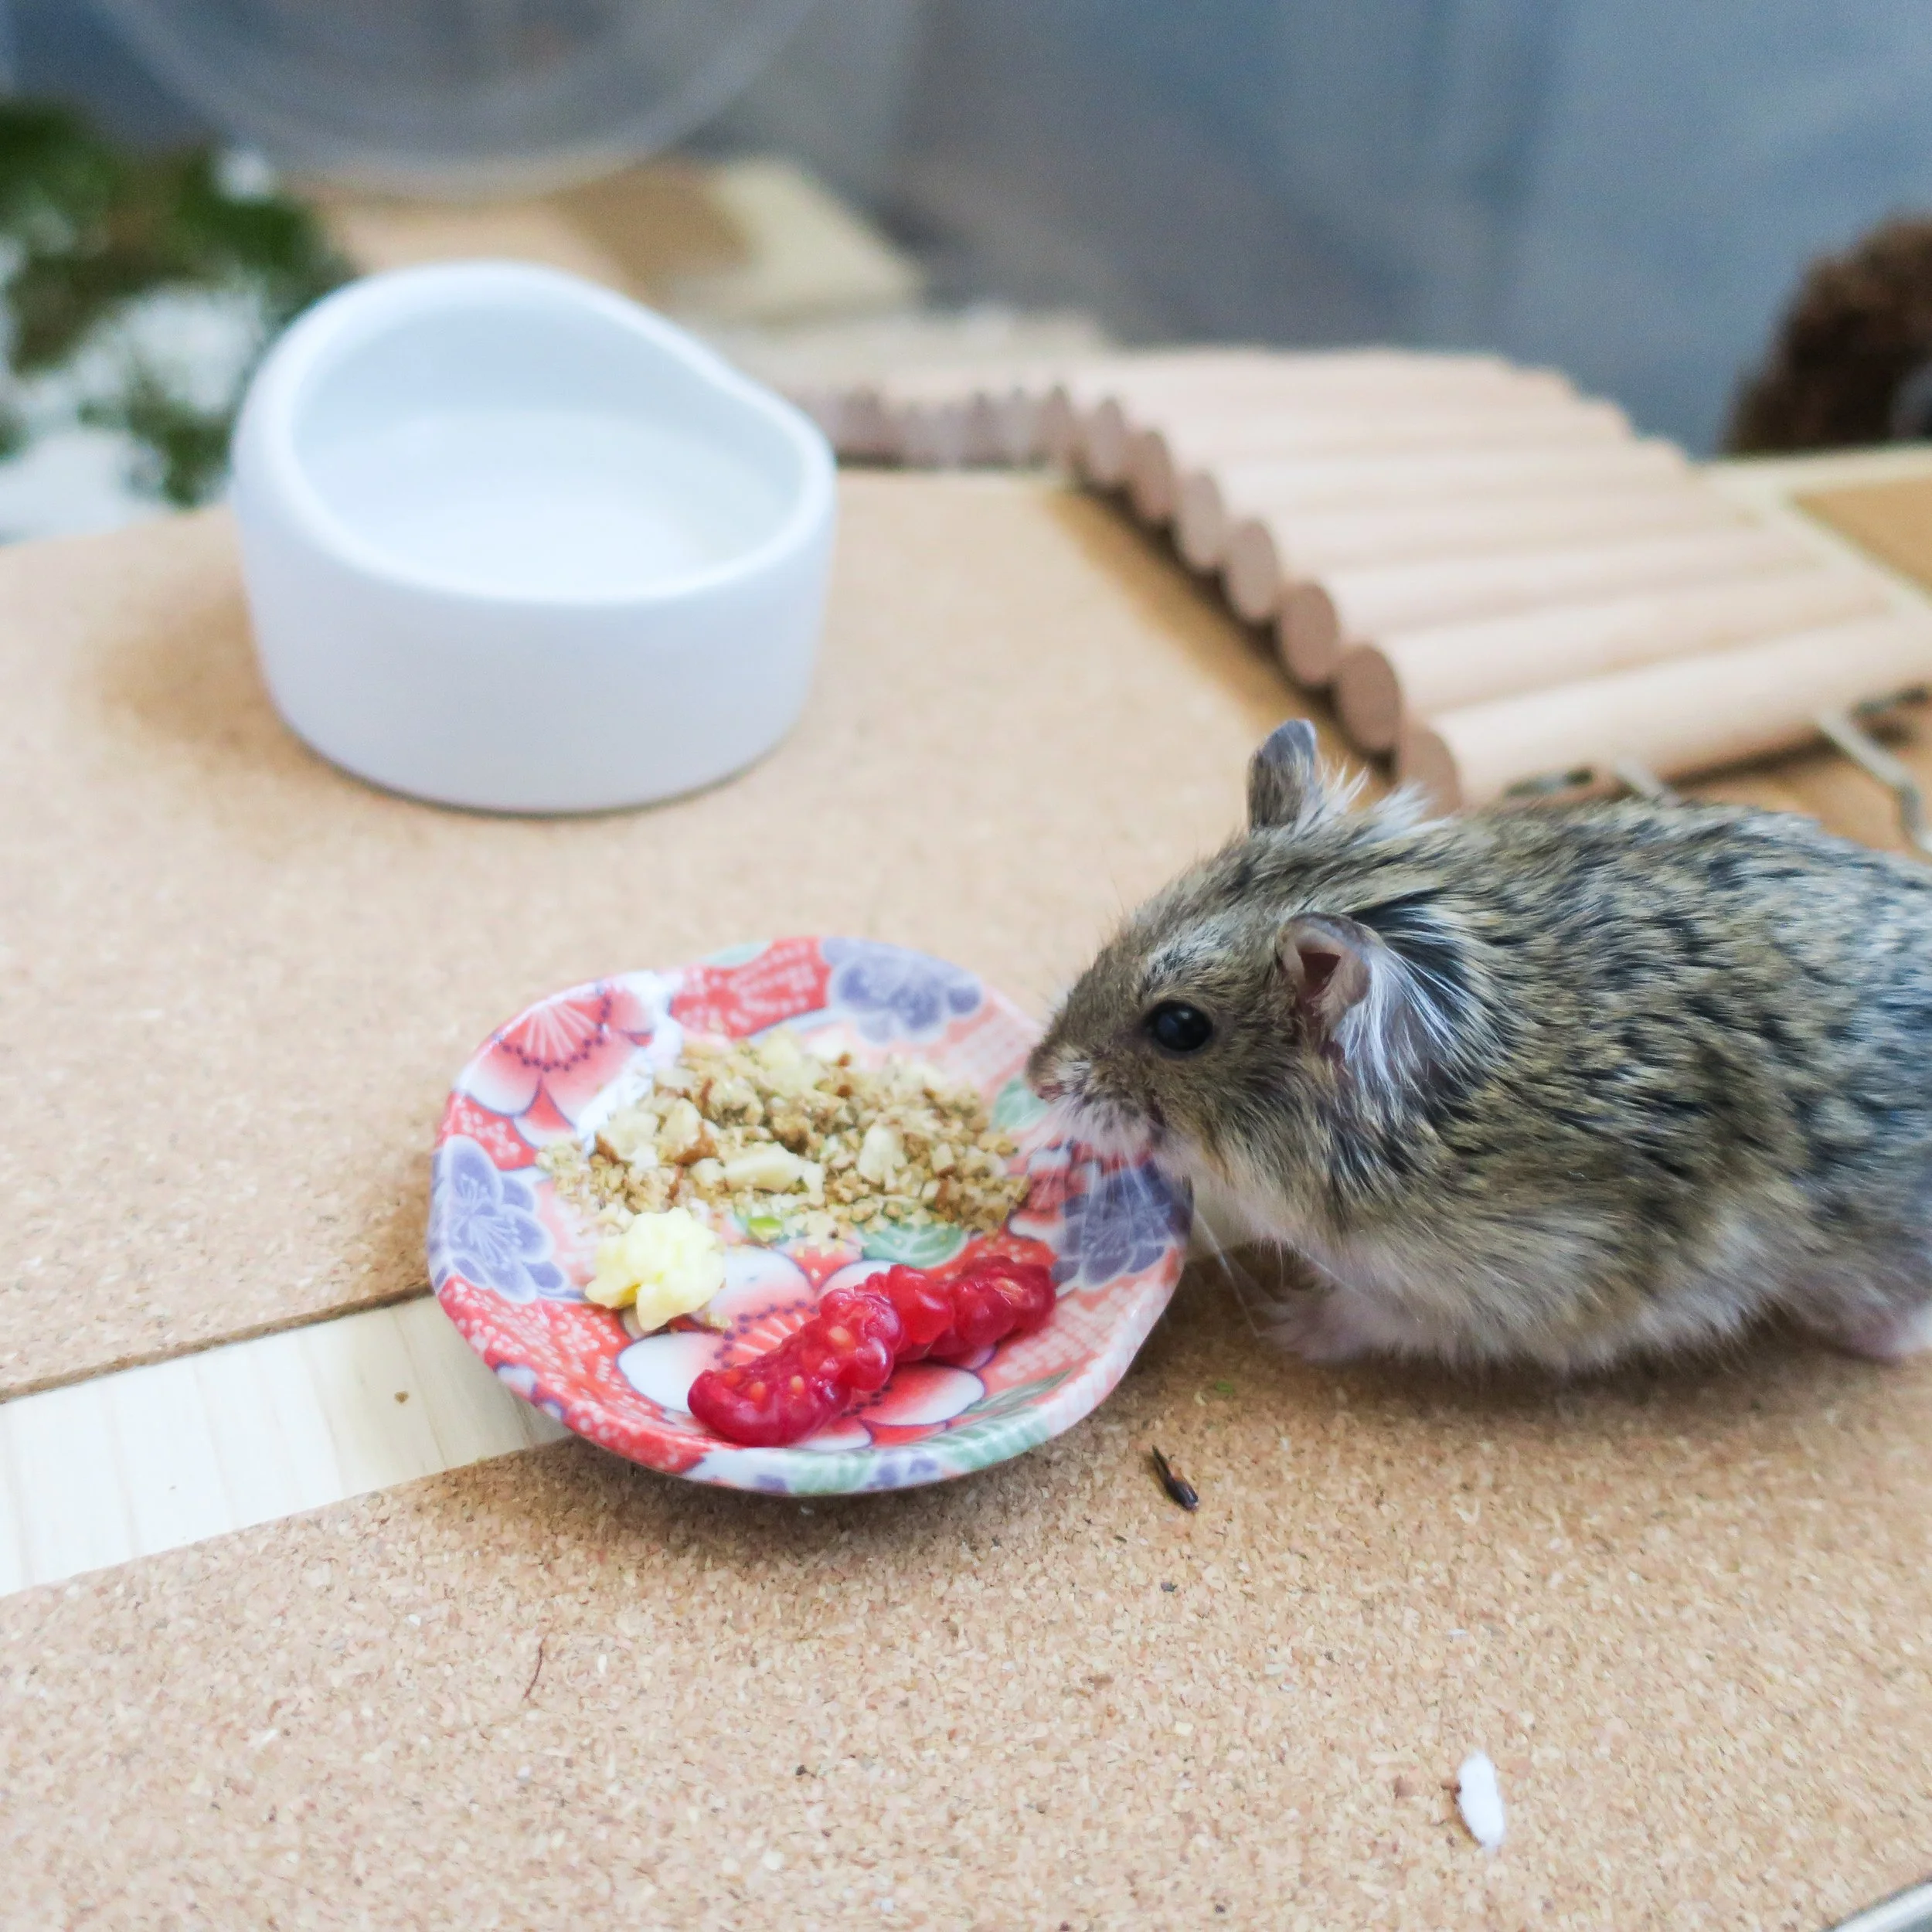
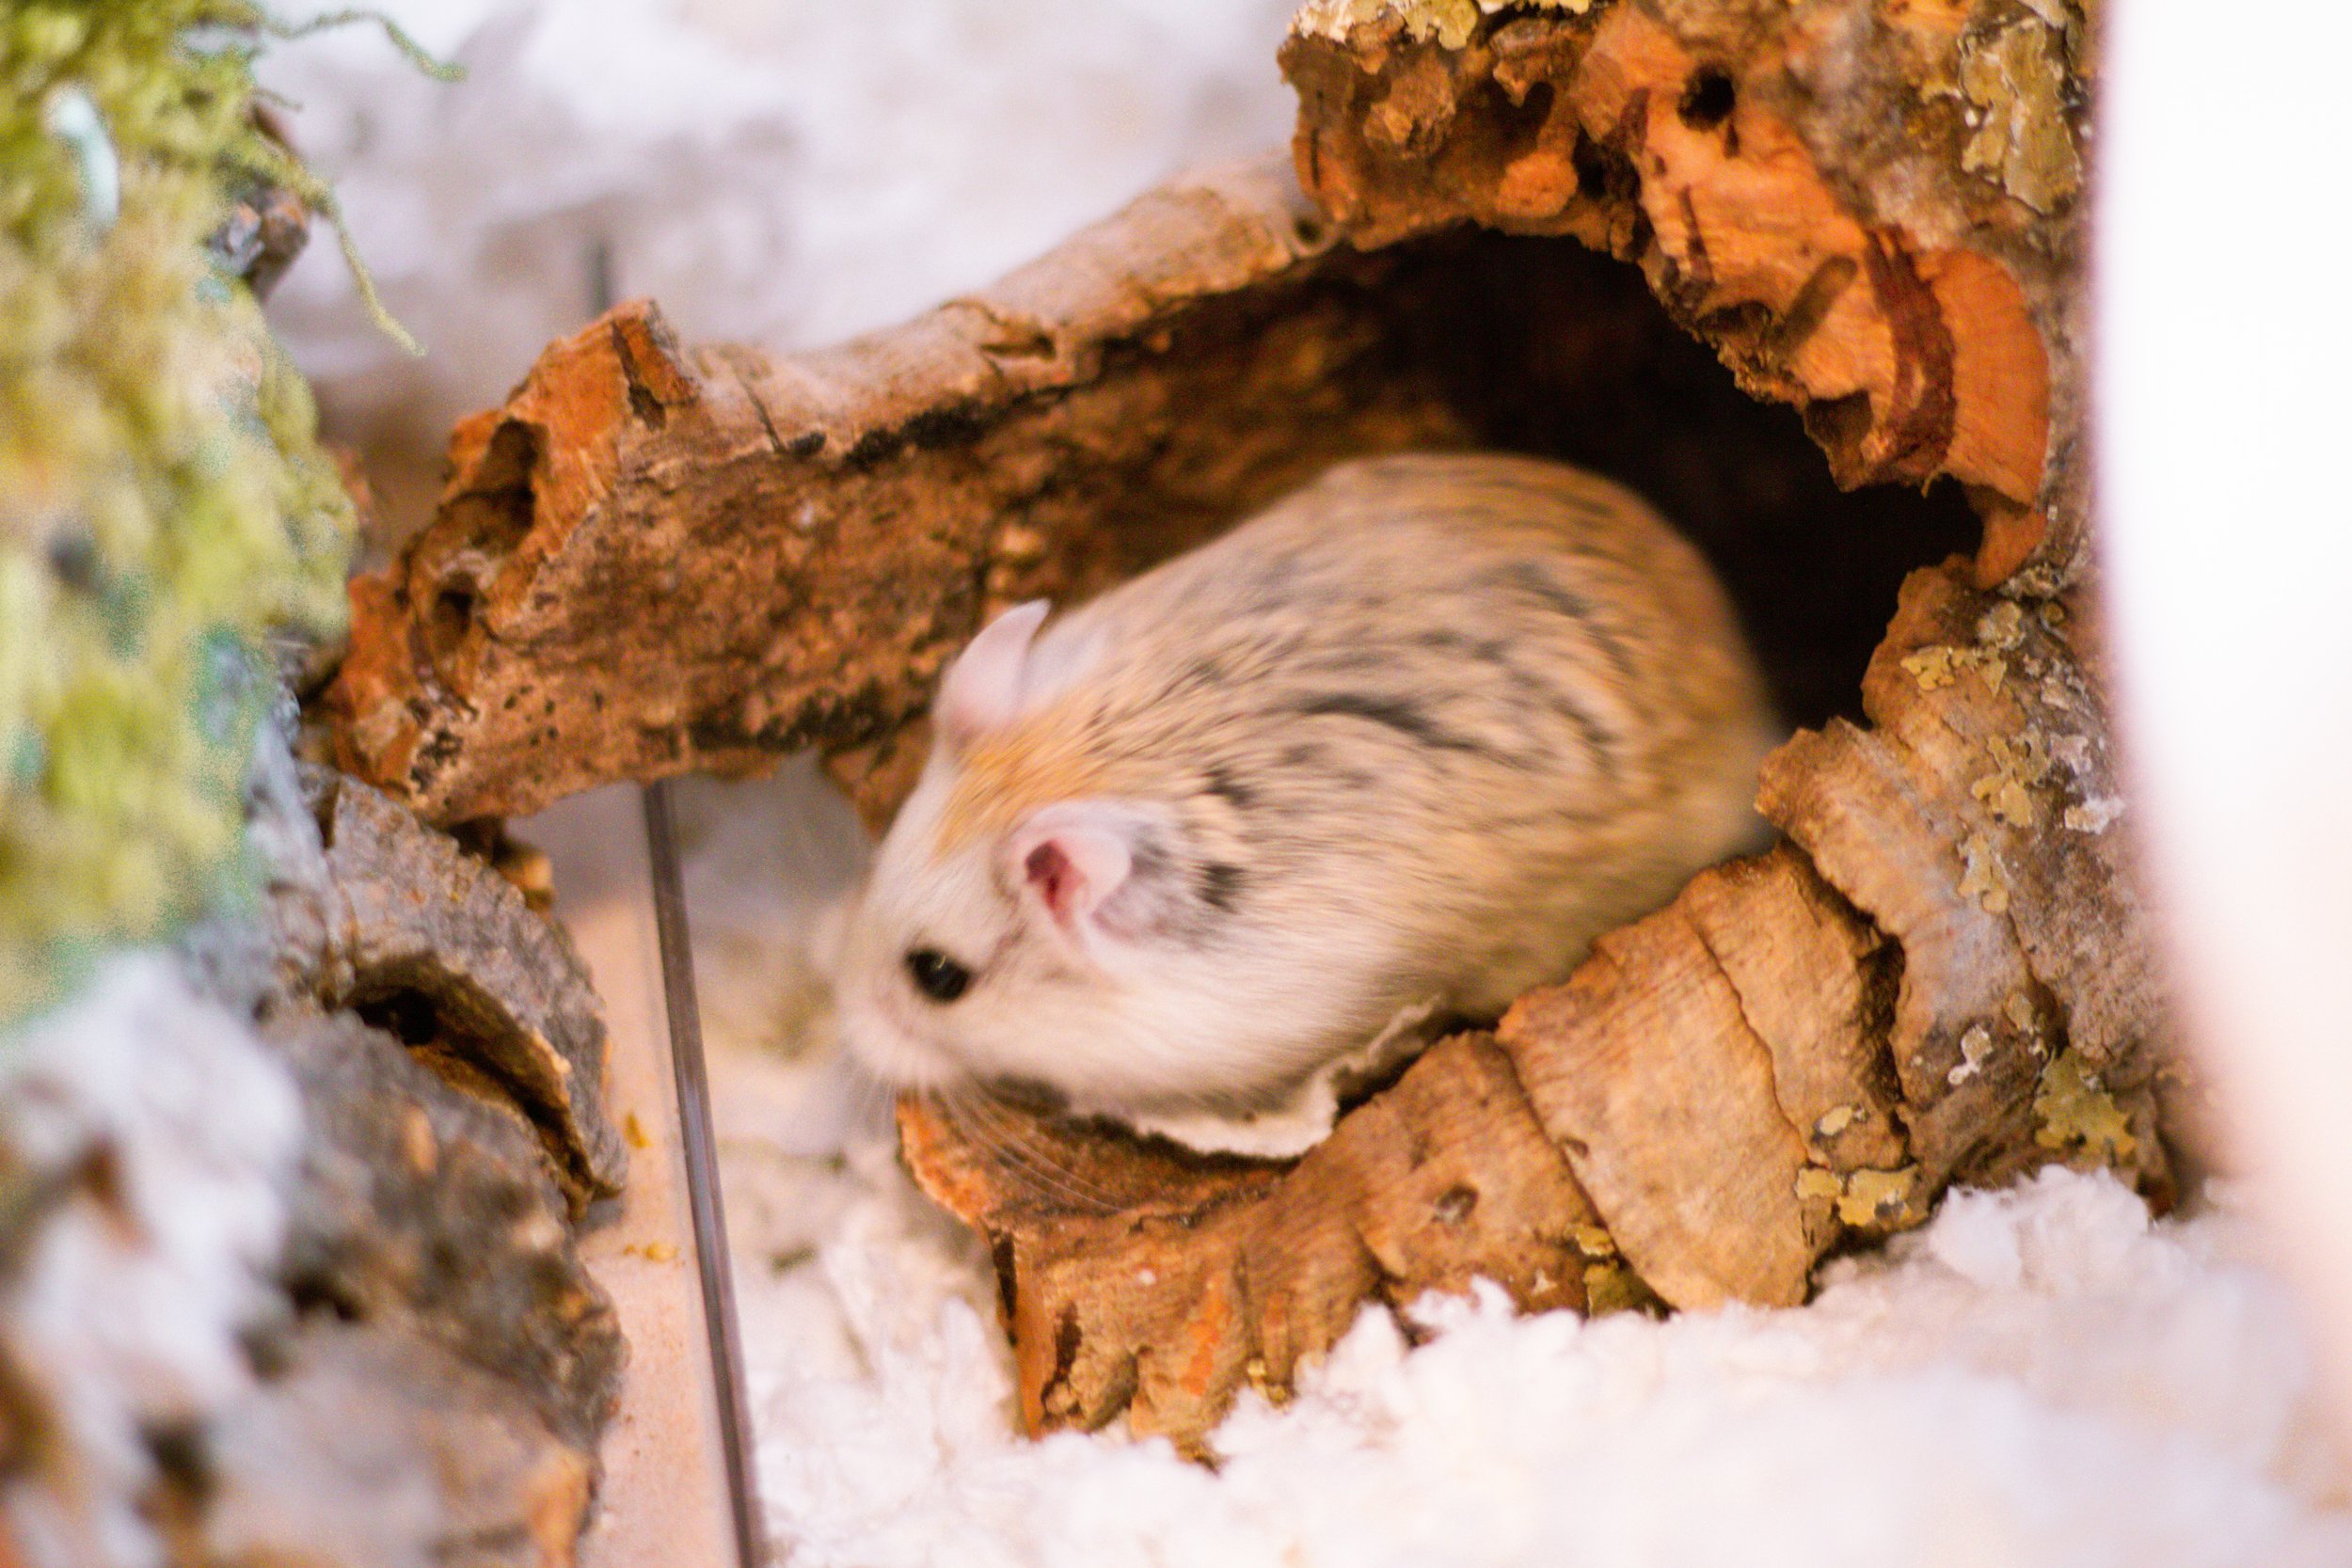
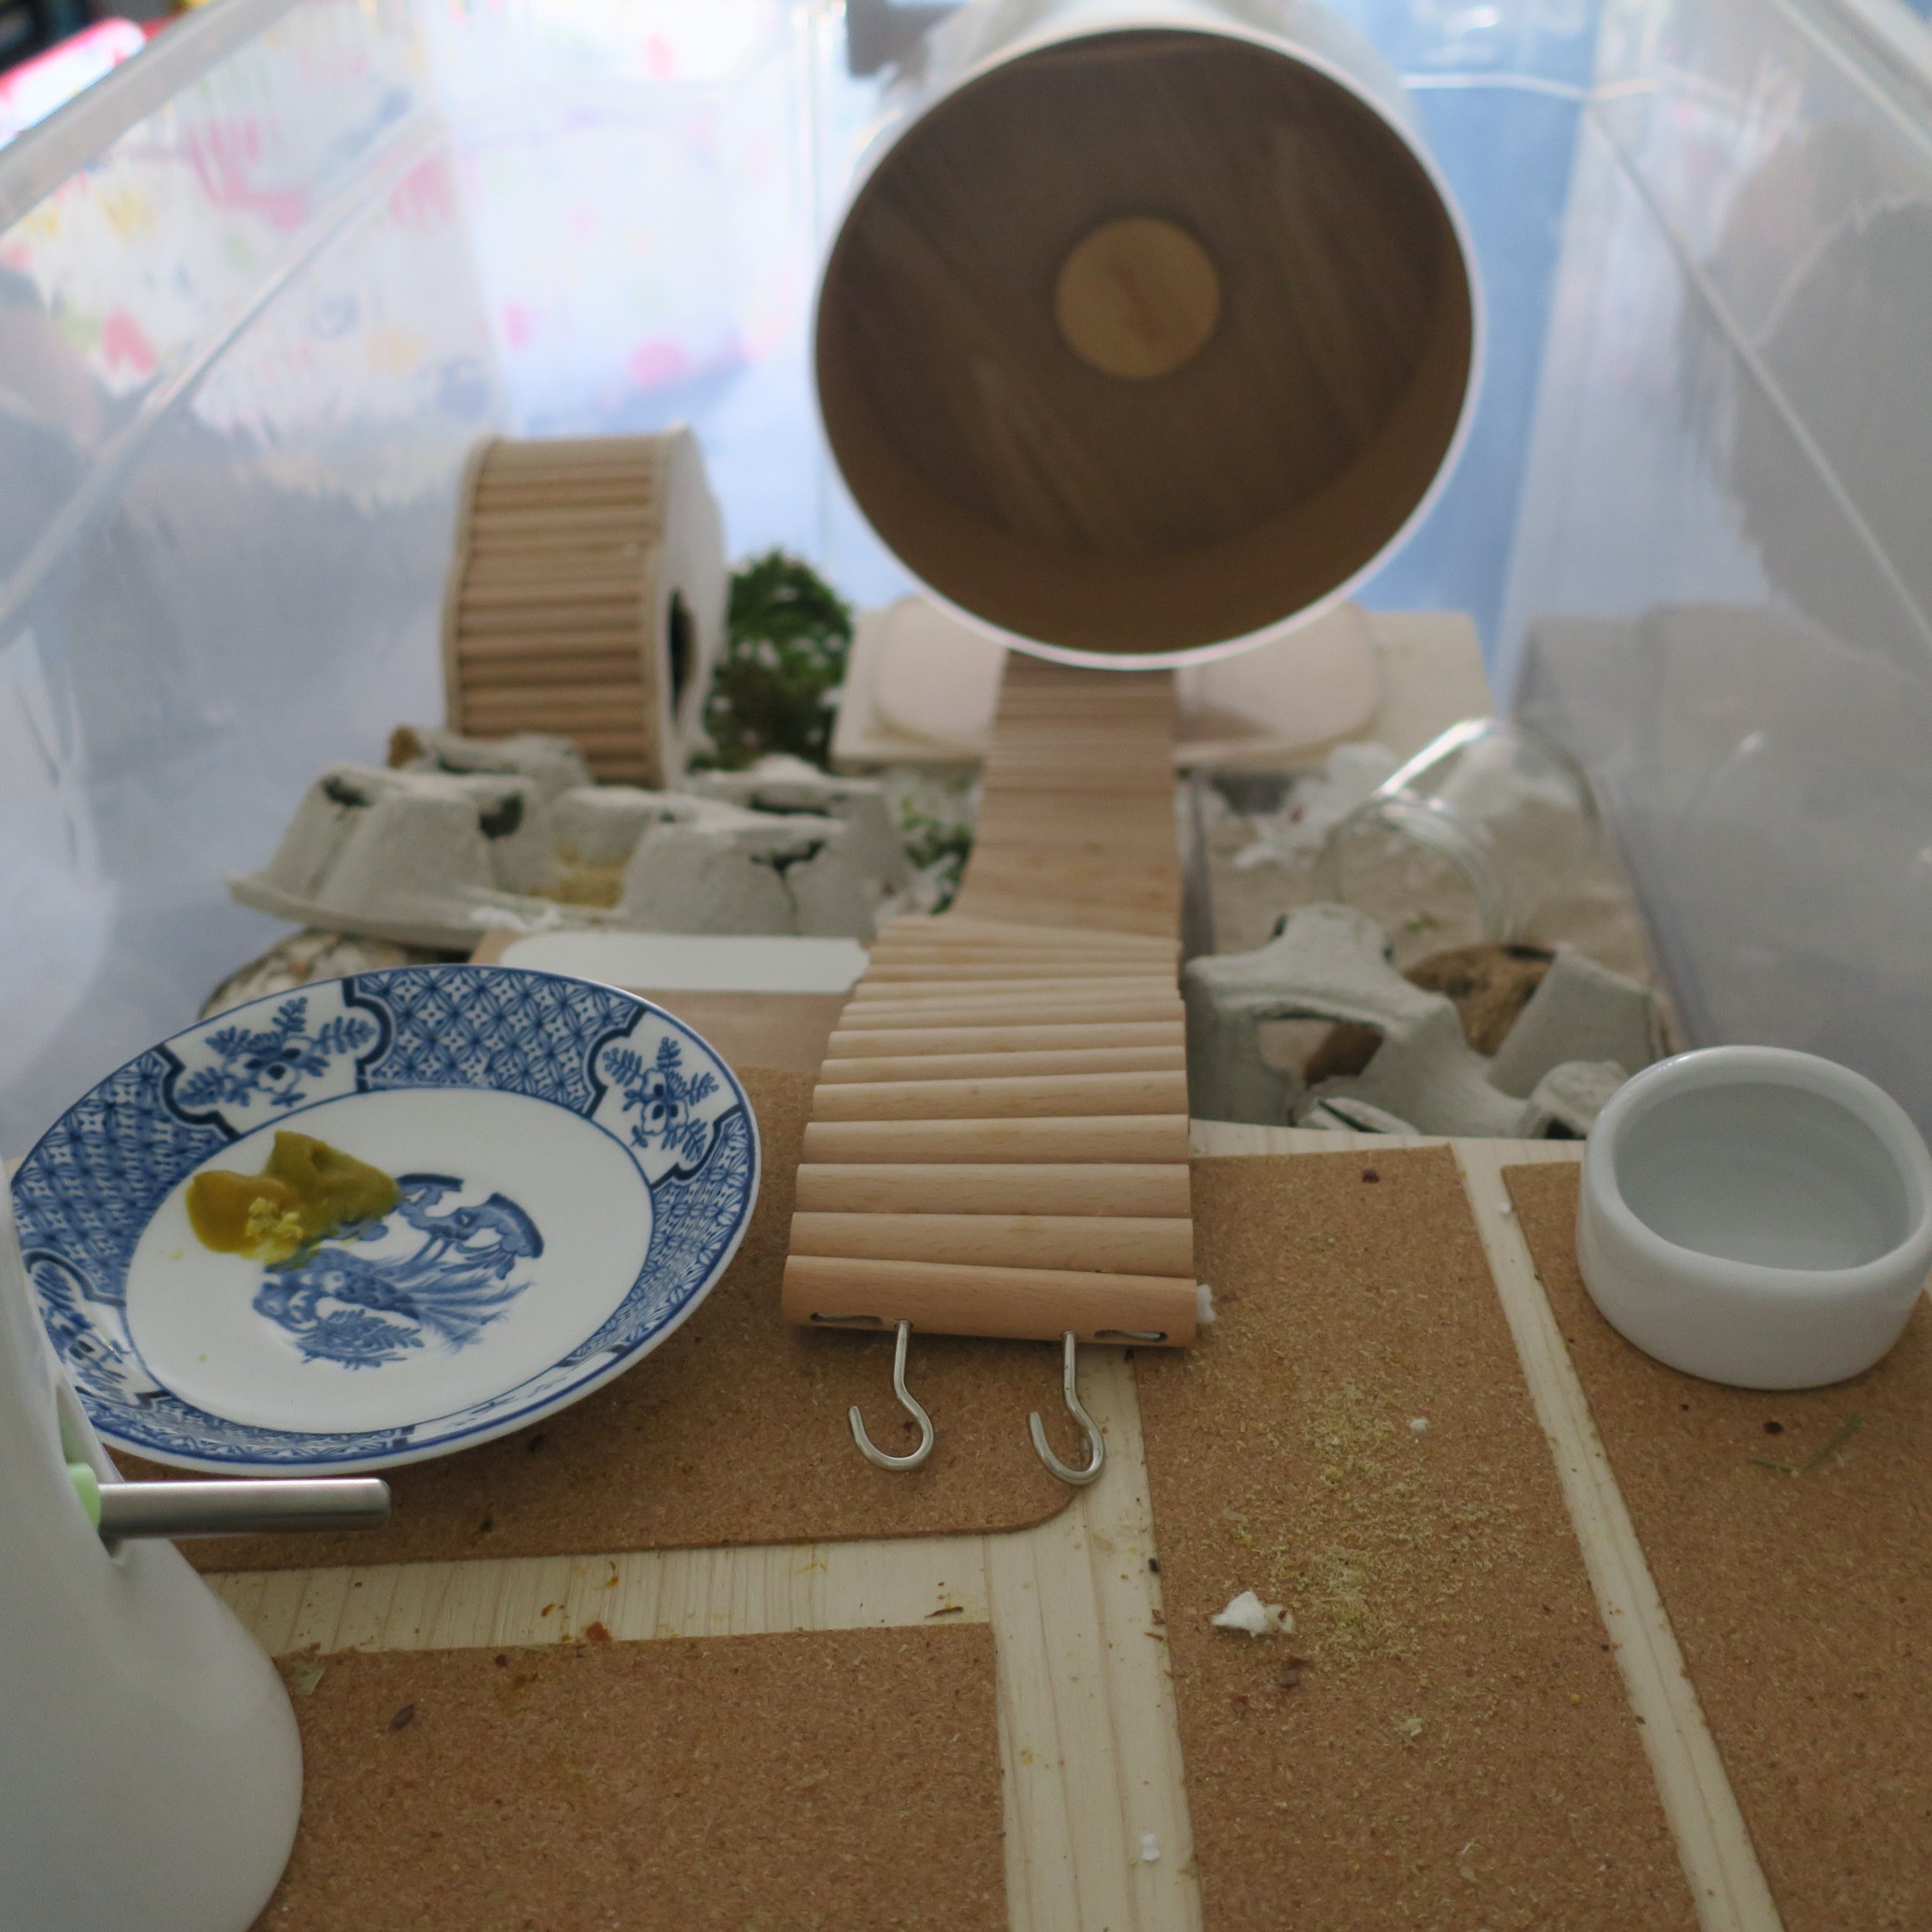
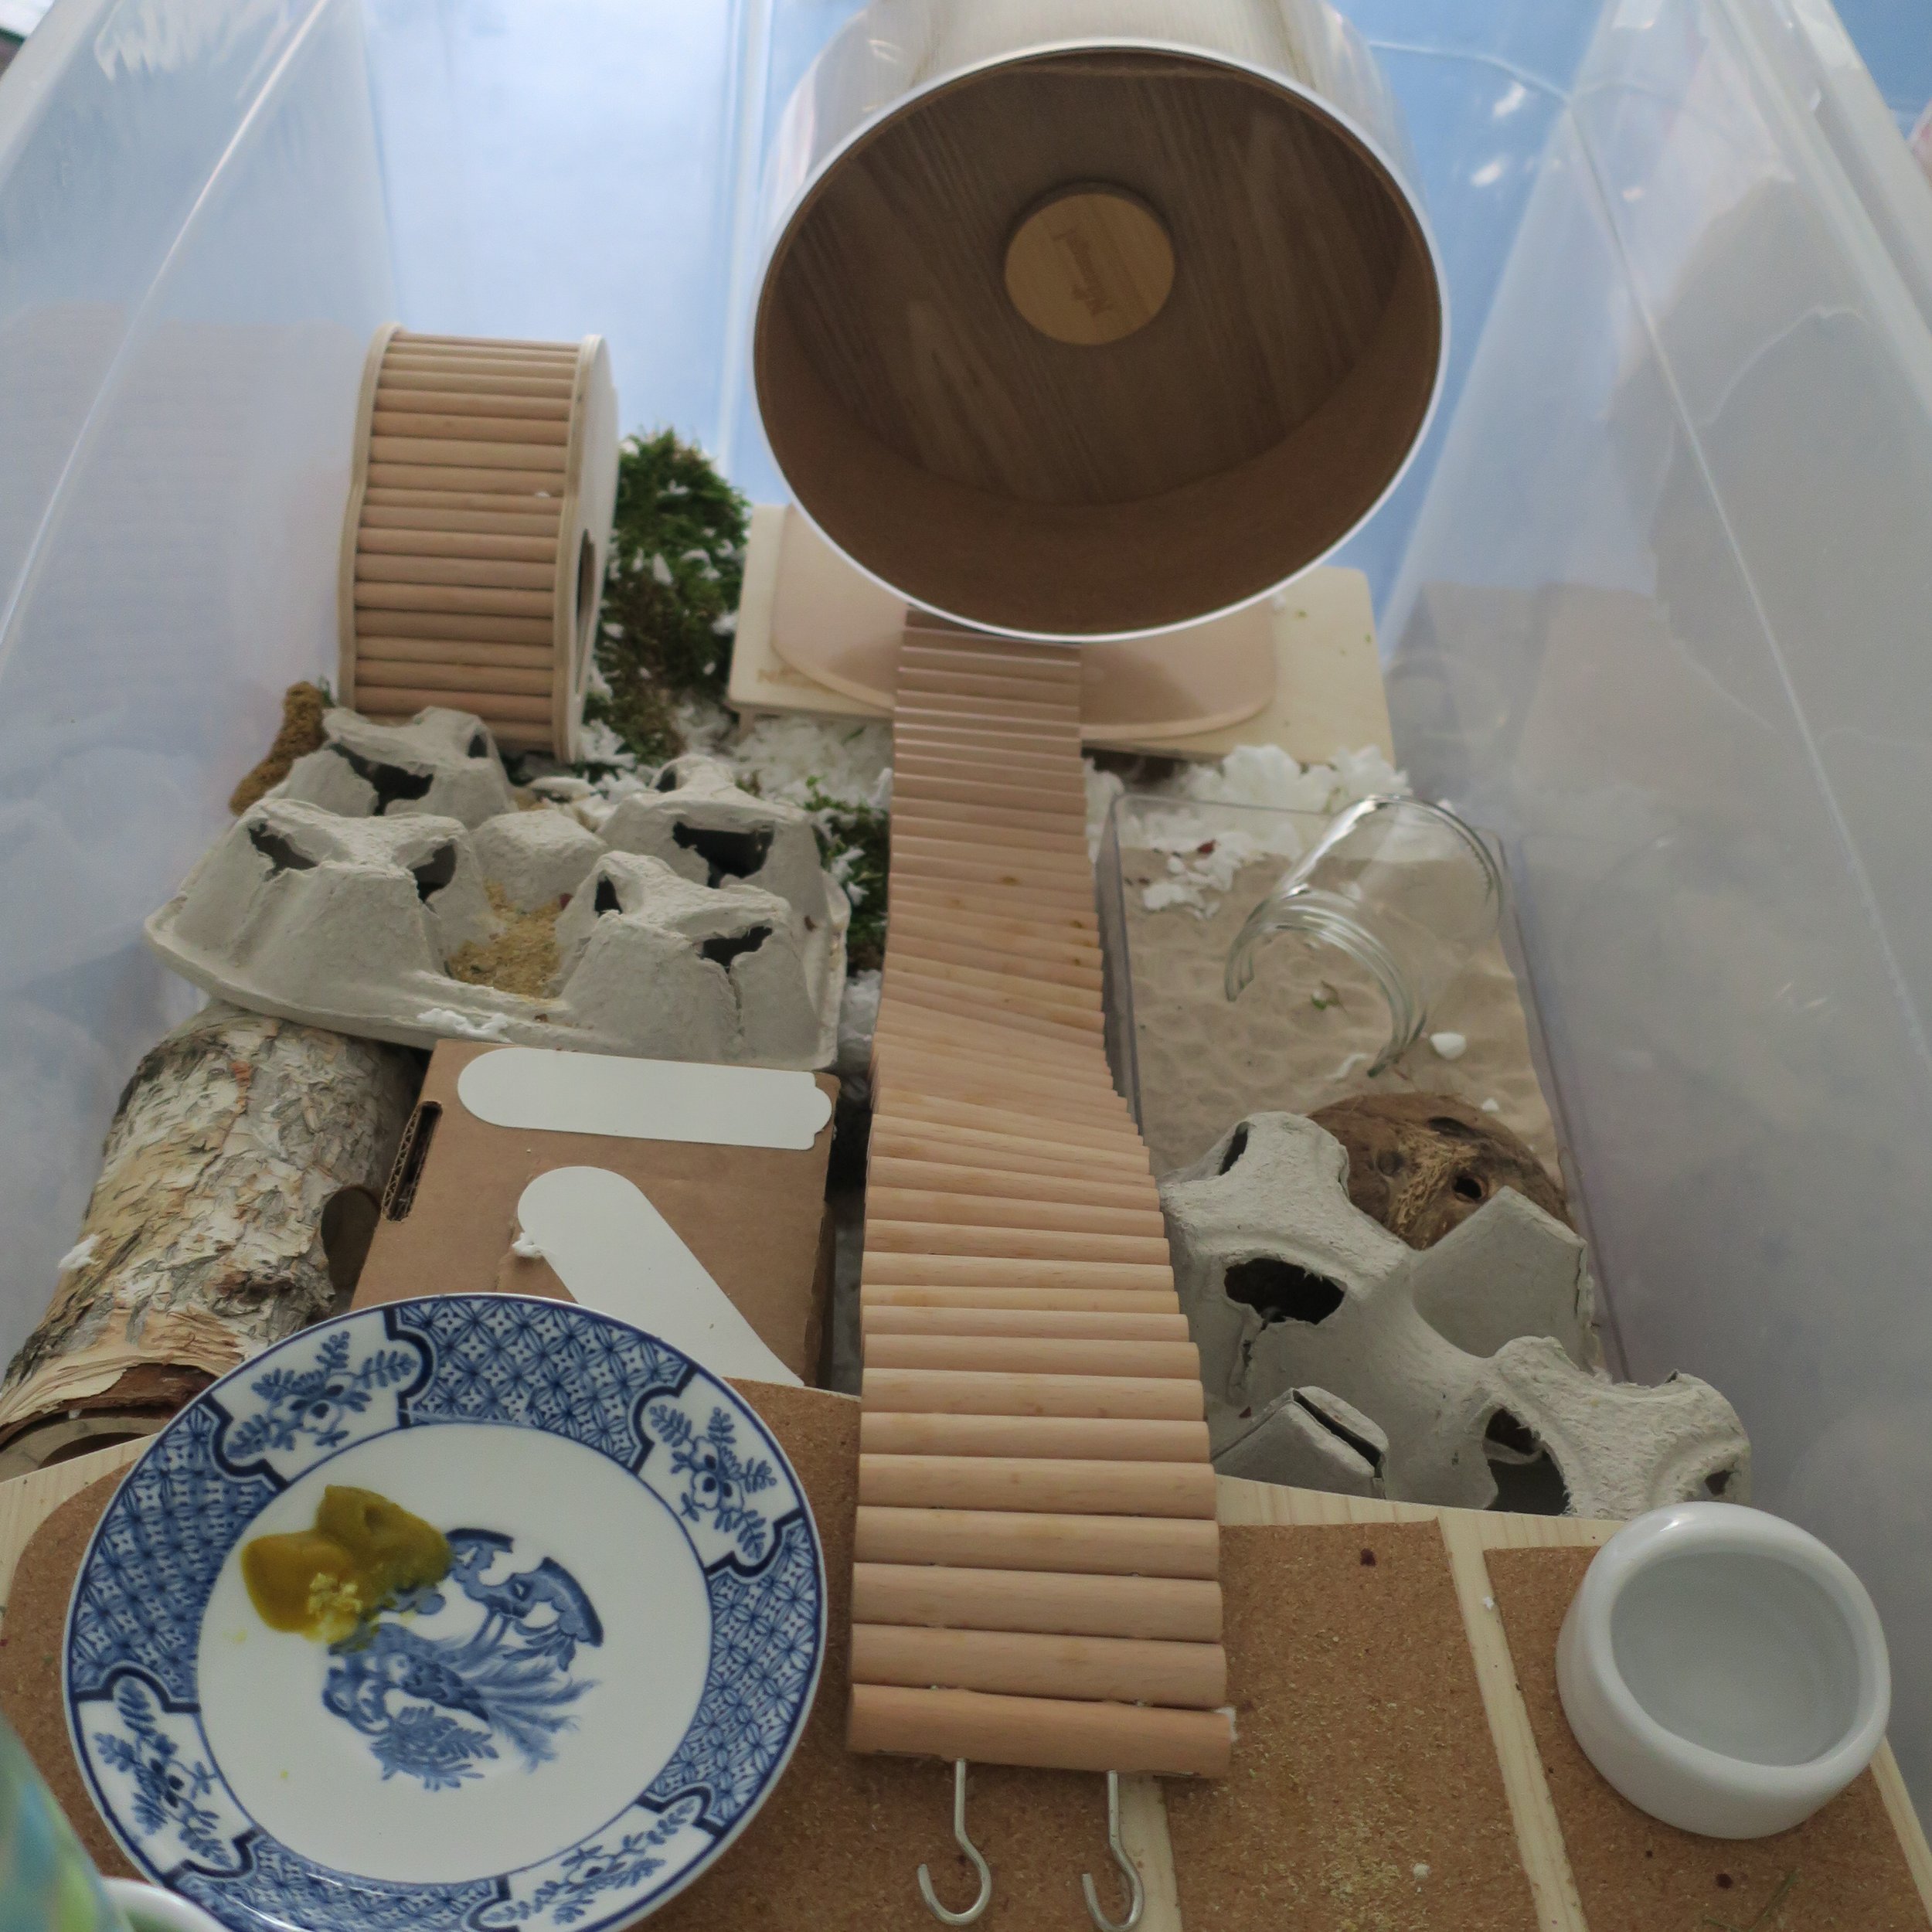
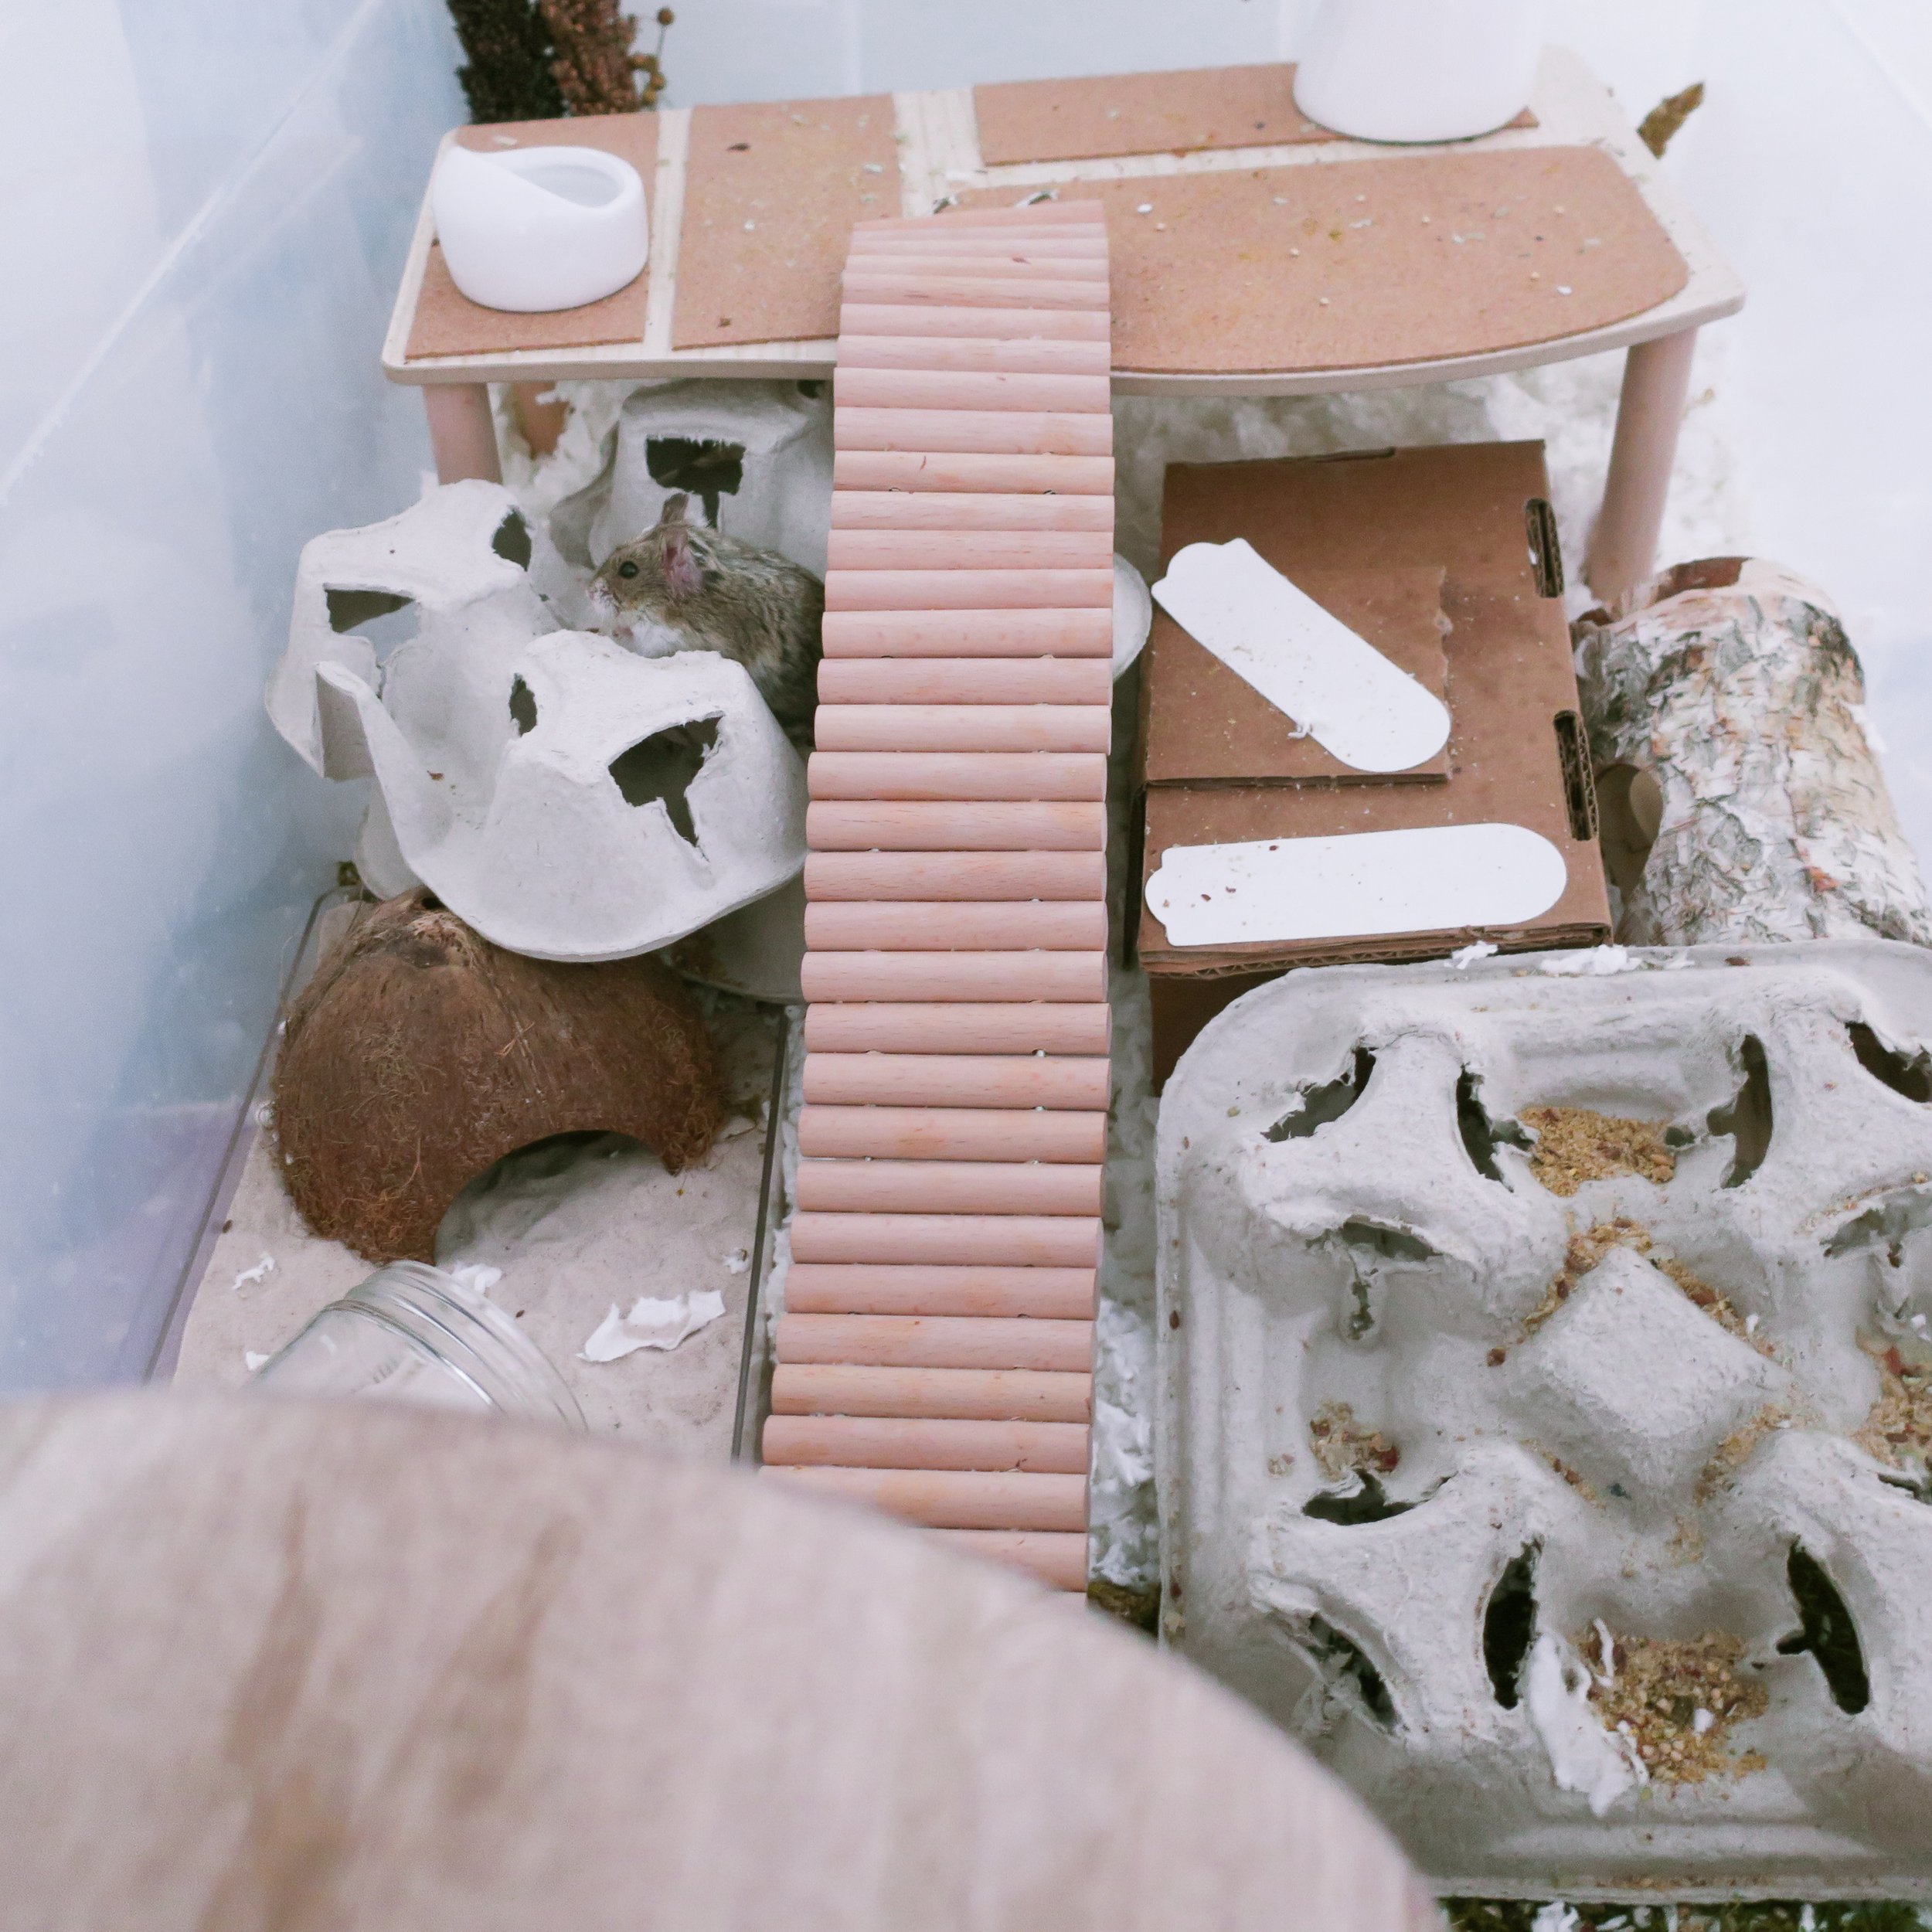
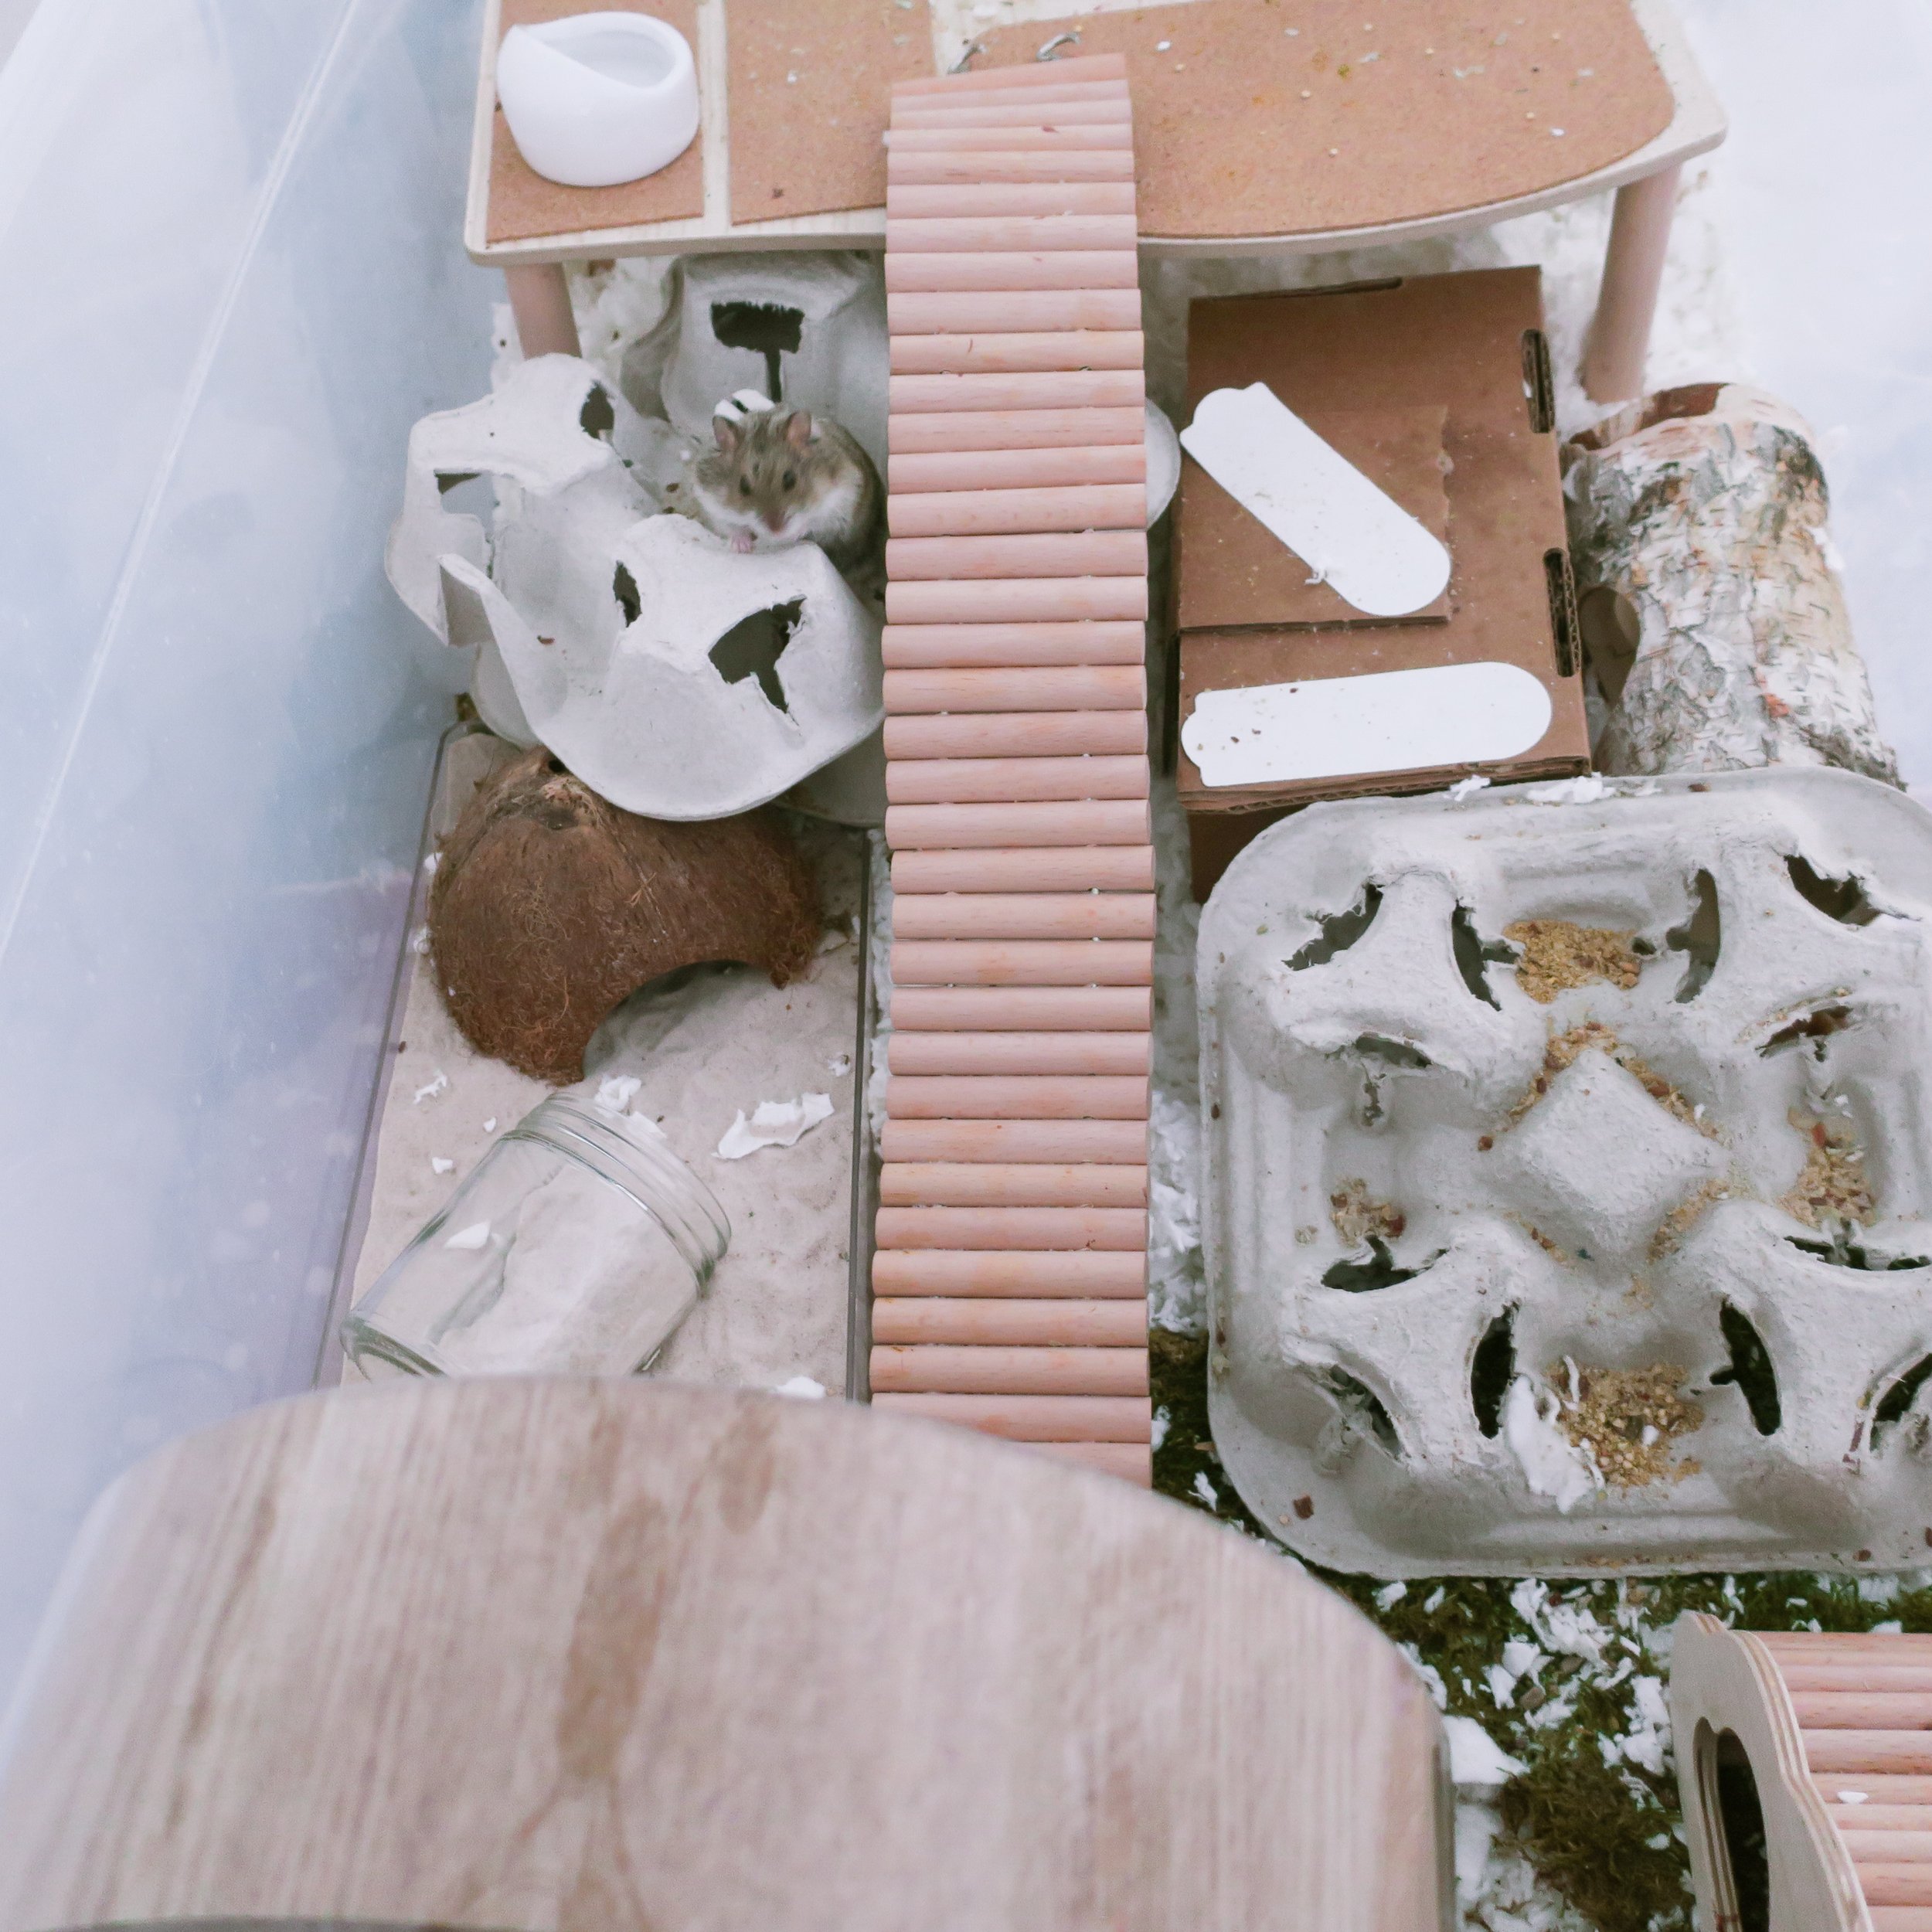
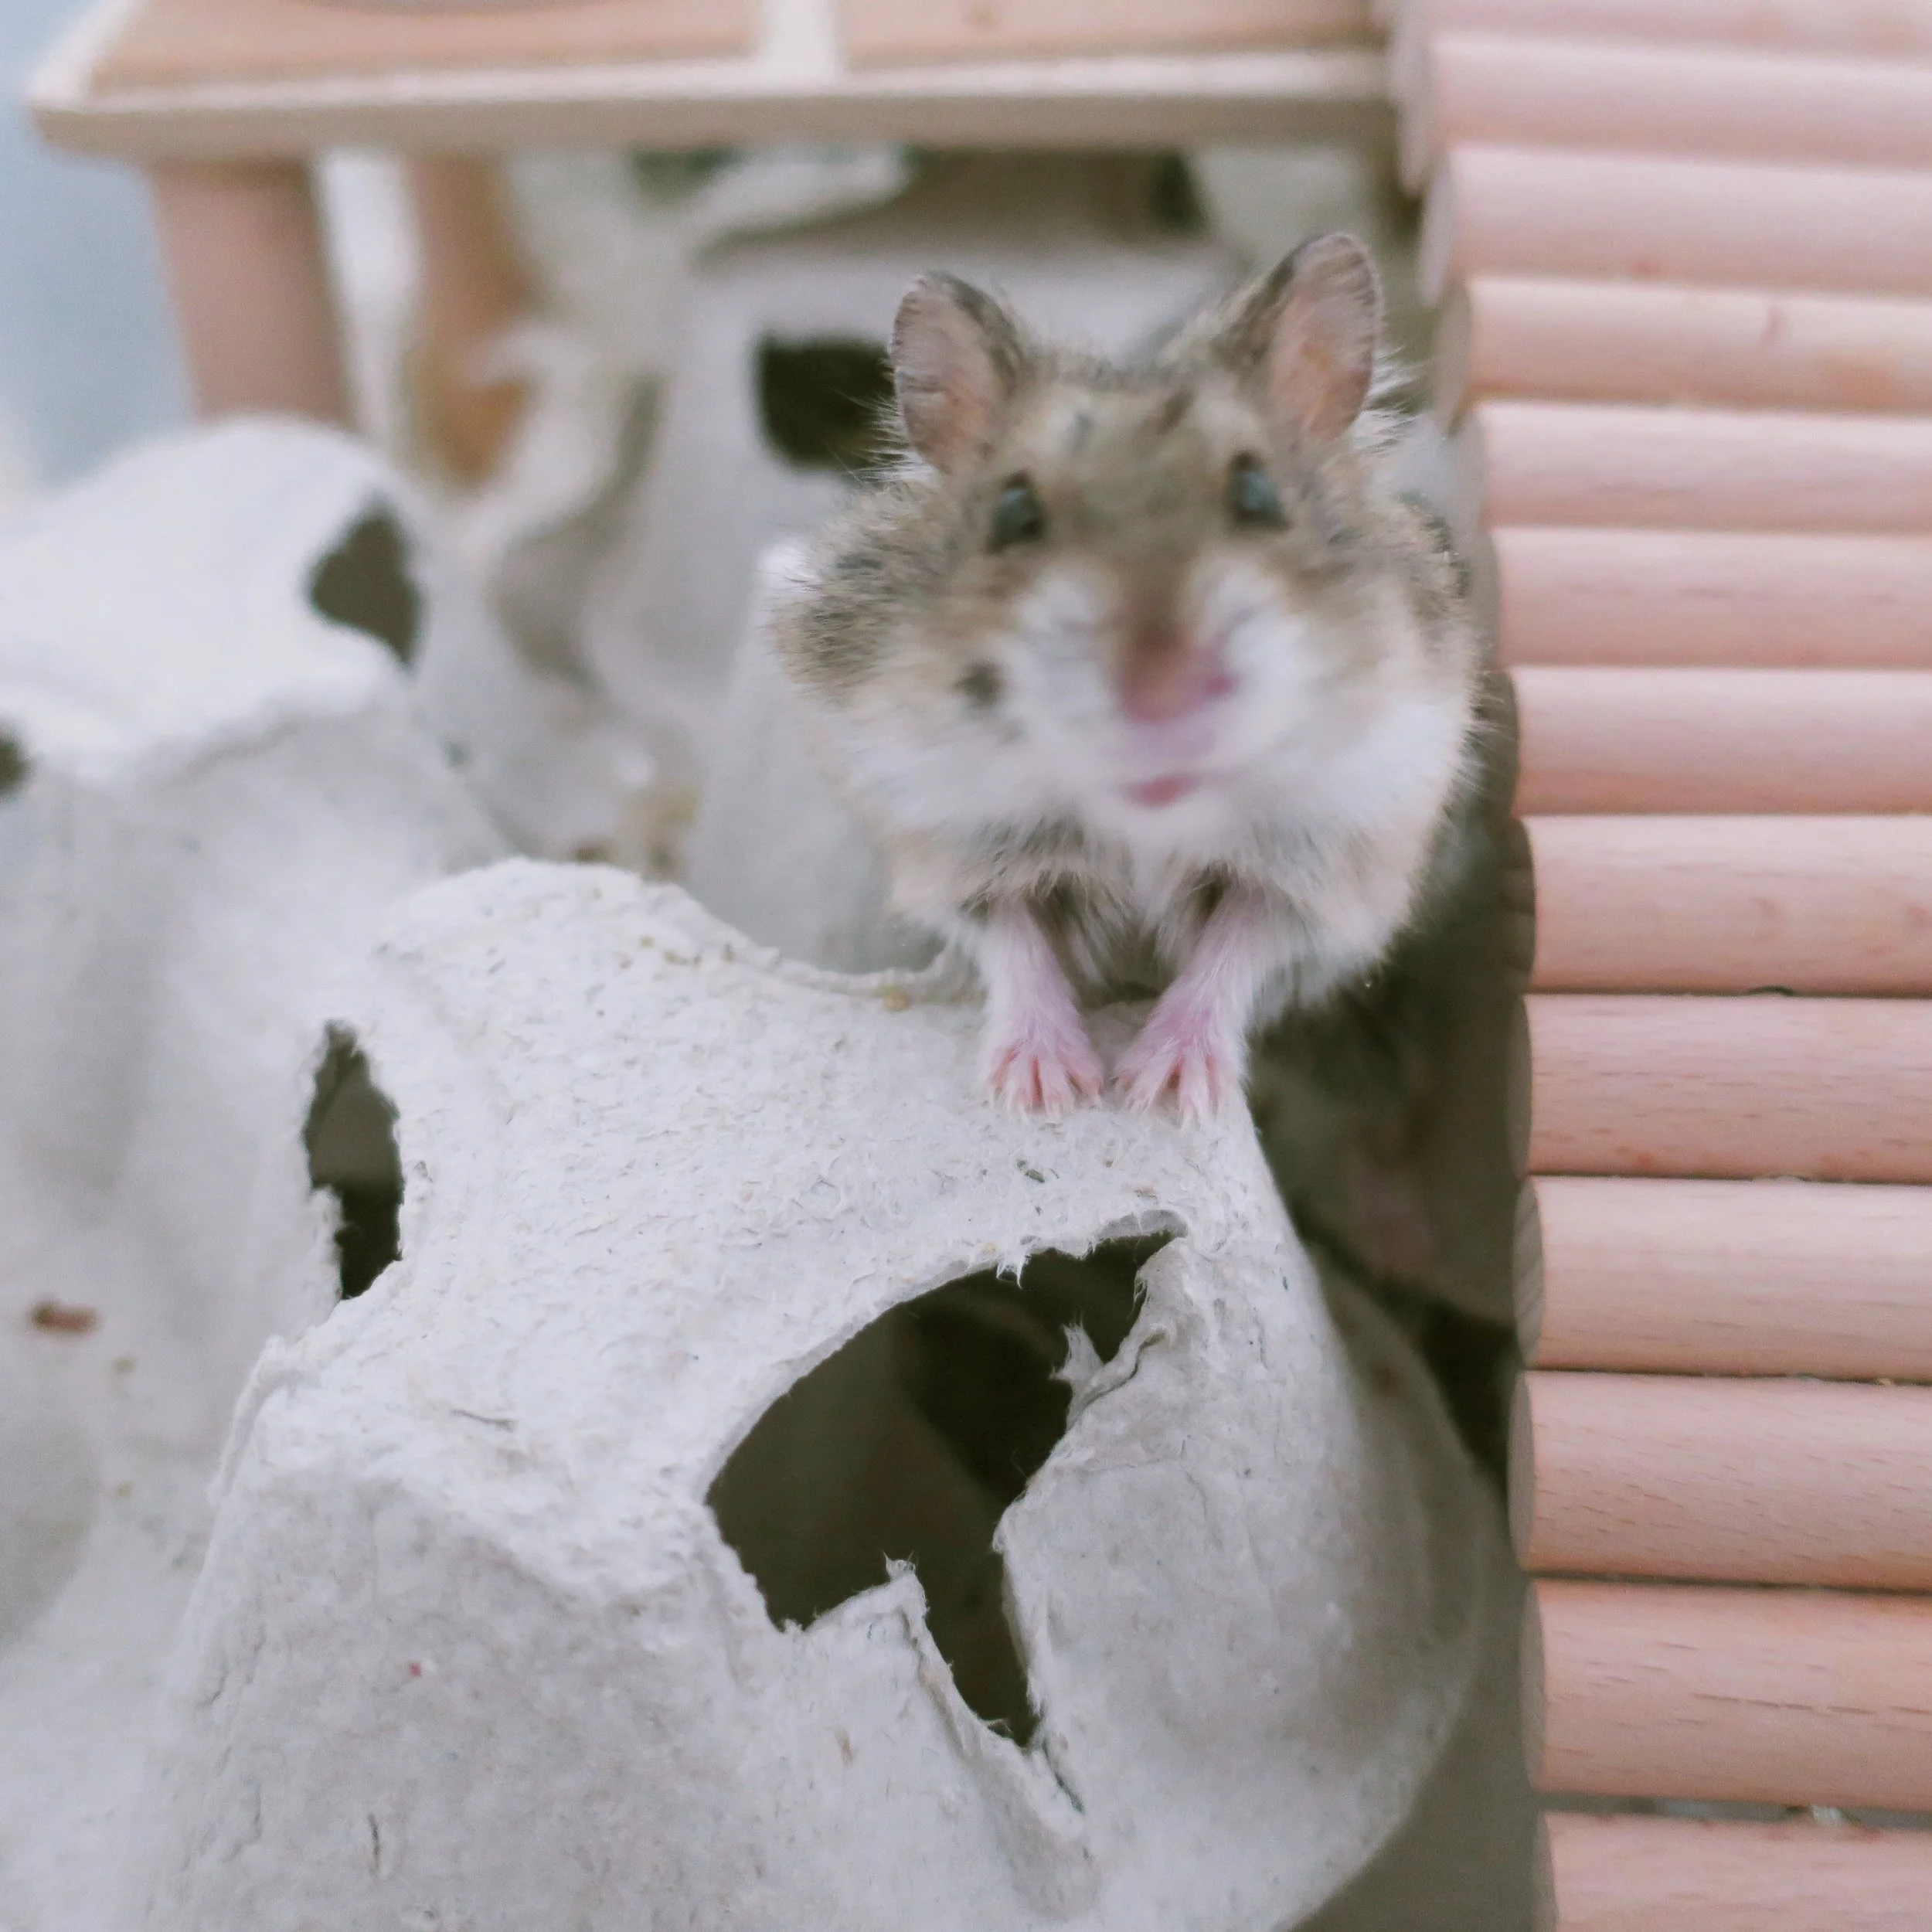
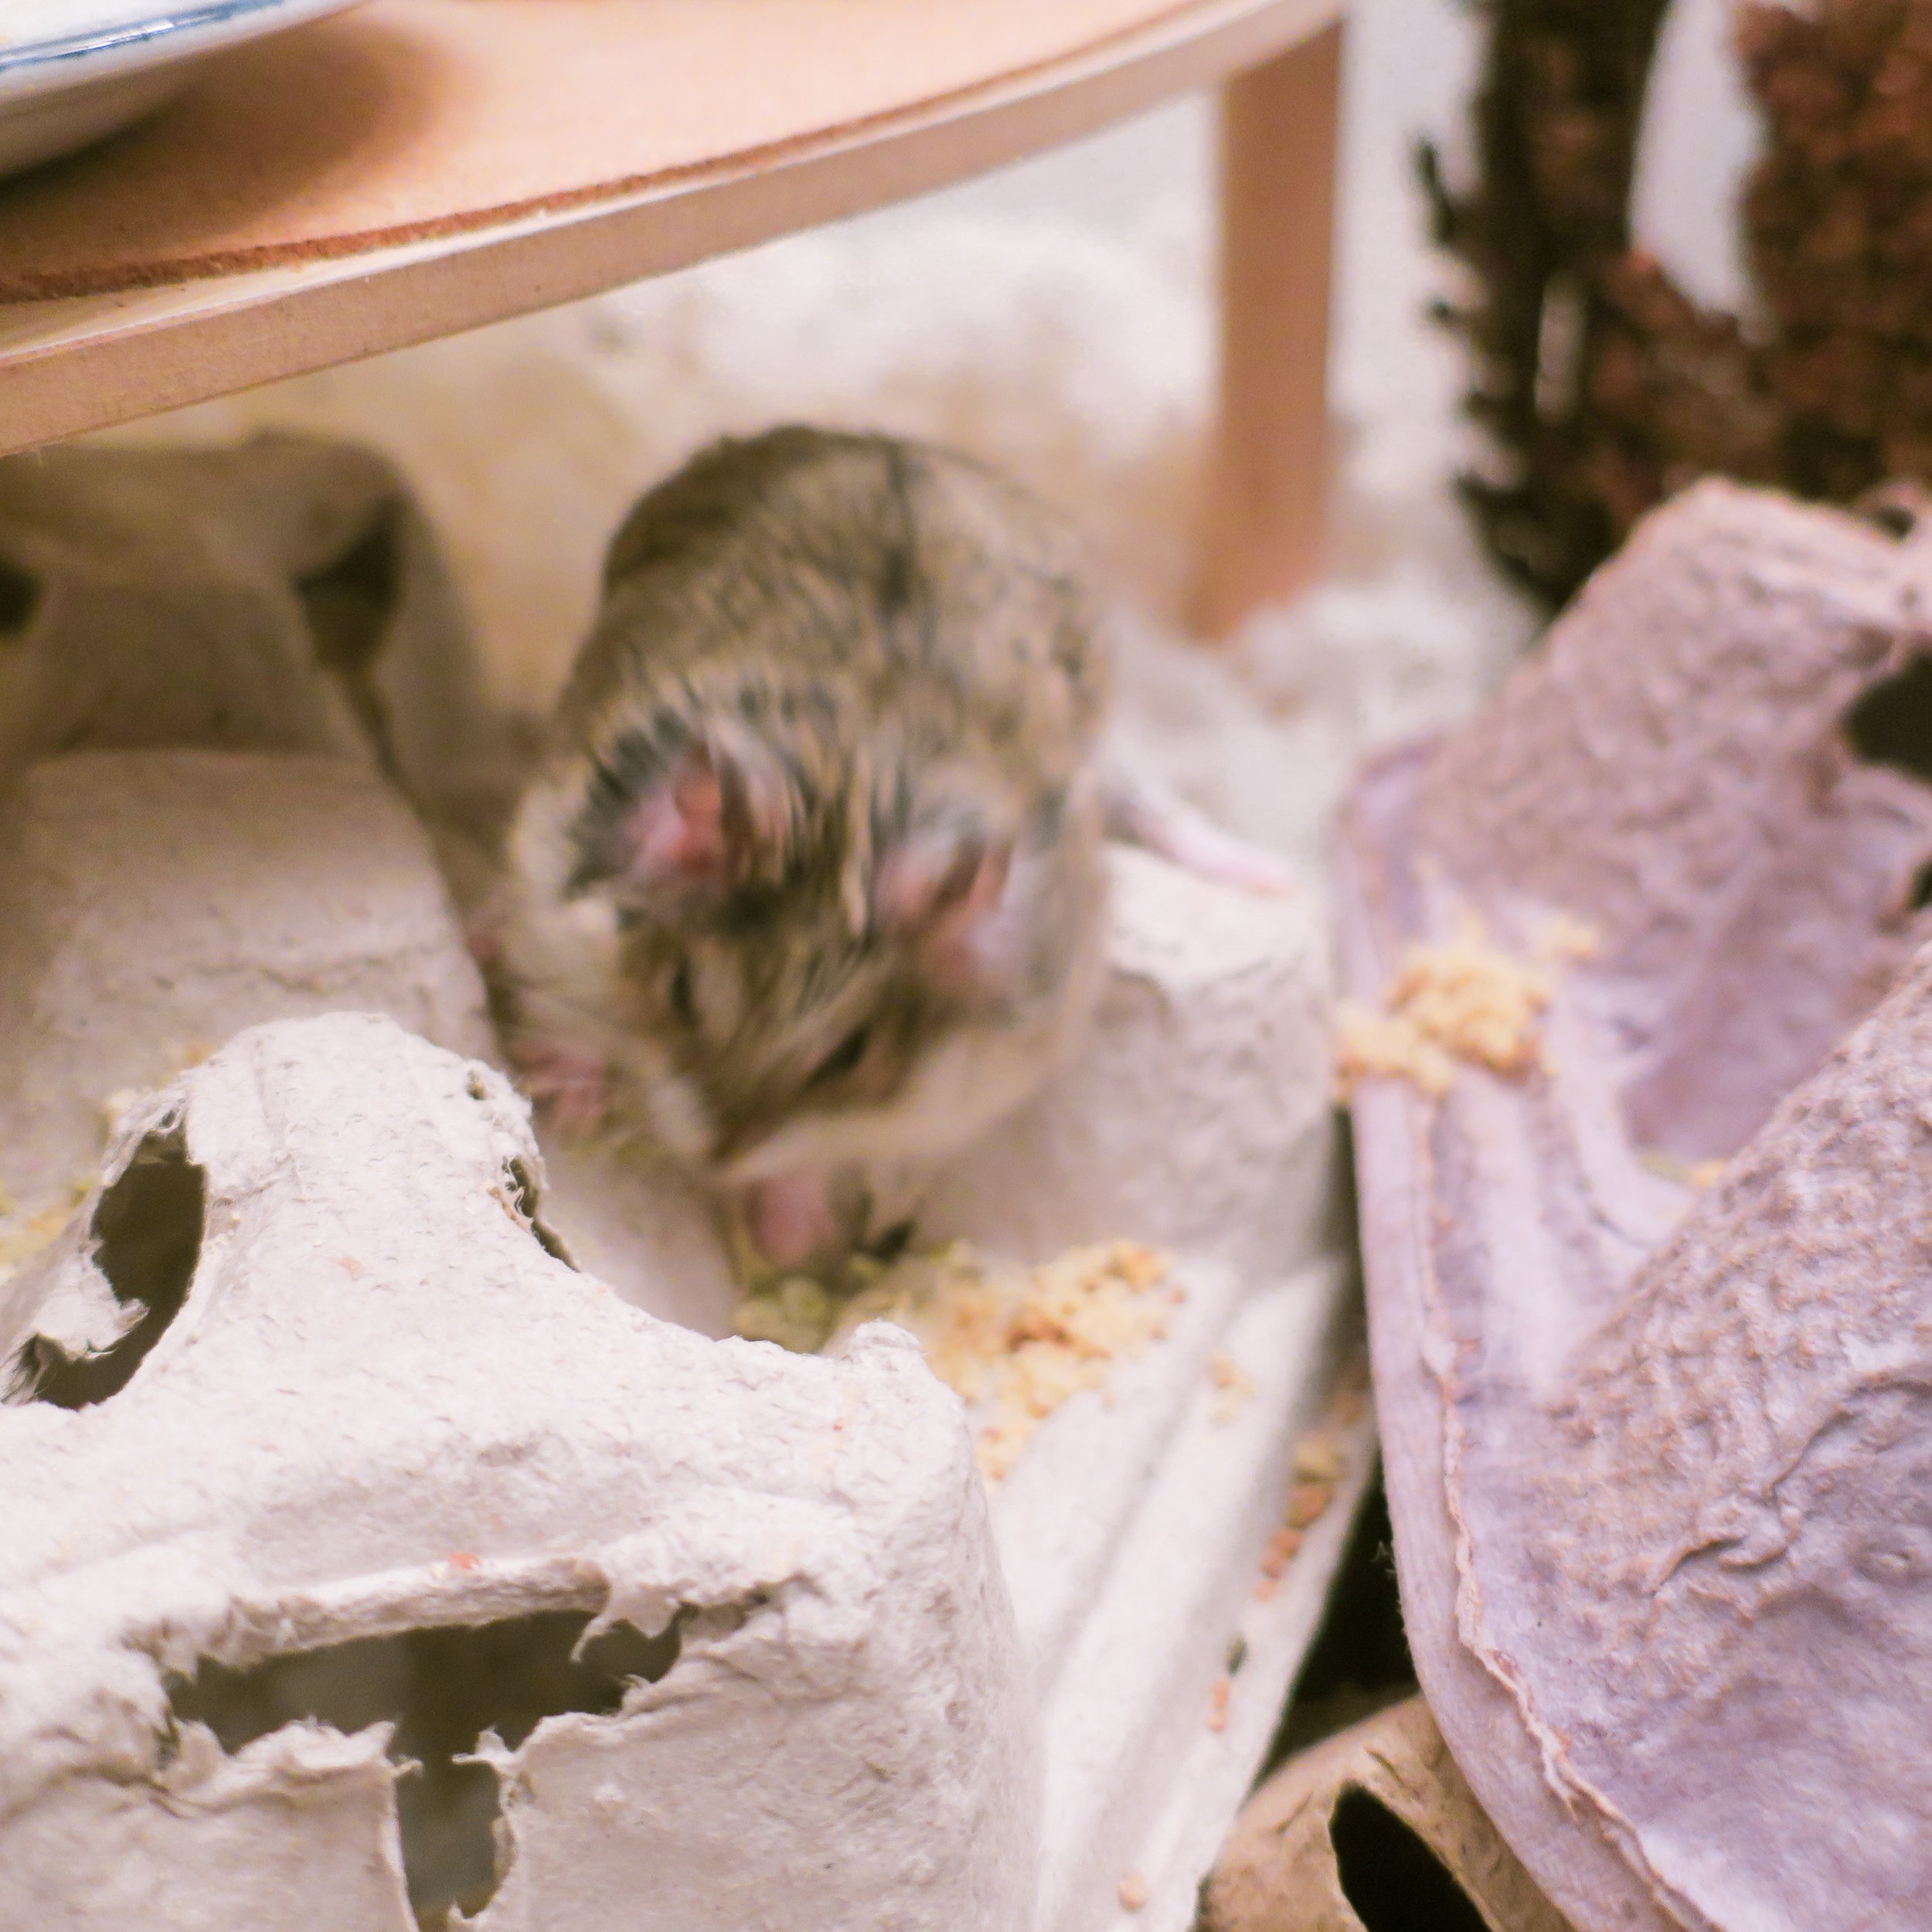
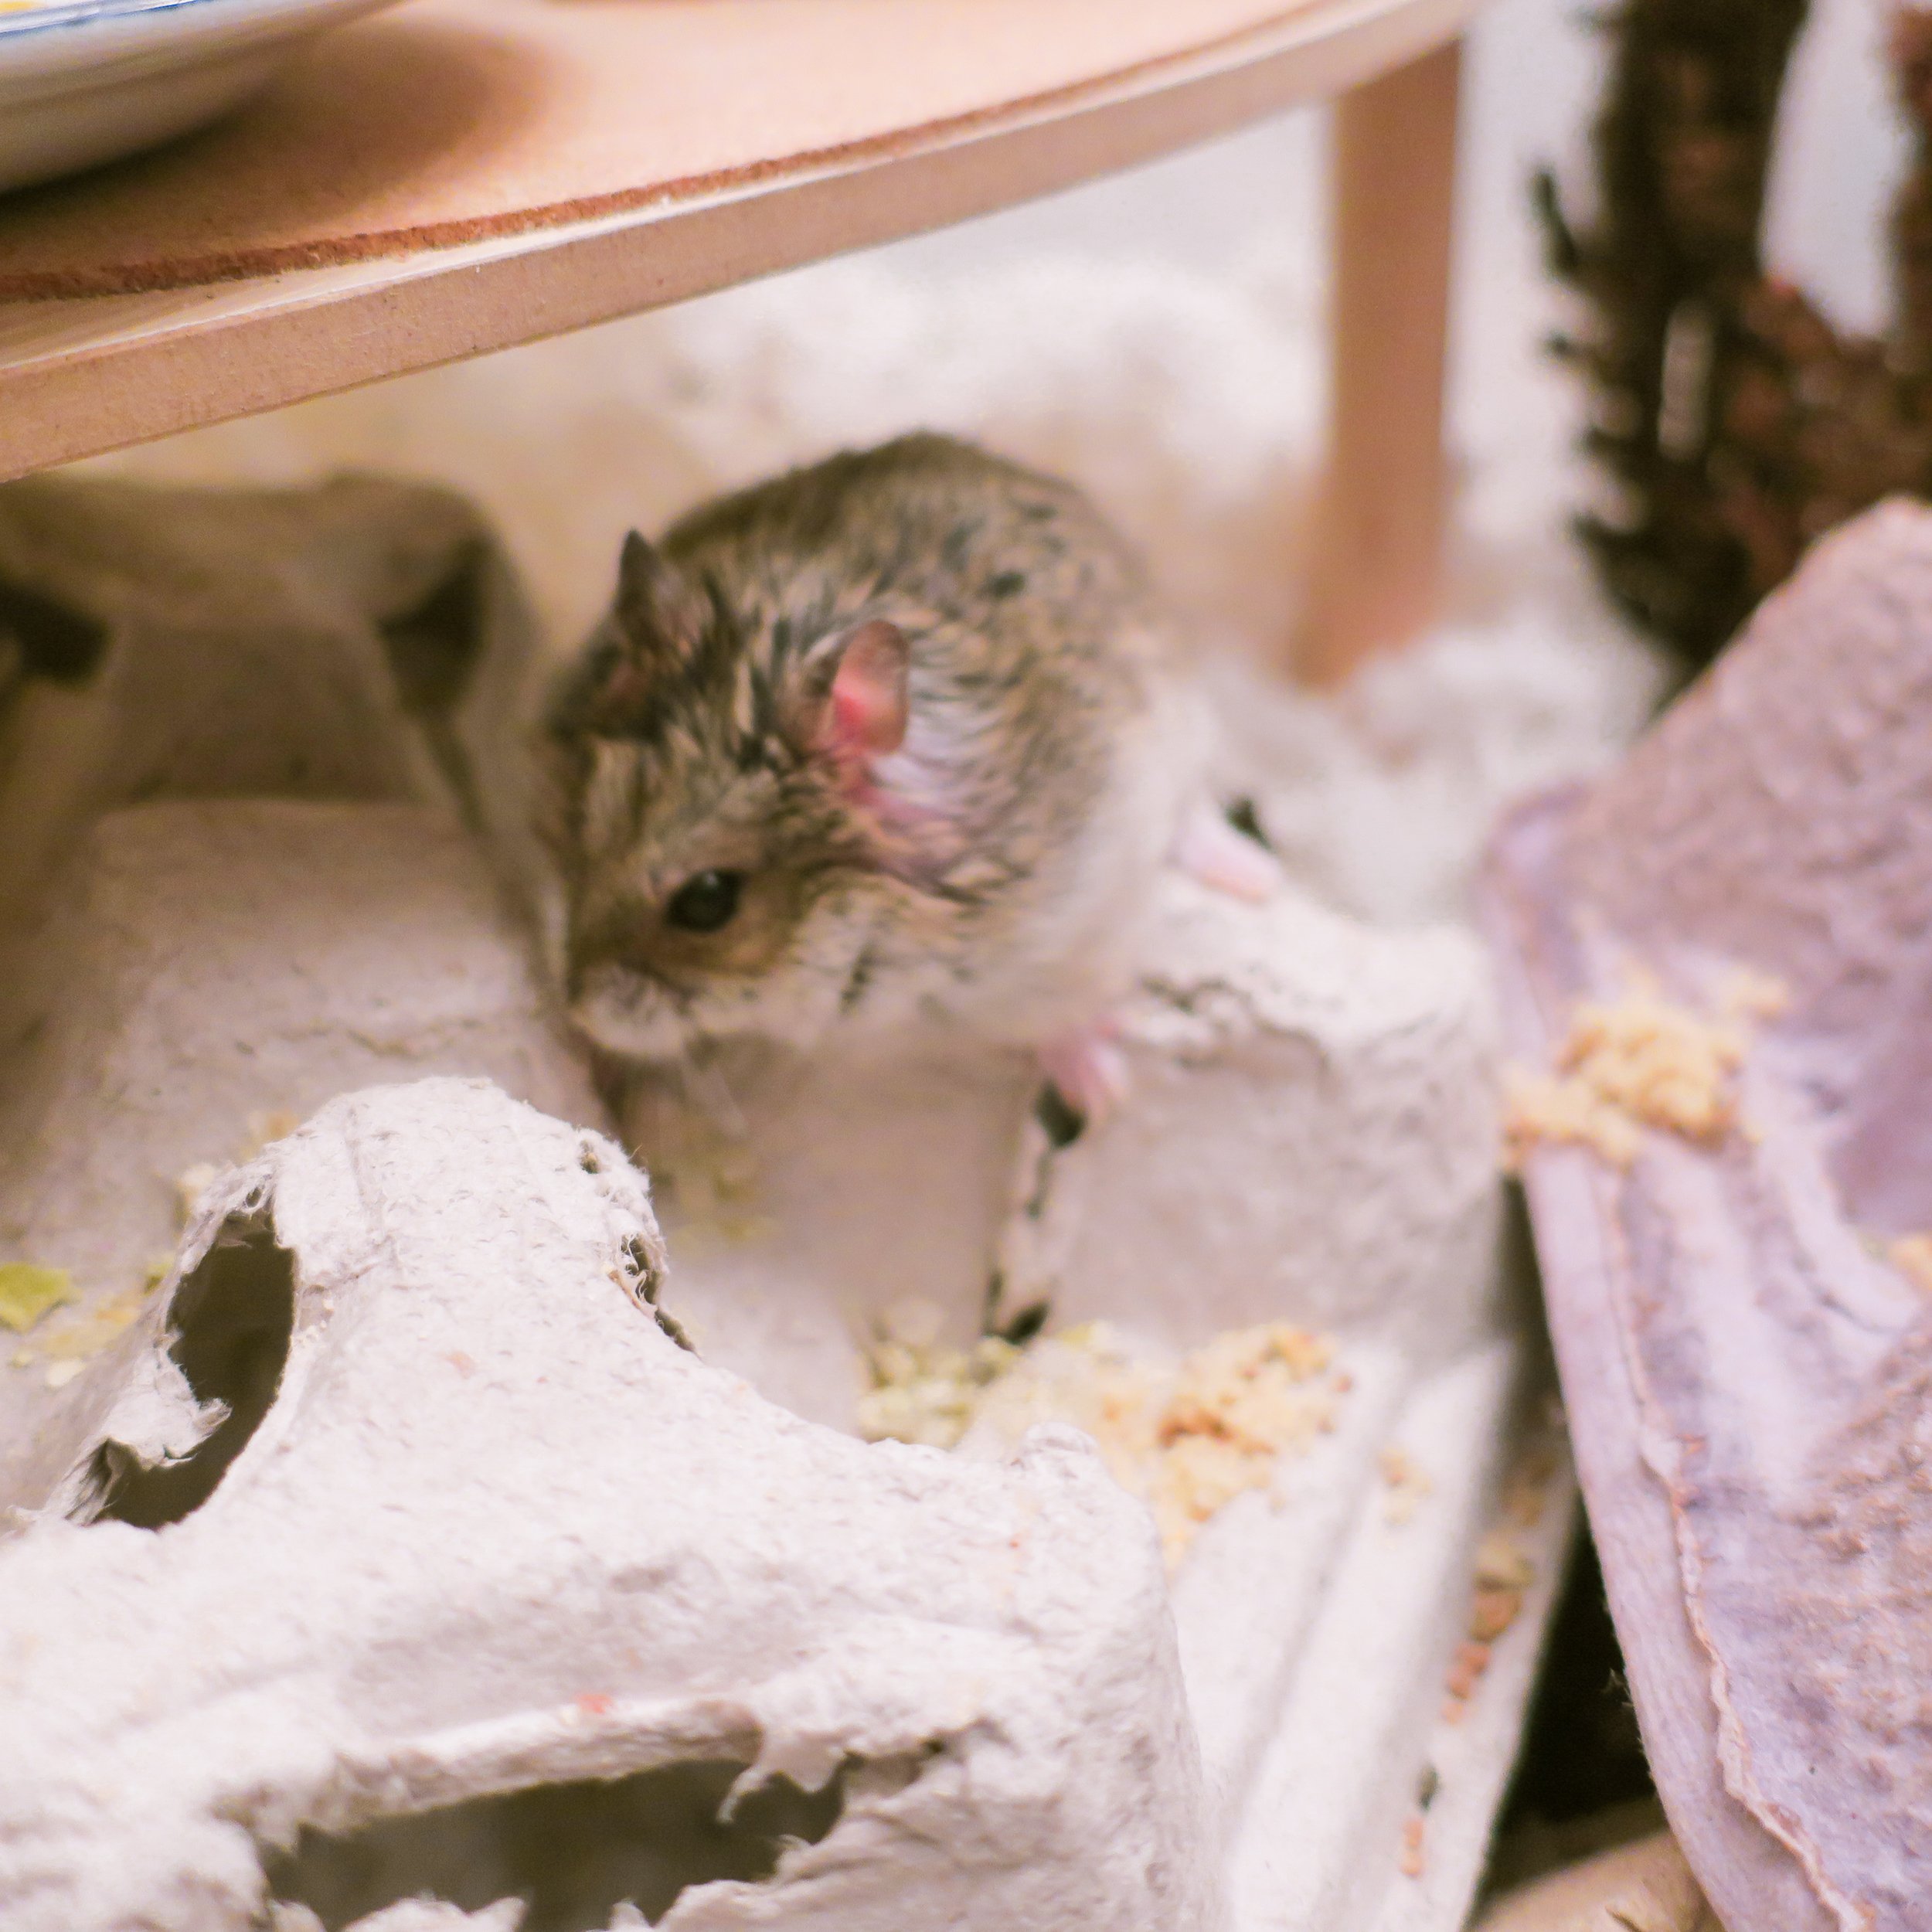
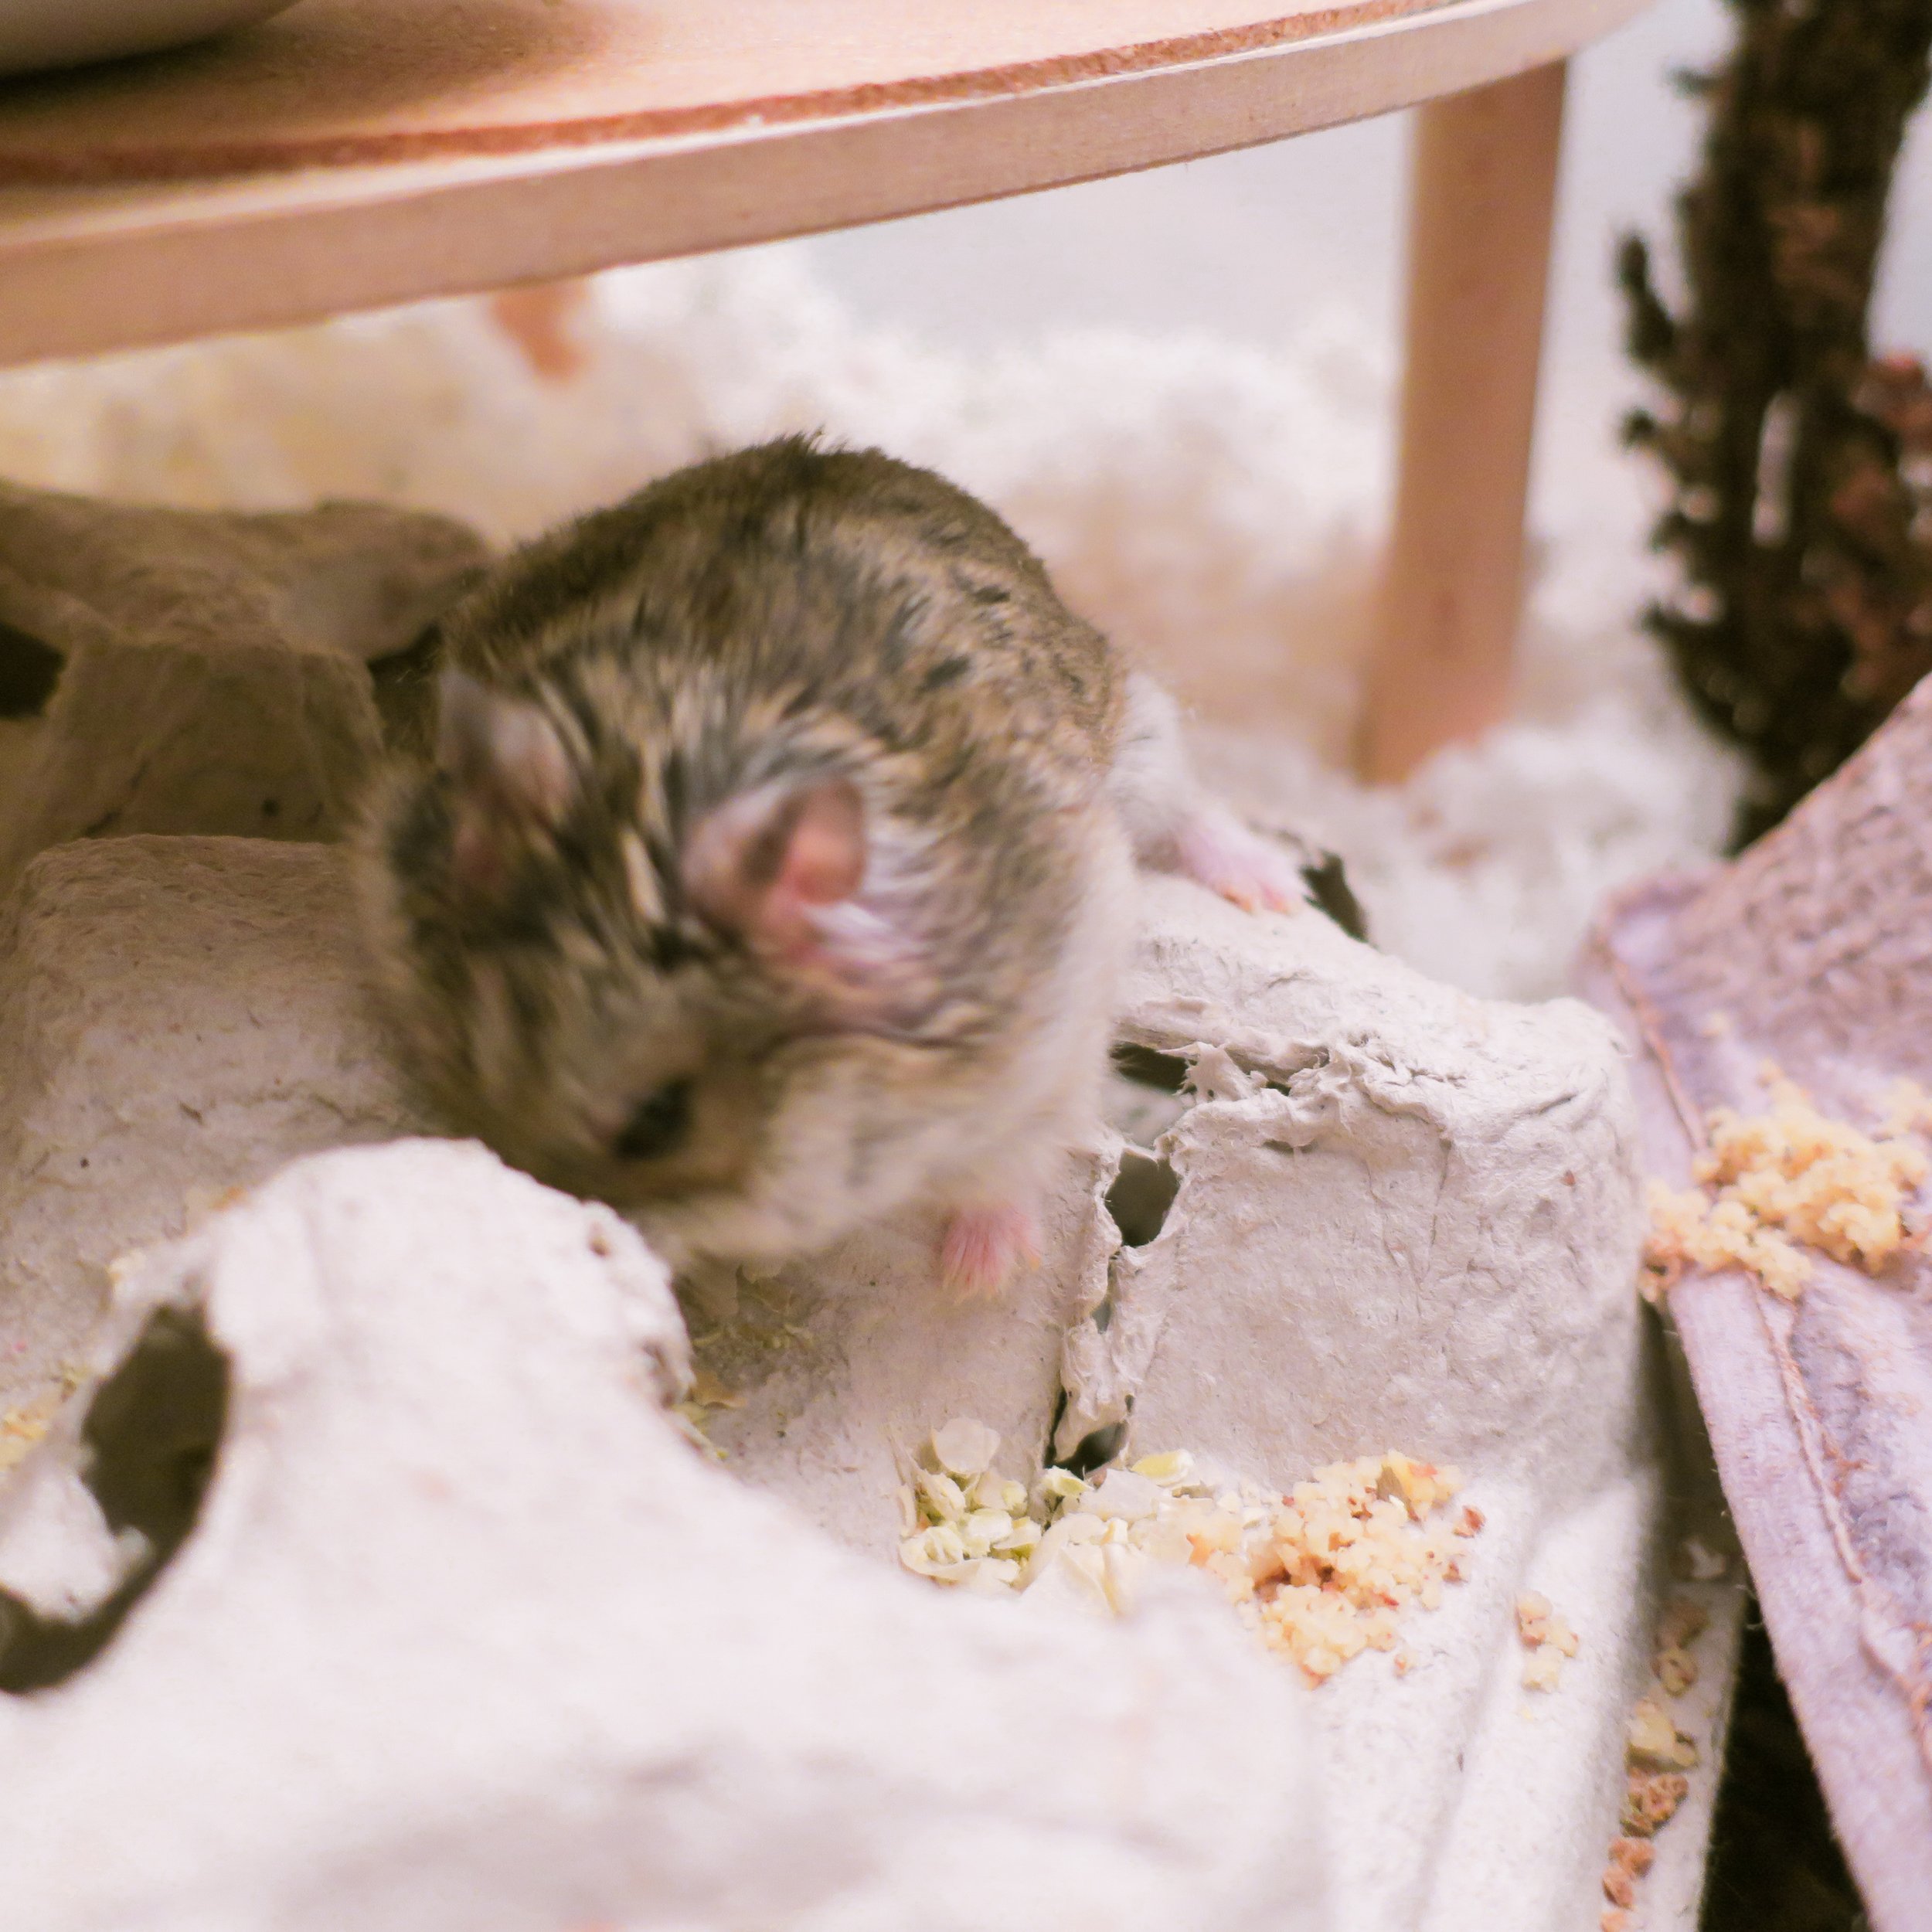
I felt that my hamsters couldn’t possibly live their best lives in a giant, plastic tub. However, I will say, it is possible to build a beautiful & stimulating enclosure for your hamsters in a bin! Including some fav photos of my hamster’s enclosures so you can see what I mean :)


Bin cages require some DIY
Thankfully, the only part of a bin cage you really need to DIY is the lid. I don’t personally suggest putting the mesh at the side of the cage- this prevents you from putting bedding as high and any hole in the bin is a hole your hamster can chew on and make bigger. So, generally speaking, just try not to drill any holes in your bin, just make a great lid with as much mesh ventilation as possible (and no, drilling holes in your lid is not enough ventilation!
*Please note, this page contains affiliate links to Amazon, as an Amazon Associate I earn from qualifying purchases.
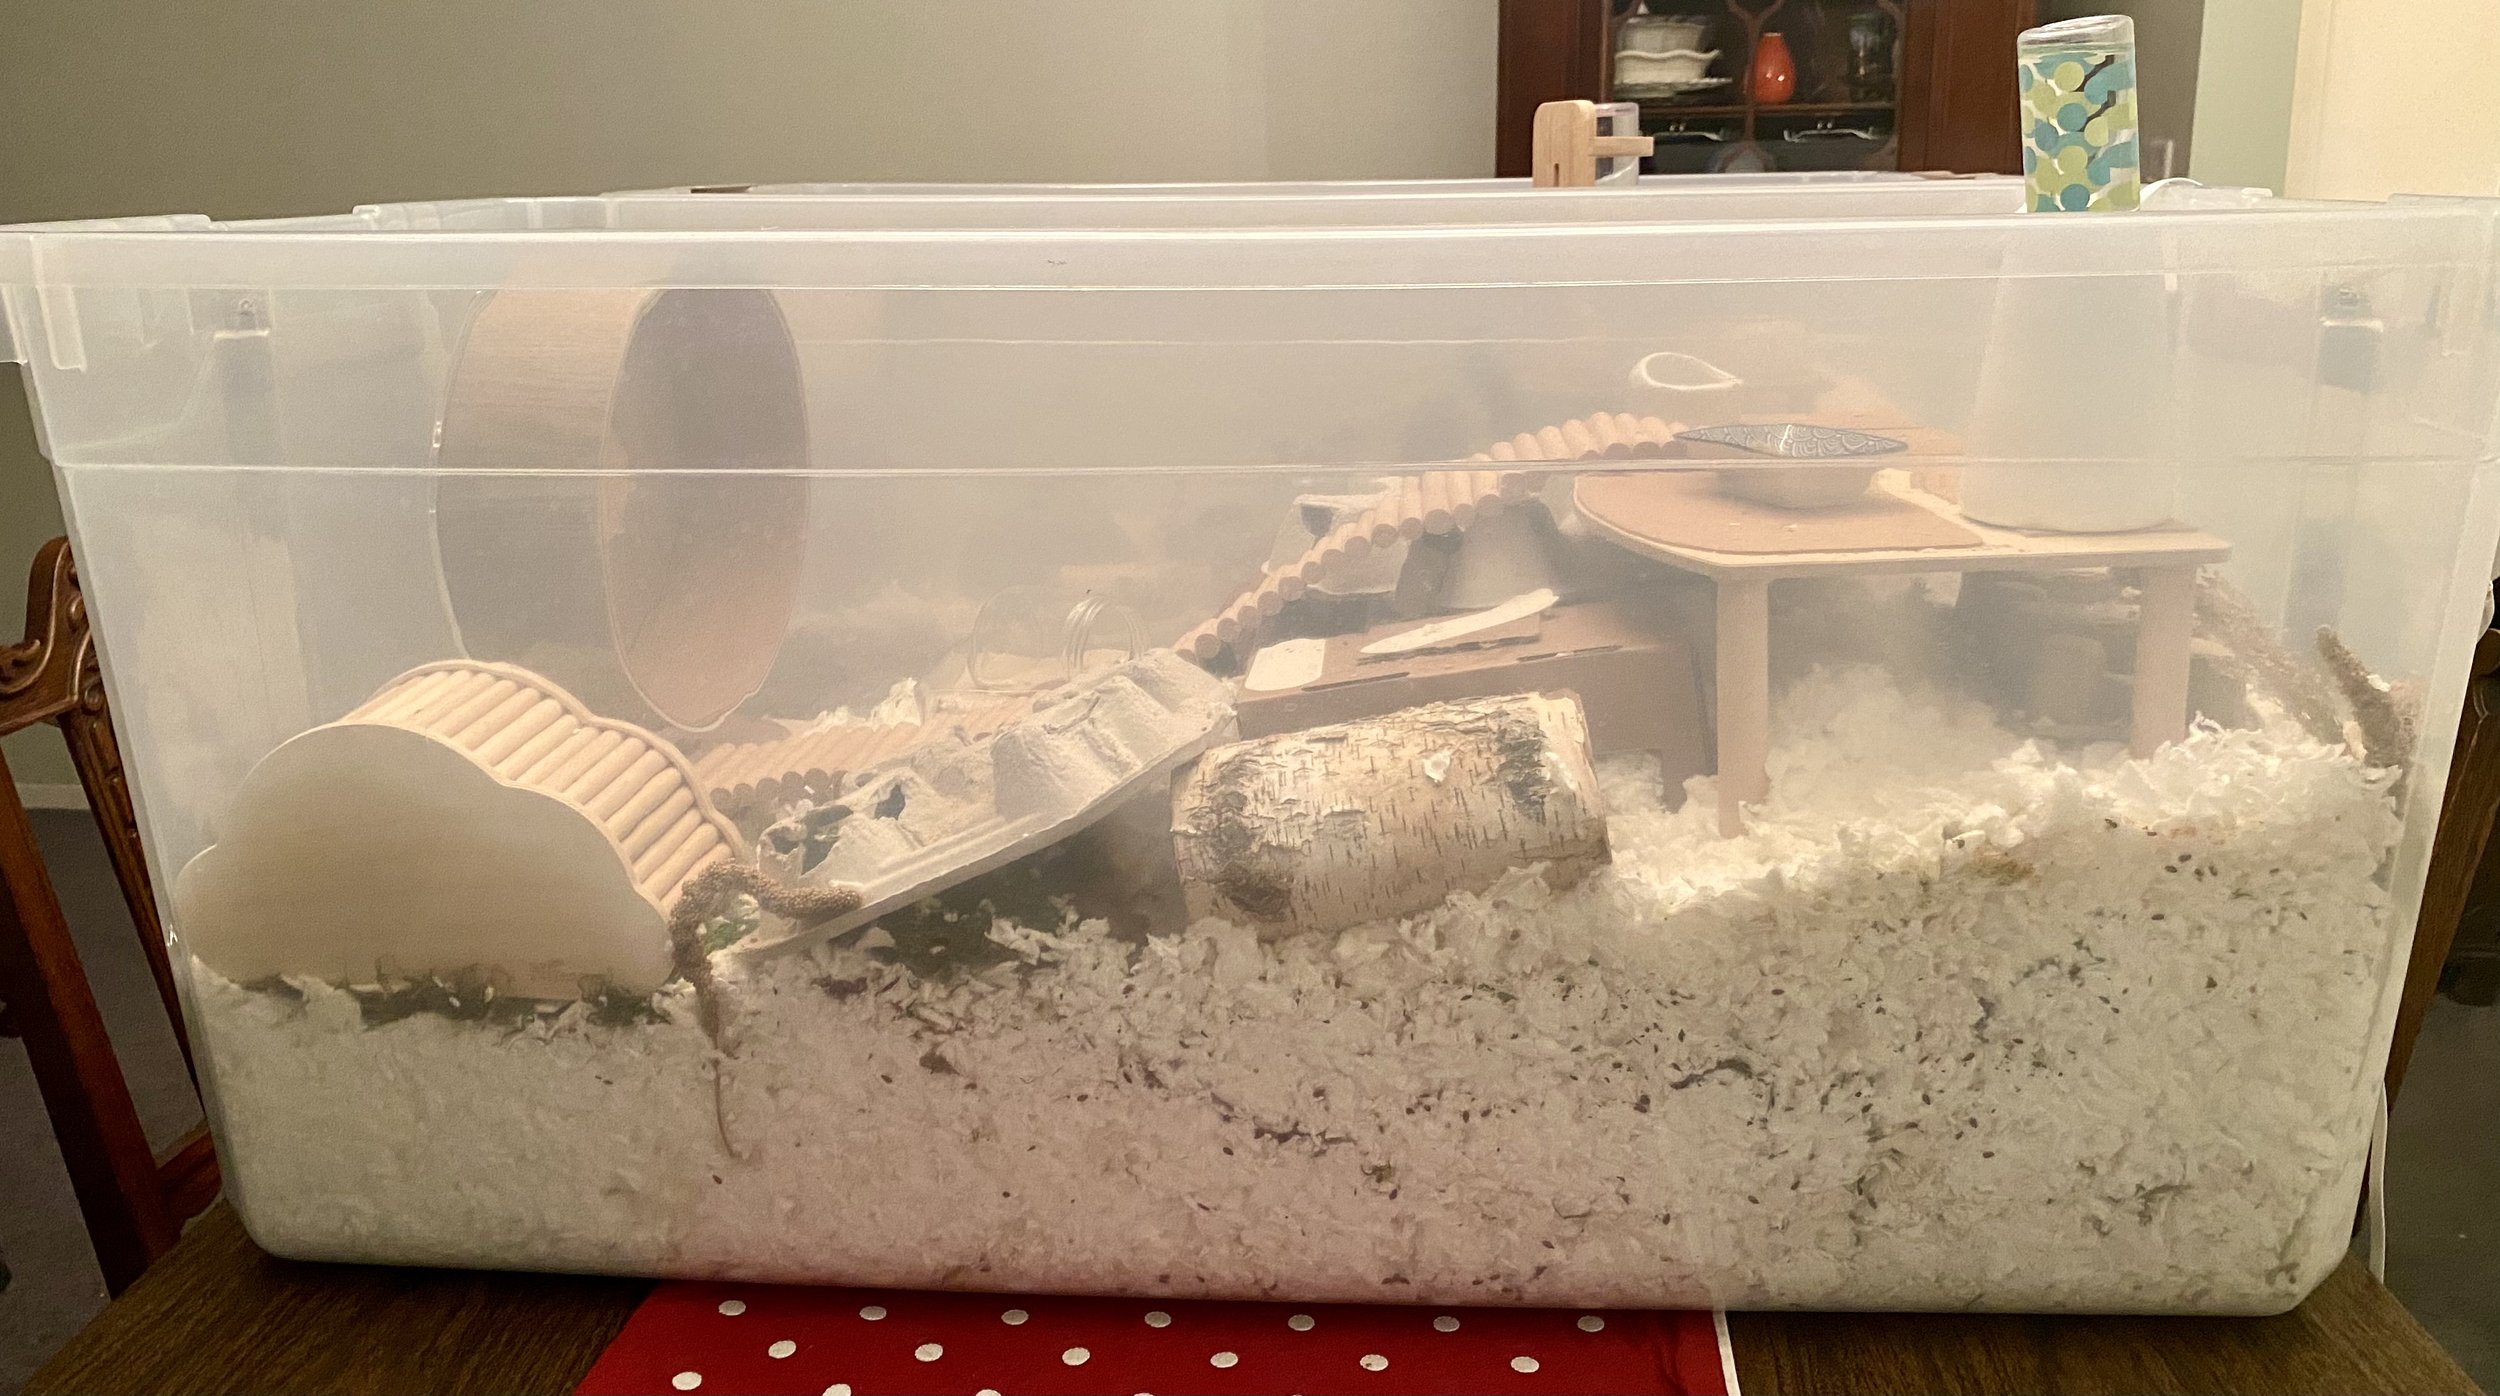
Bin Cages and Lids:
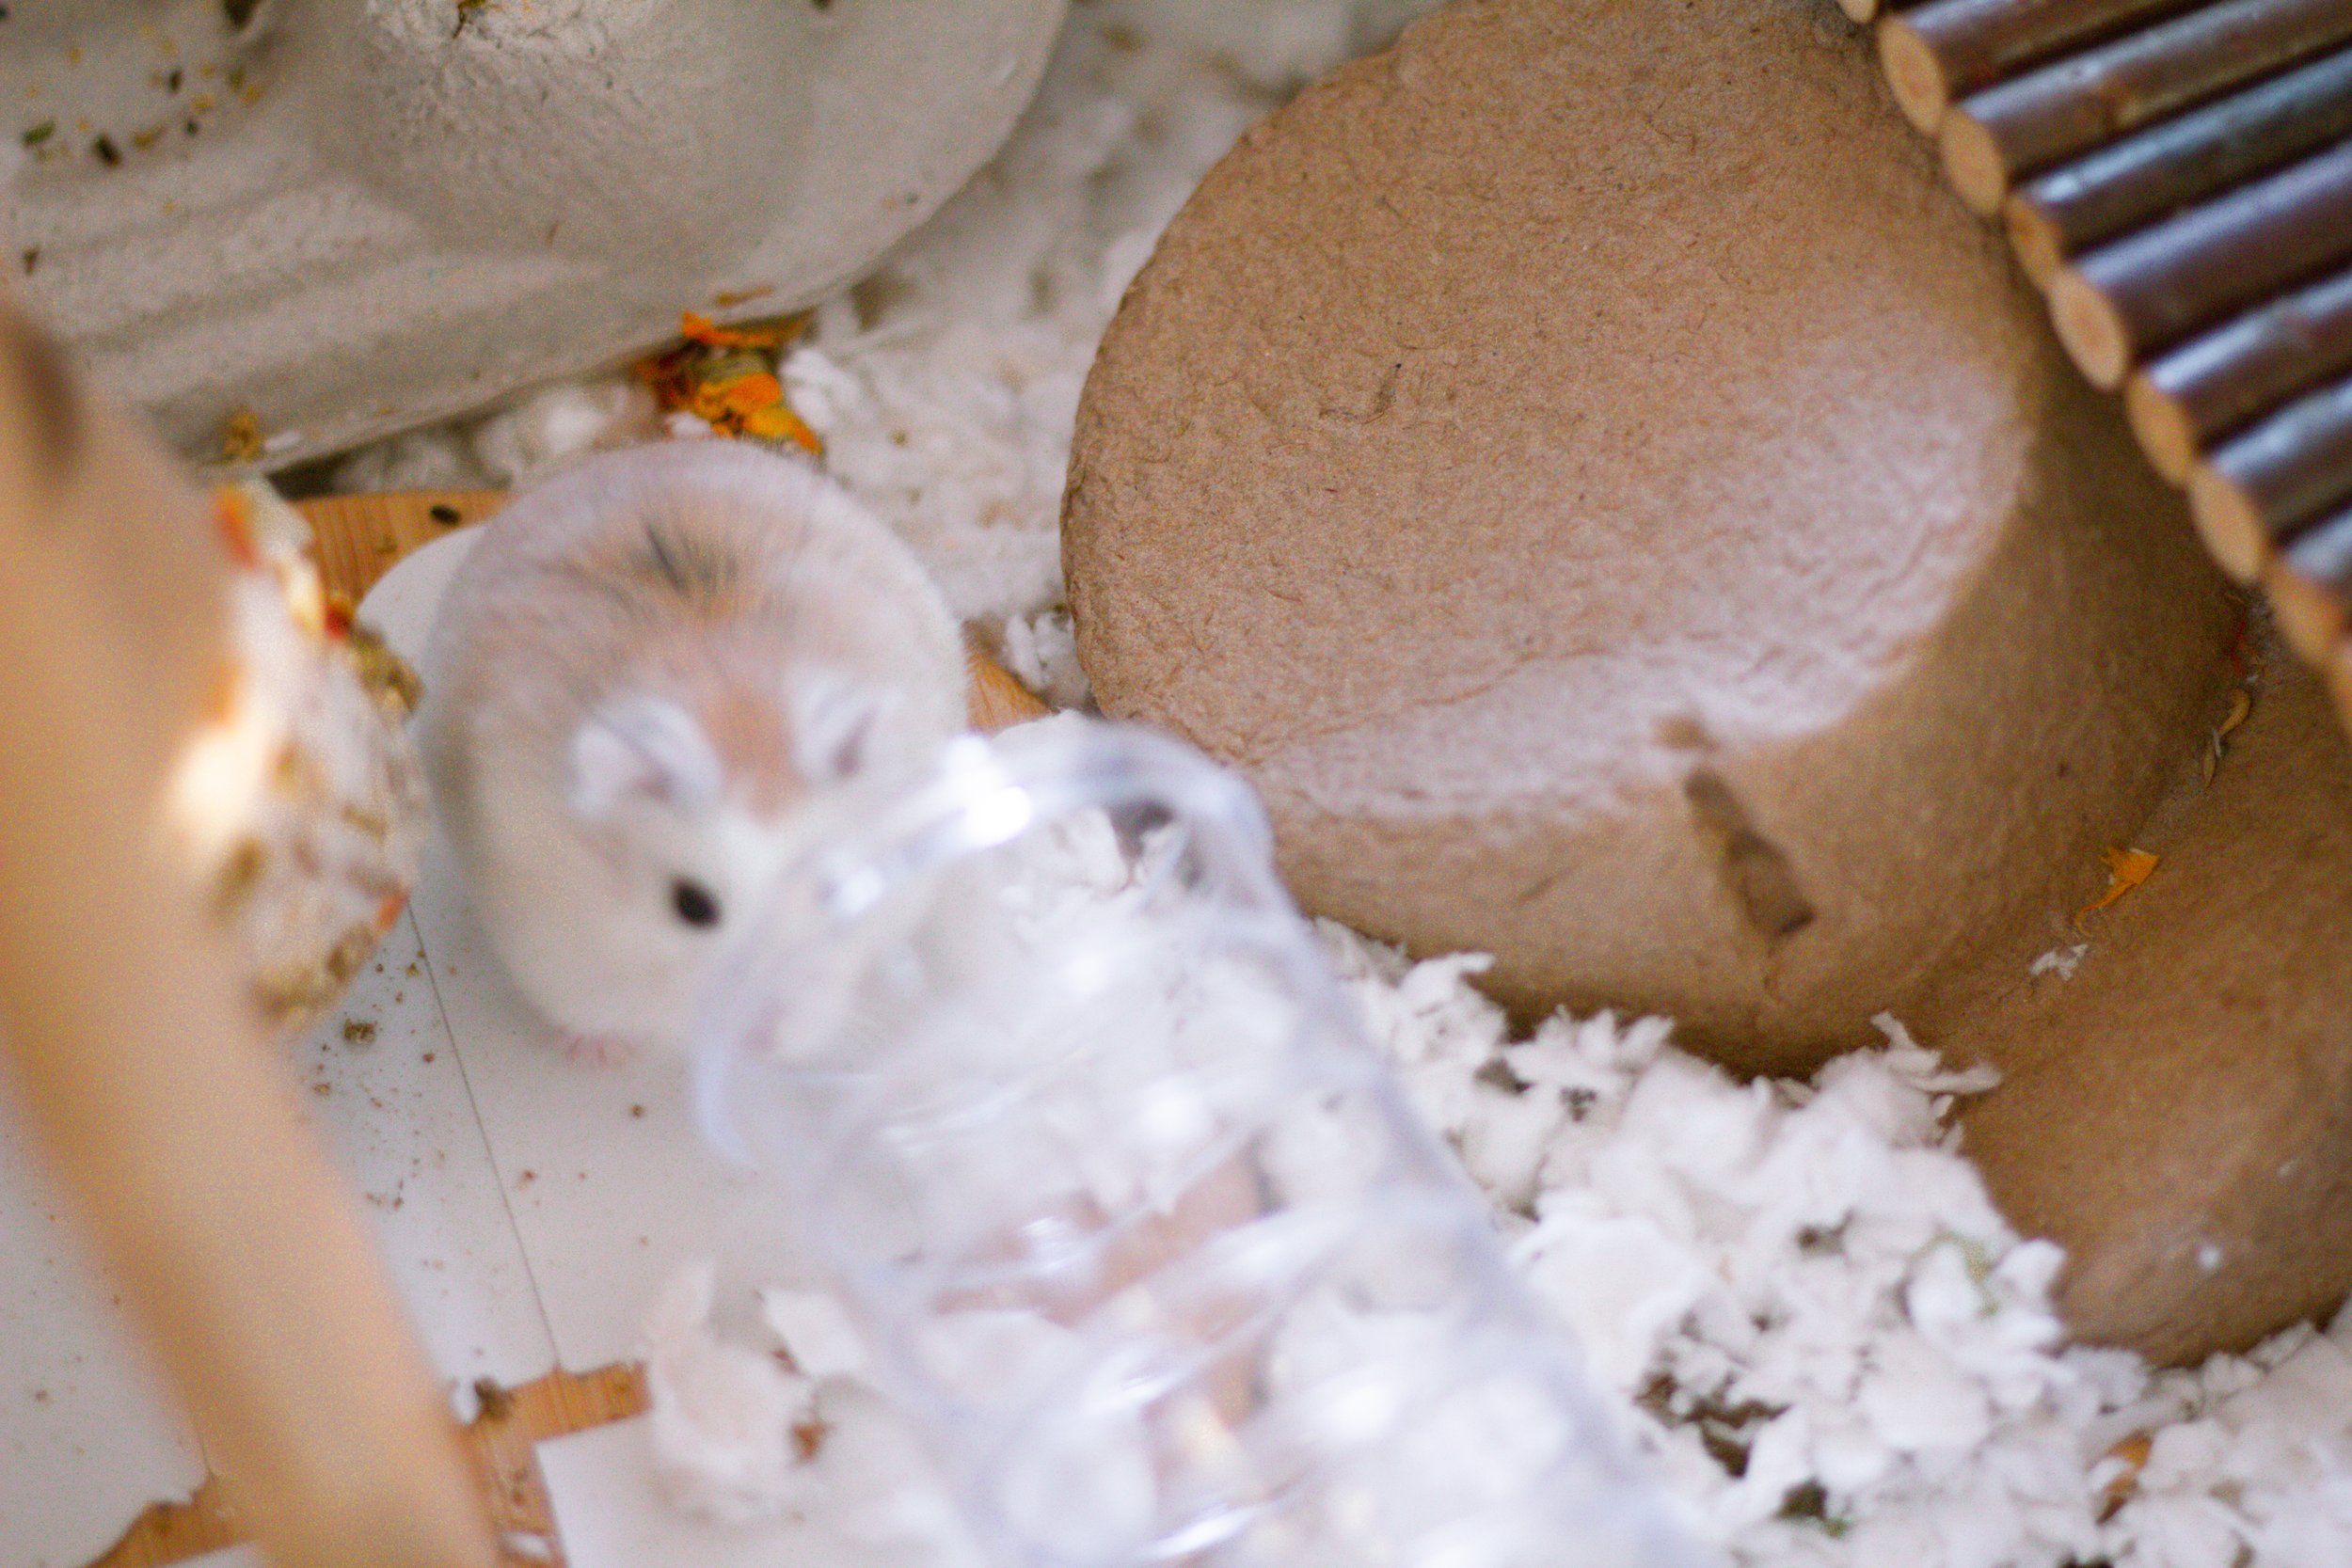
Dwarf hamsters are generally not great climbers or jumpers. For this reason, I personally no longer use lids for my dwarf & robo hamsters. However, it is recommended that you make a lid for any new hamster. Here are some reasons why:
New hamsters may be nervous and looking to escape. If they get out of their cage they may fall from from your dresser (or wherever you keep your hamster) and that fall will be life threatening.
Some dwarf hamsters are very athletic and interested in finding how to climb up things.
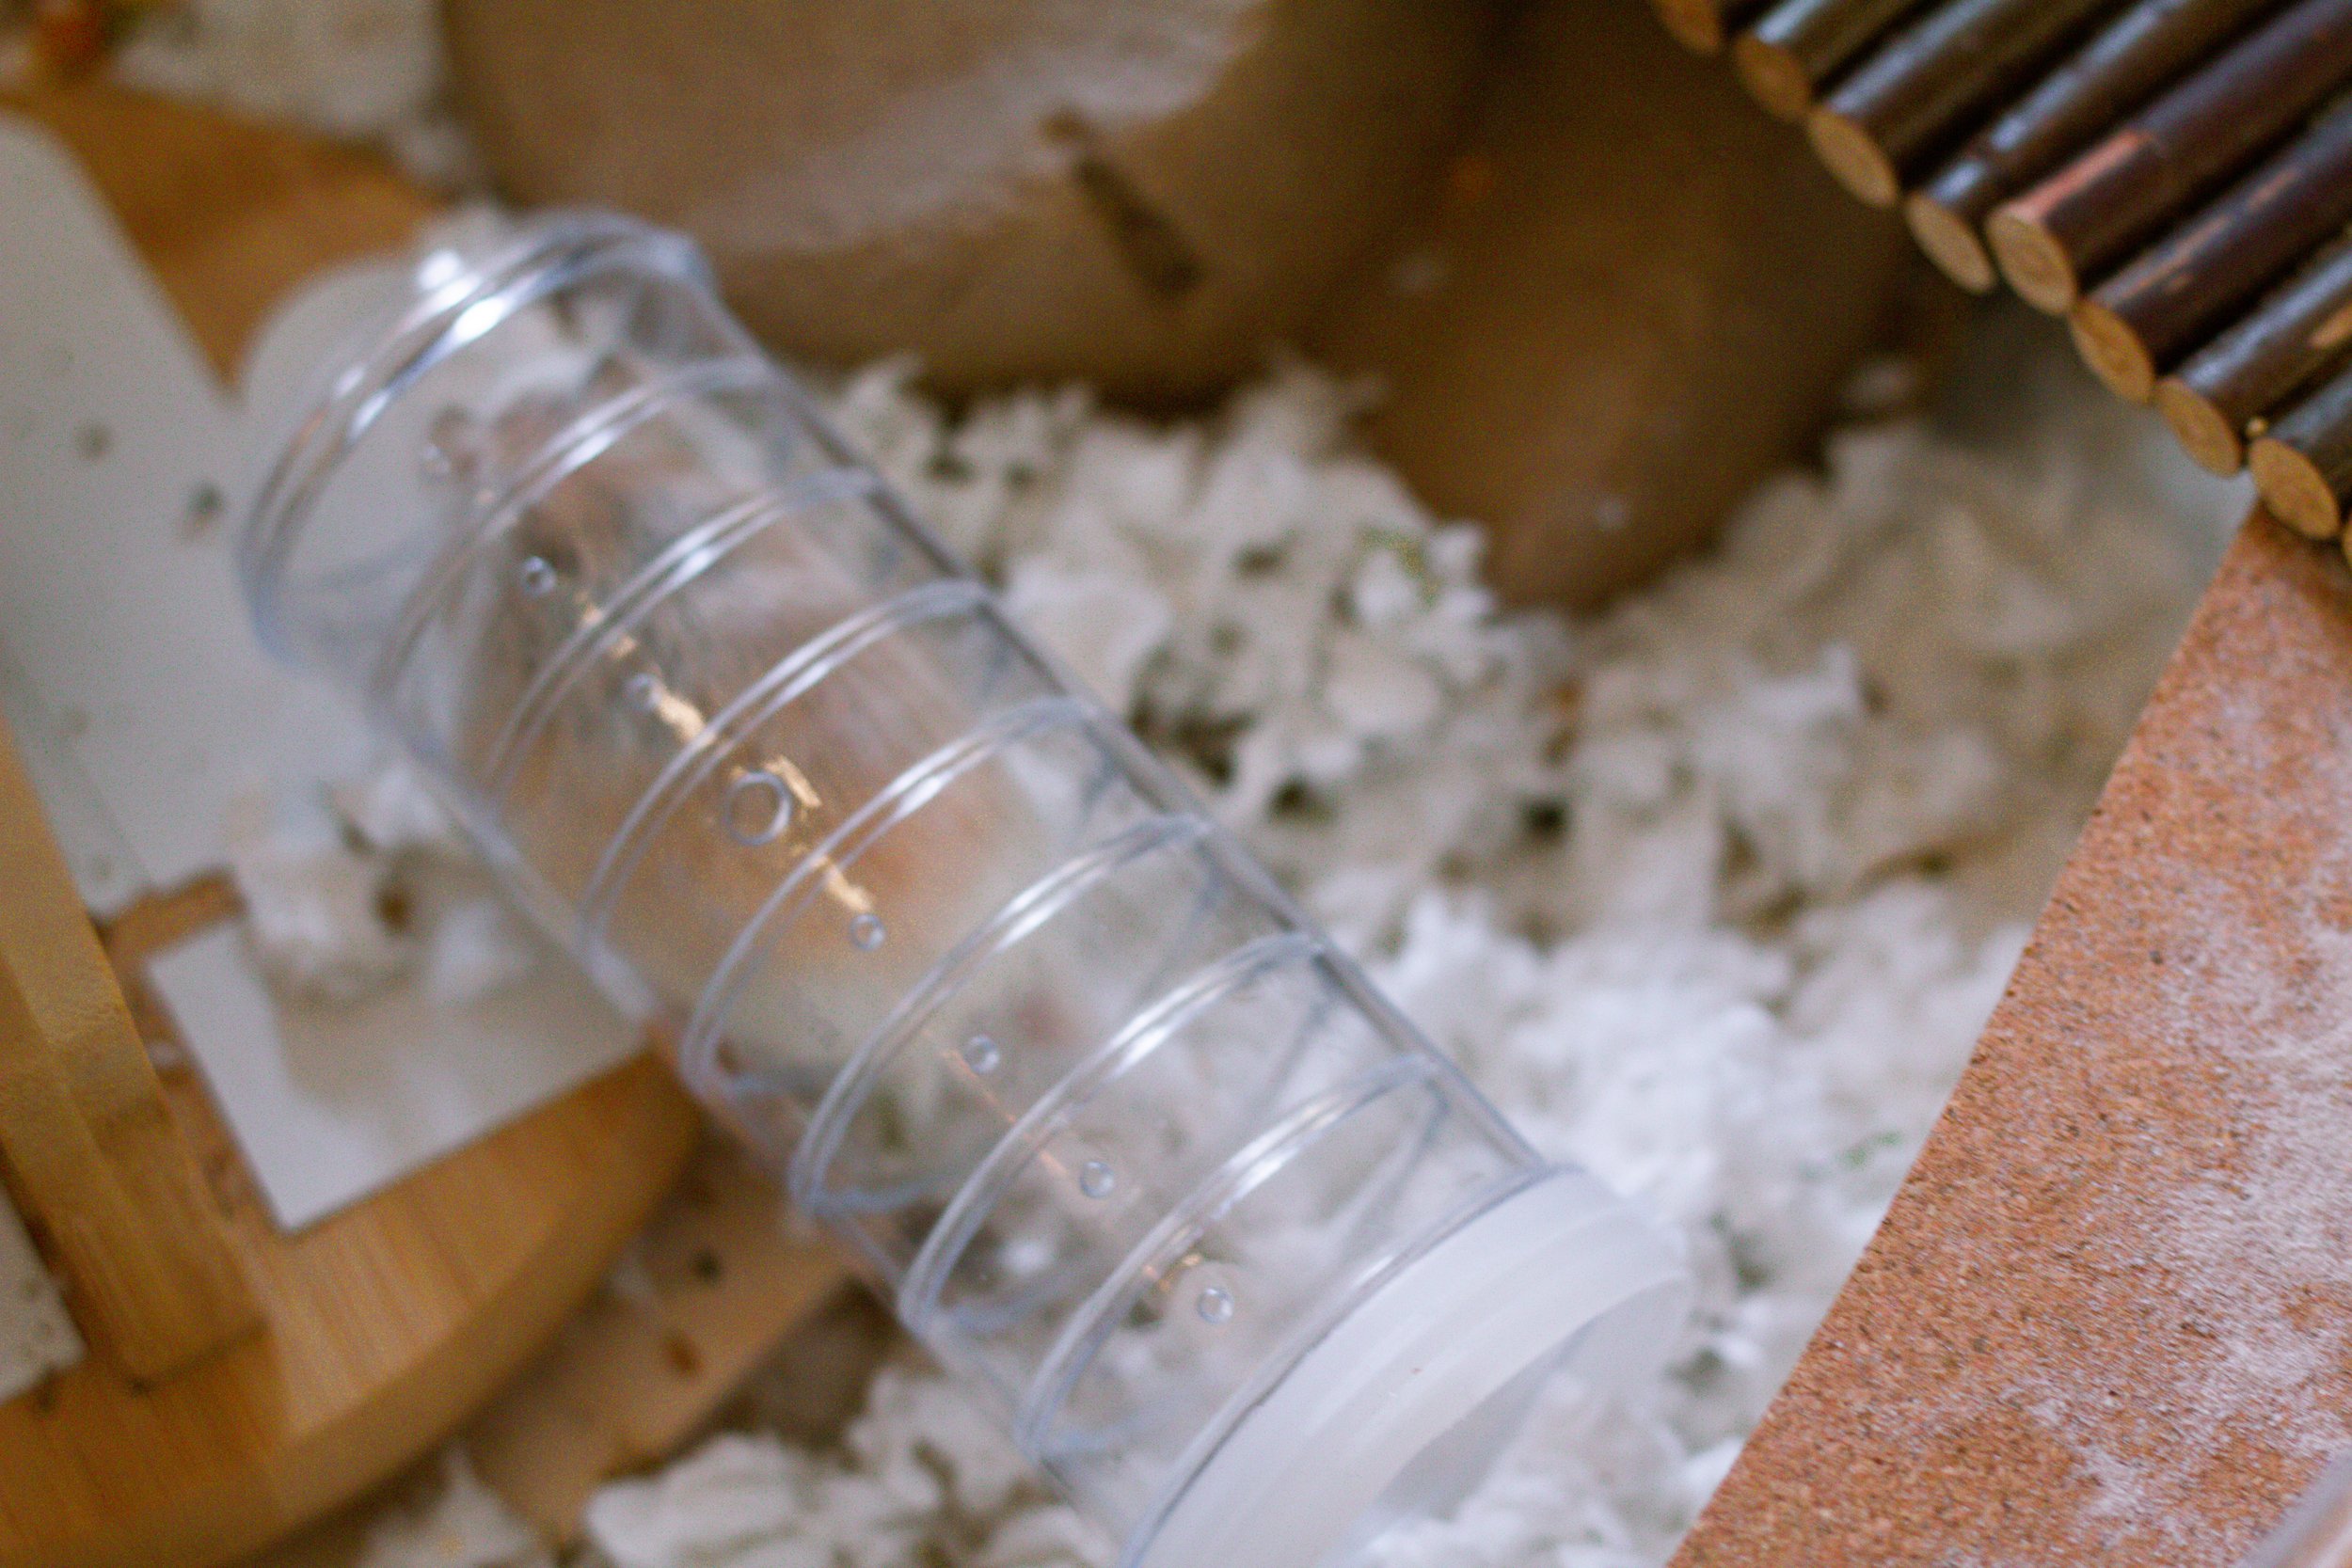
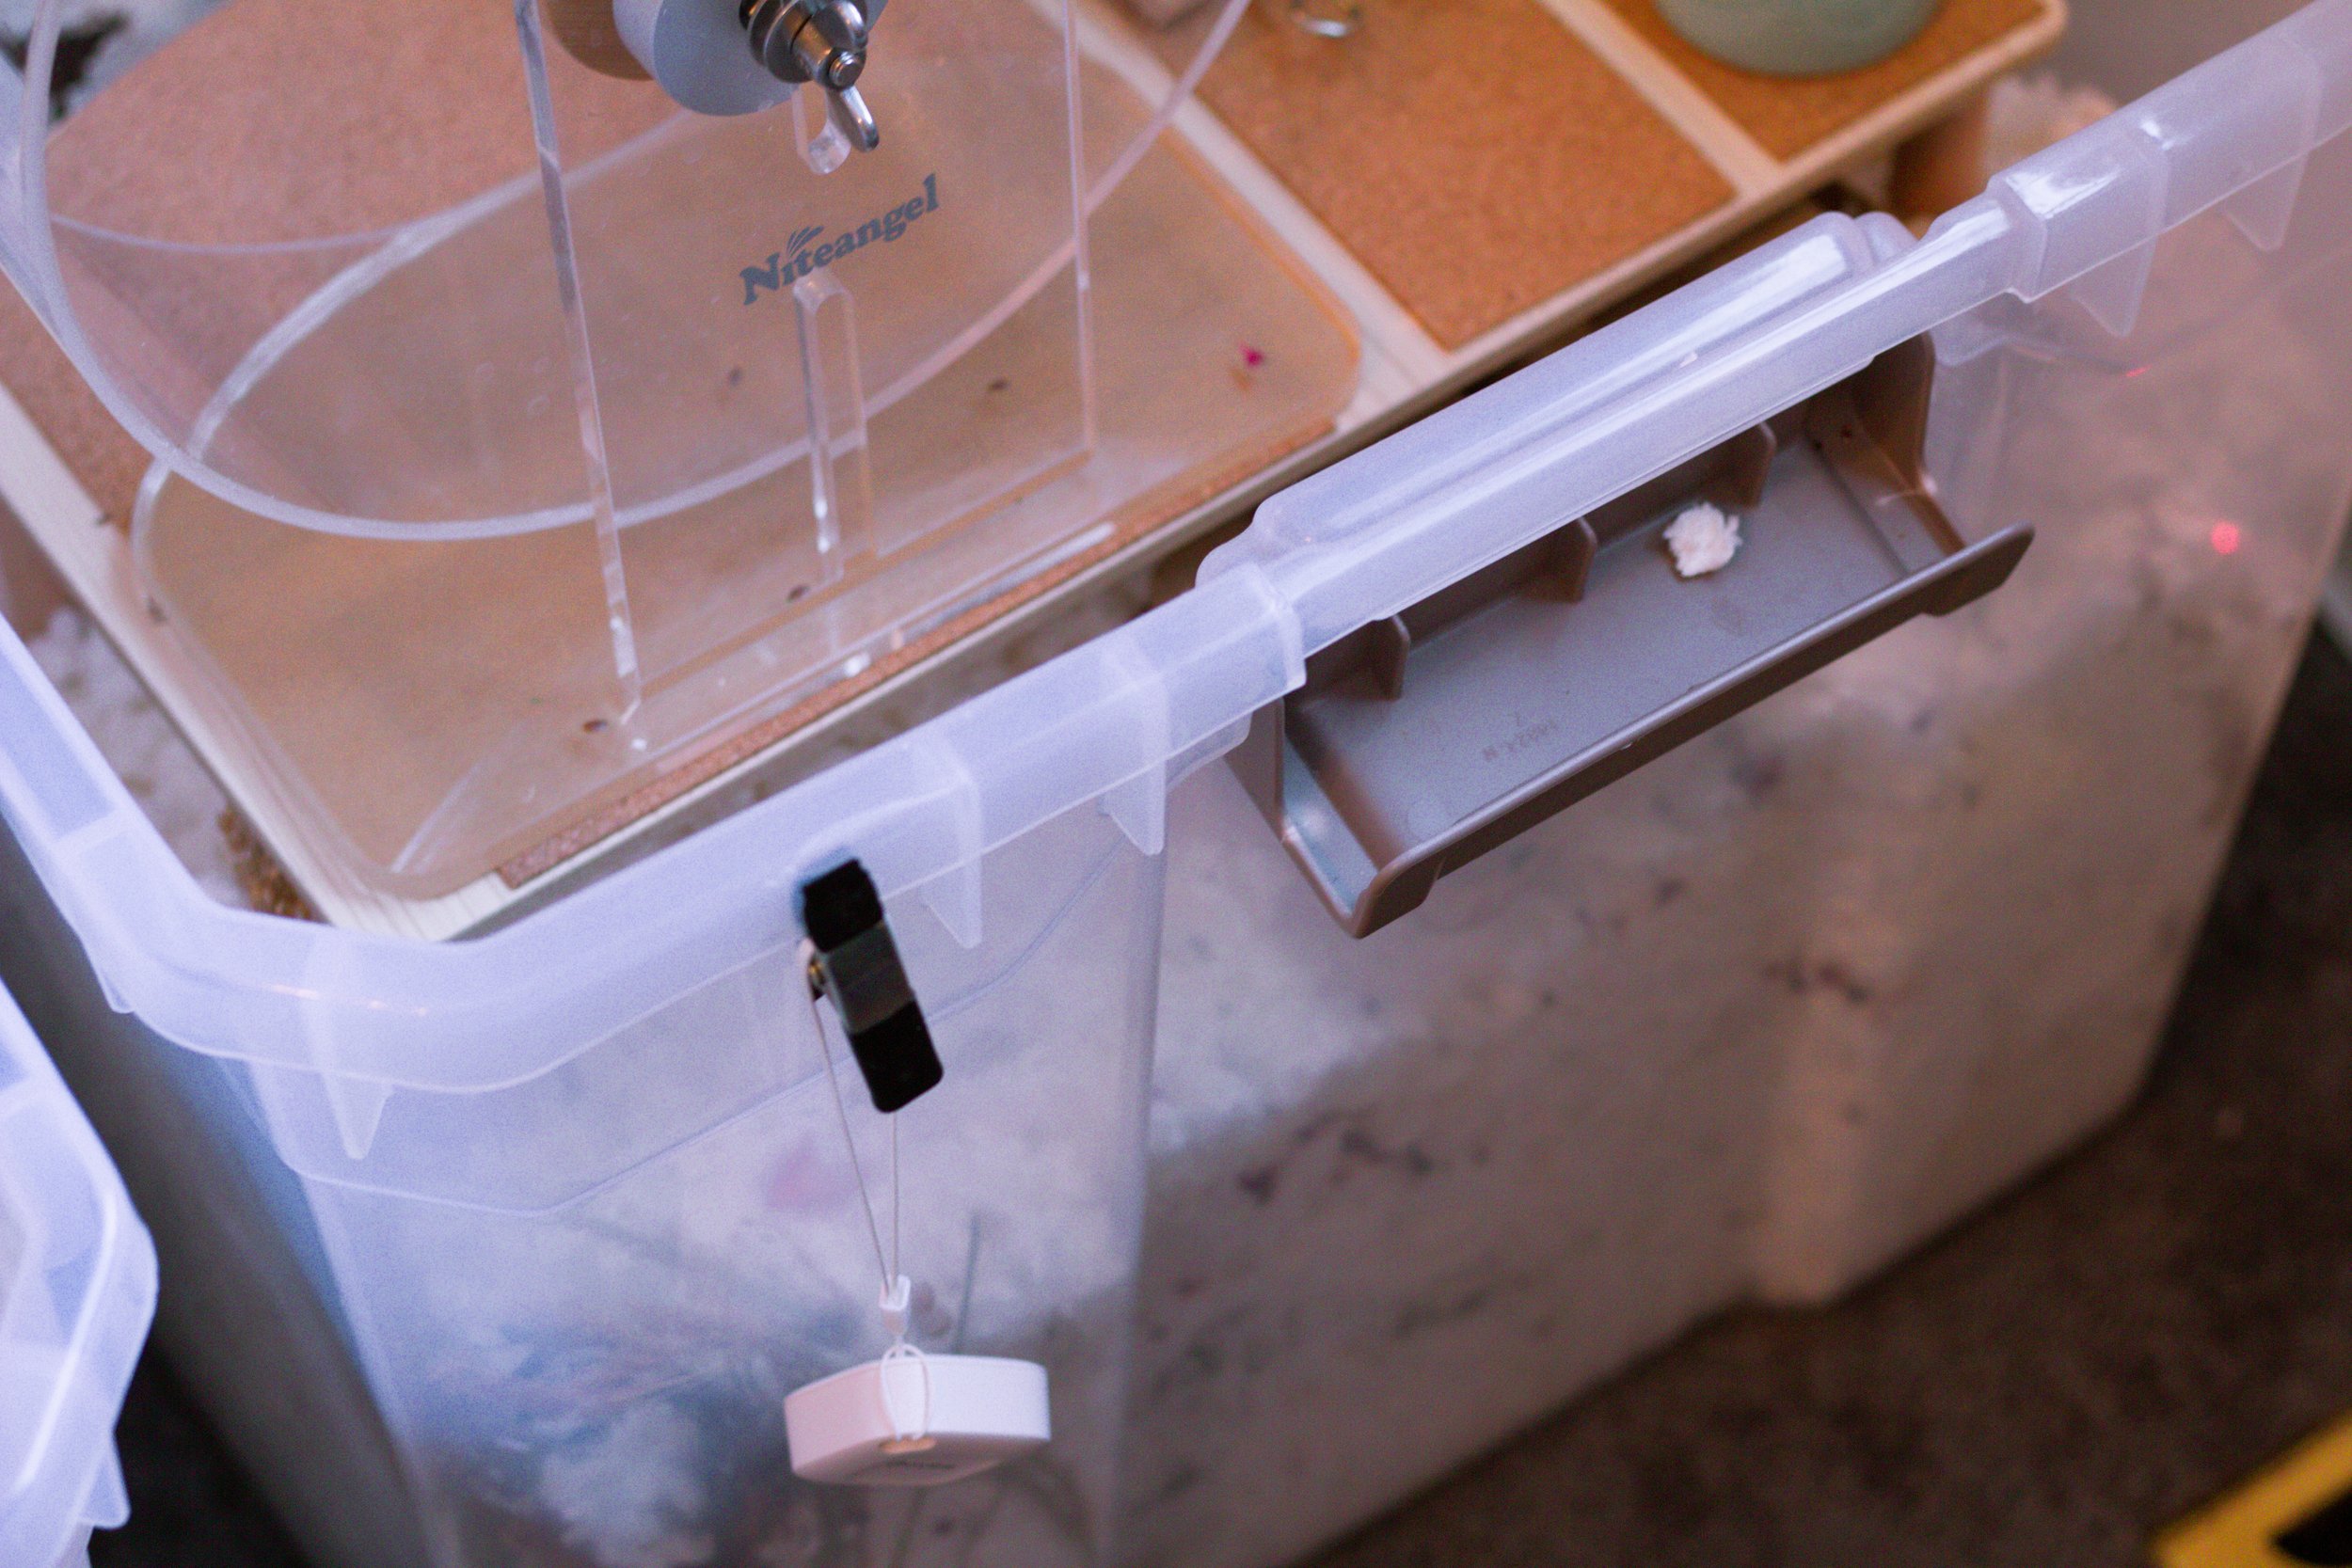
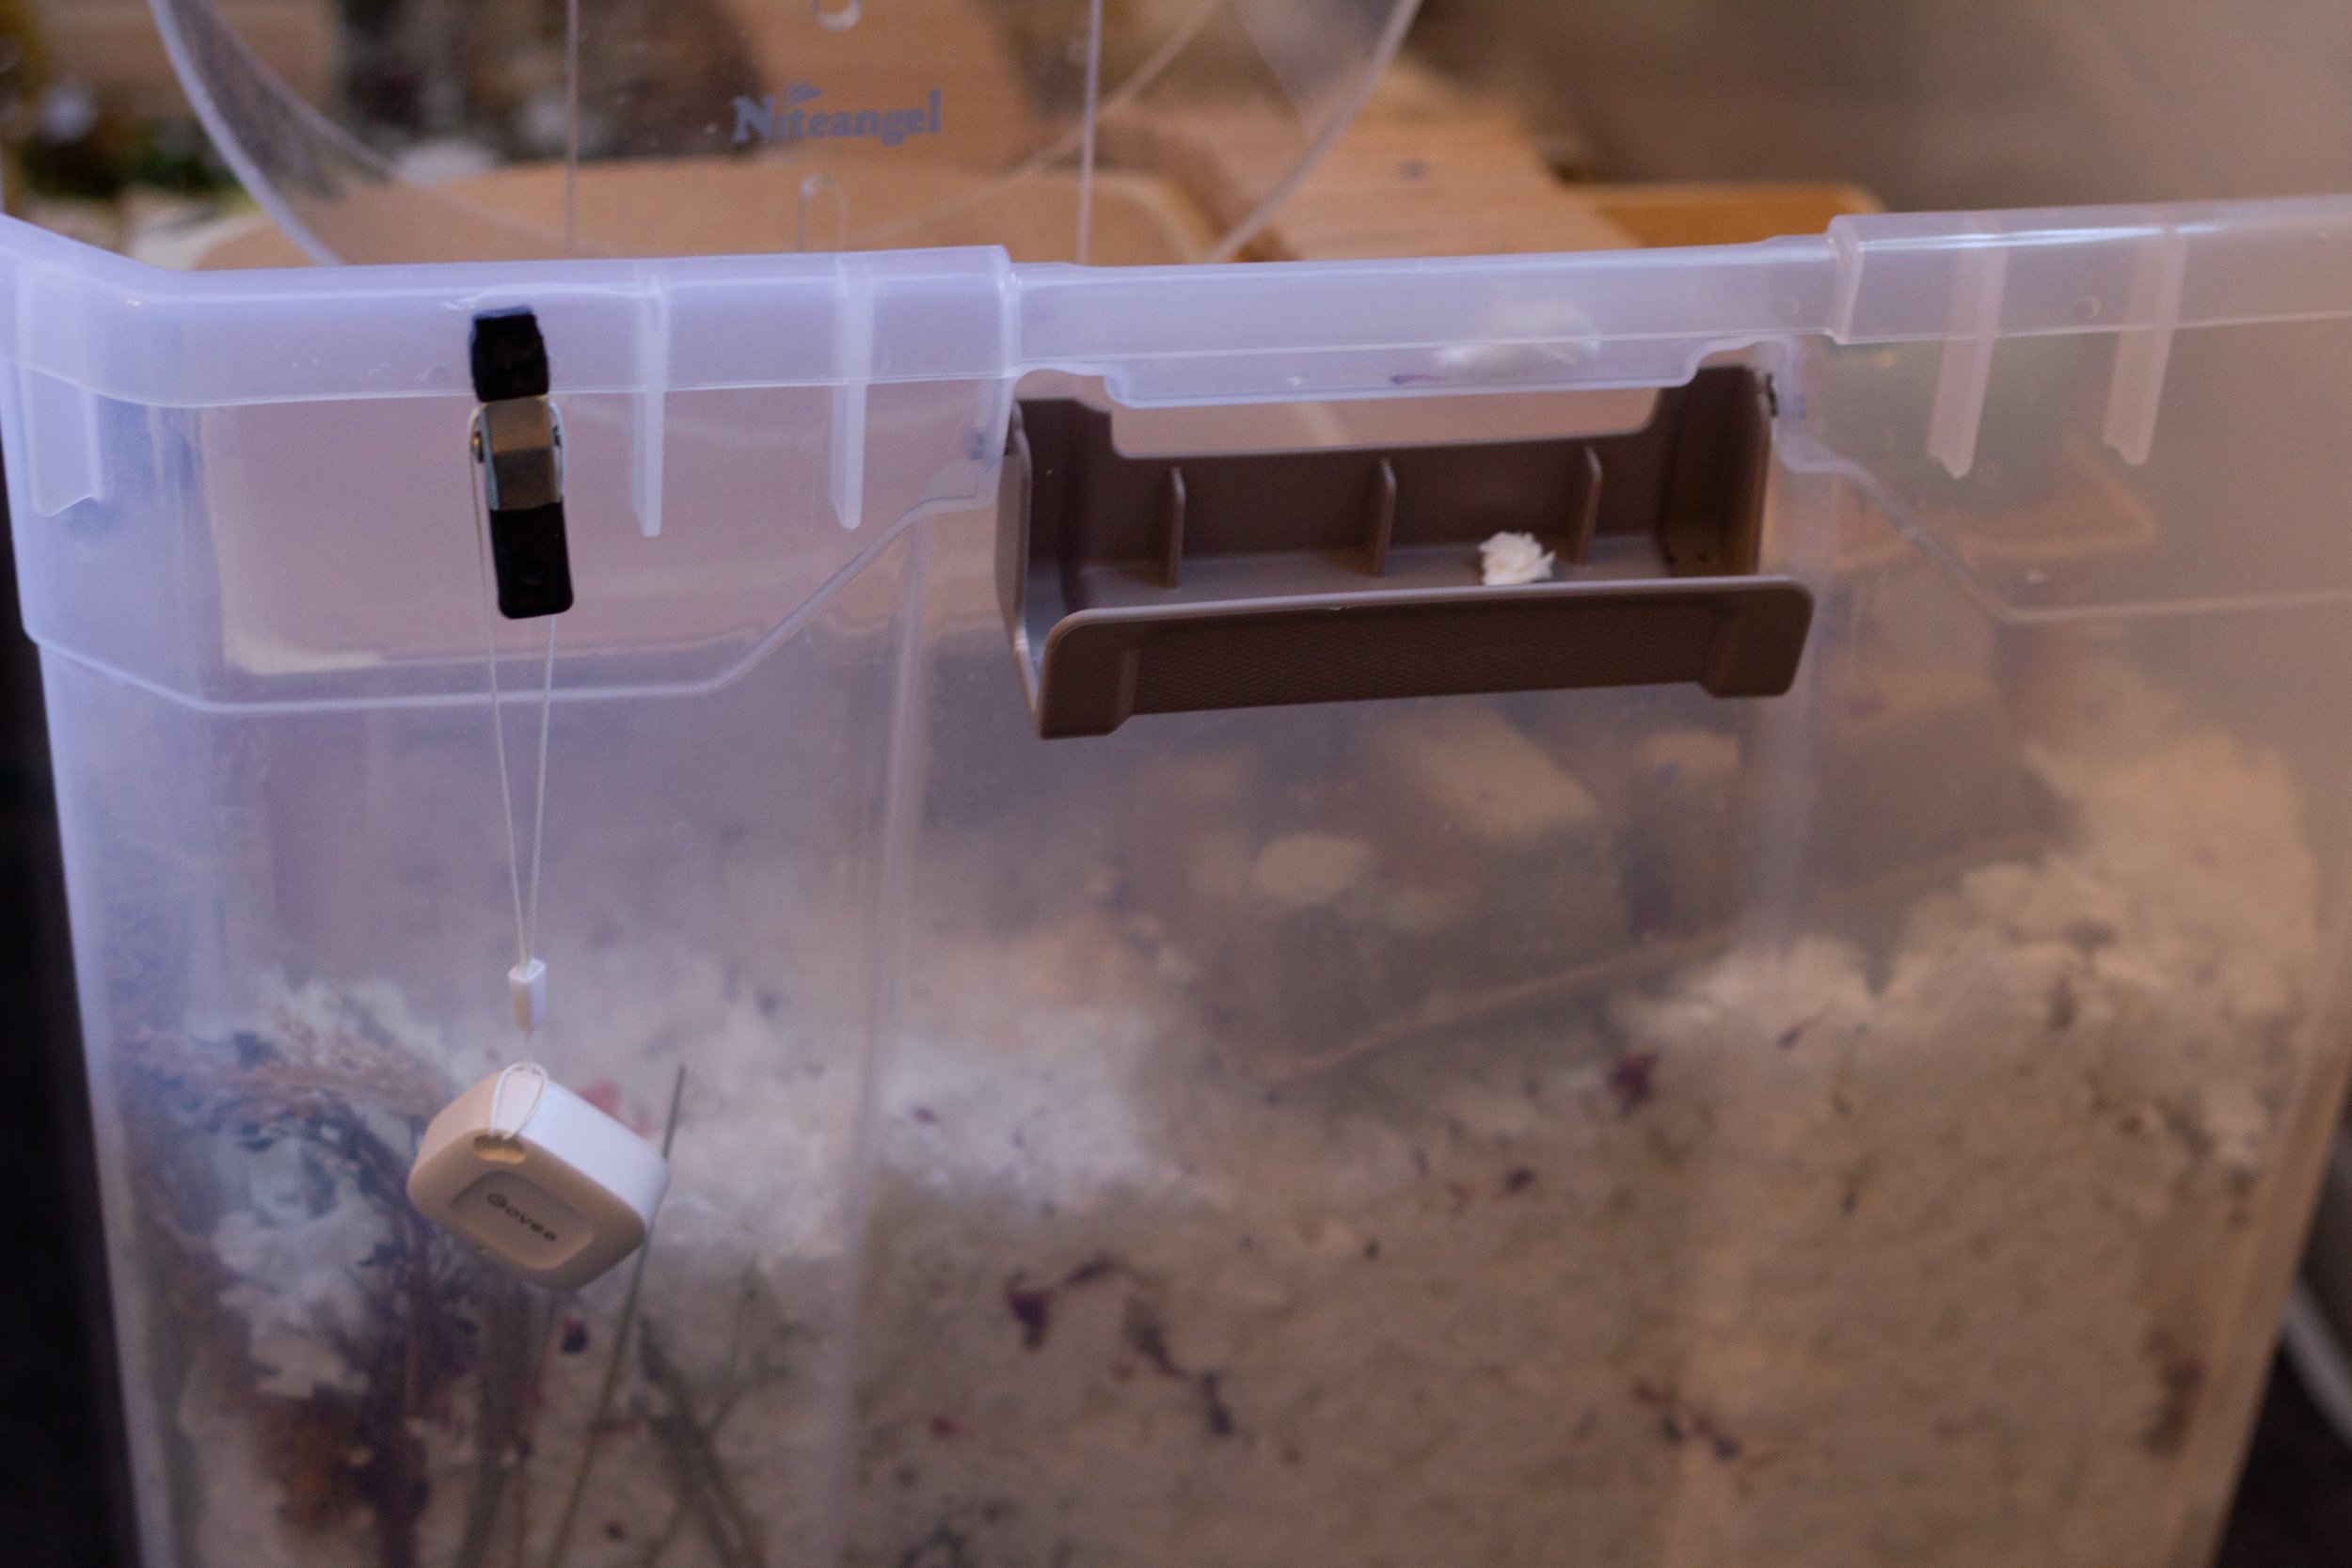
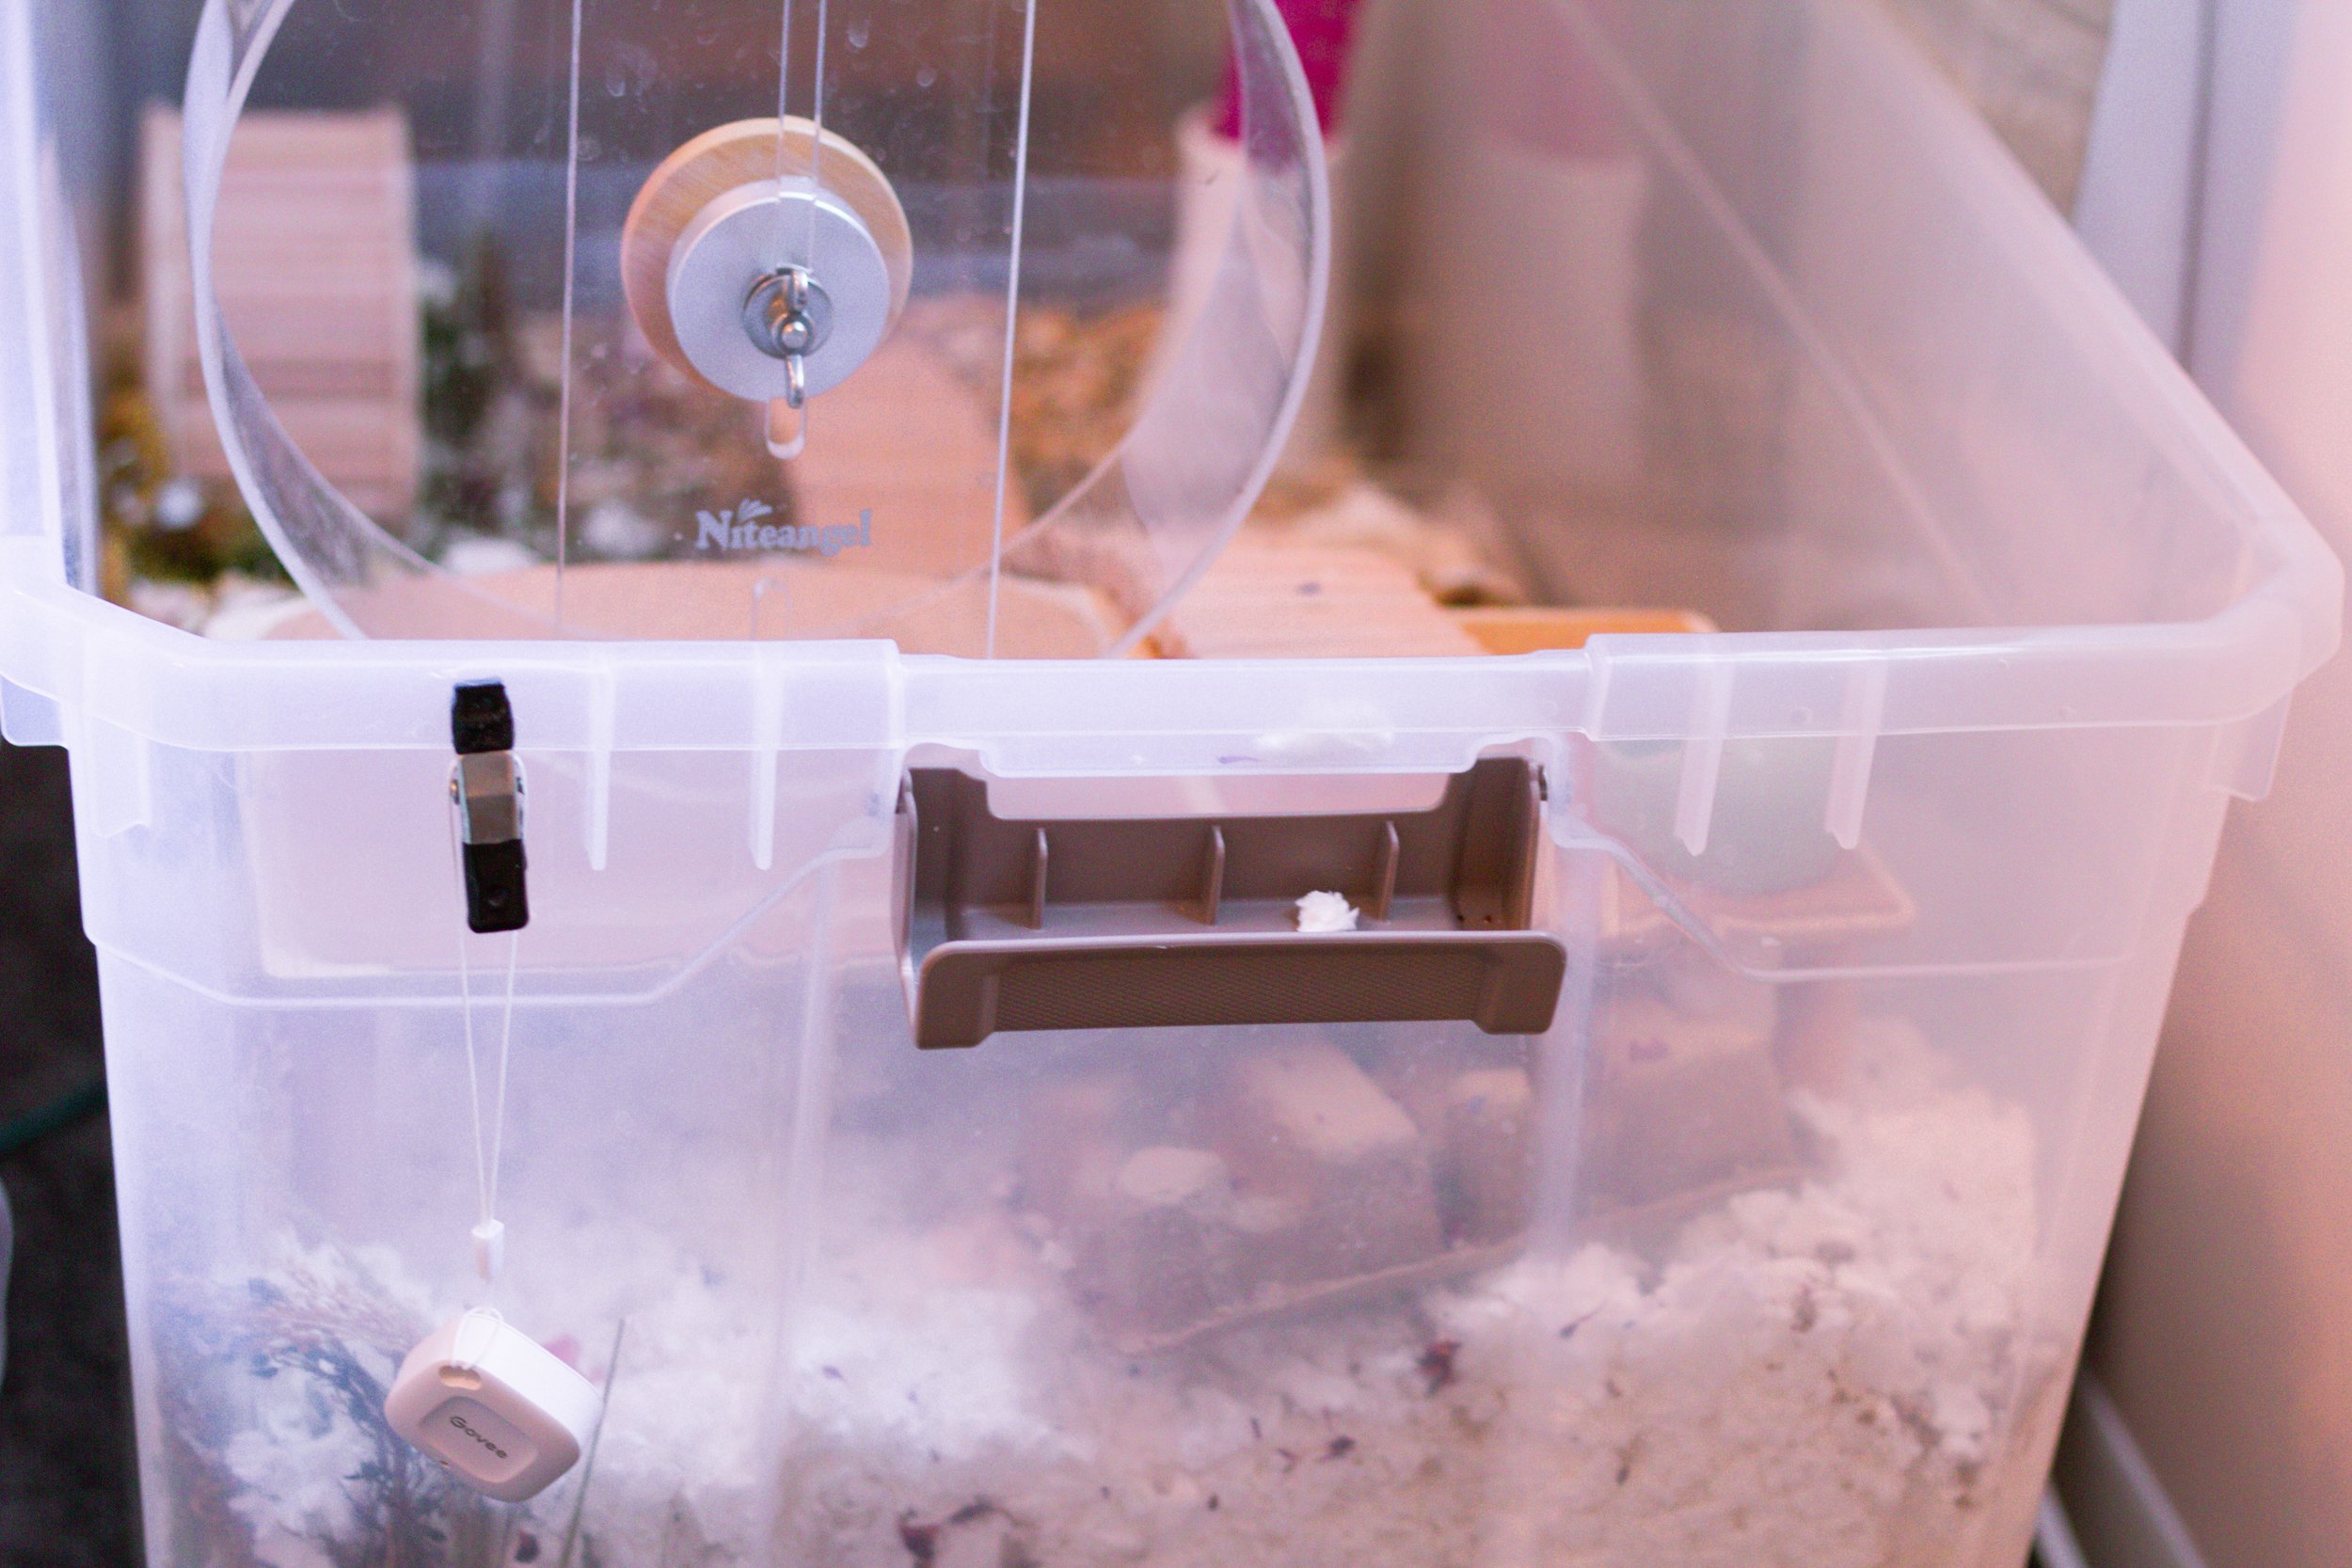
If you have anything hanging from the side of your bin- like a water bottle holder, your hamster can climb this to escape.
Syrian hamsters will escape! Syrians are good climbers and will have no issue finding their way to the top of the bin!
If you have other animals in your house or children it is always a good idea to have a lid on the cage to protect your hamster. Any animal, no matter how sweet or well behaved, will see your hamster as a possible threat or snack. Don’t let that tragedy happen to you!
Where to Buy a Bin:
There are many, great bin options available! I have listed many bins that are highly recommended due to their large size & height, you can see them on my enclosure page here.
I most highly recommend the 200 qt bin (link to Home Depot) or the Christmas Tree Bin (available during the holiday season only at places like Target, Lowes & Home Depot)
I do not recommend the 100 qt bin for long-term living (it’s simply too small). It is, however, good as a temporary home, for hamsters who are recovering from an illness, very young or very old hamsters.
How to Make a Bin Cage Lid
Including some of my favorite bin cage tutorials below. There are a few methods to cutting through the plastic lid, but the gist is all the same- cut lid, replace it with hard chicken wire.
Cloverline Hamstery has a method I found very easy to understand (and seems pretty simple)- she has it outlined as a highlight on her Instagram feed here.
Munchie’s Place for Homeless Pets Tutorial & Supplies
Everything You Need to Create a Bin Cage Lid: (as per Munchie’s Instructional Video) Including images with links to Amazon in addition to links to Lowes. All of these materials should also be available at your local hardware store.
Safety Glasses - like this pair from Lowes
Safety Gloves - like this pair from Lowes (the wire mesh is actually very pointy and you will probably get cut if you don’t use gloves)
“Hardware Cloth” - gauge 19 or 23. Also available at Lowes or your local hardware store.
Permanent Marker
Wire Cutters -
Needle Nose Plier
Oscillating Tool (some people use a dremel or just a utility knife, but Munchie says this works best for her, and she makes a lot of bin cages for her hamster rescue!) Also available from Lowes.
Drill
Zip Ties (I prefer clear) Also available from Lowes.
Deburring Tool. Also available from Lowes.
Ruler - from Lowes
Duct Tape - Munchie only briefly mentions this in her video, but many people use duct tape to cover the pointy edges of the wire on the outside of the cage (do not use duct tape on the inside- hamsters can and probably will chew on it and it can get stuck inside of their cheek pouches). I prefer to use duct tape that matches the color of the lid, so including links to both white duct tape (to match 100 qt bin) and beige (to match 200 qt bin).
Additional Bin Cage Videos:
HammyTime is very handy and great at figuring out how to build great hamster spaces. If you are interested in using the Iris Christmas Tree Bin for your hamster, this video may be helpful to you!

Shirley the Dwarf Hamster’s 200 qt Bin Cage Setup